Garden Design Series Episode 3
Using Line and Shape to Define Space
Line and shape are the basic elements used to design outdoor rooms as well as the beds and spaces within those rooms.
This post is about learning how to envision space and learning how to use various aspects of line and shape to create an overall feel in your landscape, whether formal or informal. I’ll talk you through these elements, then take you on a walk about my neighborhood to show you how some of my neighbors use line and space to create formal and informal front rooms.
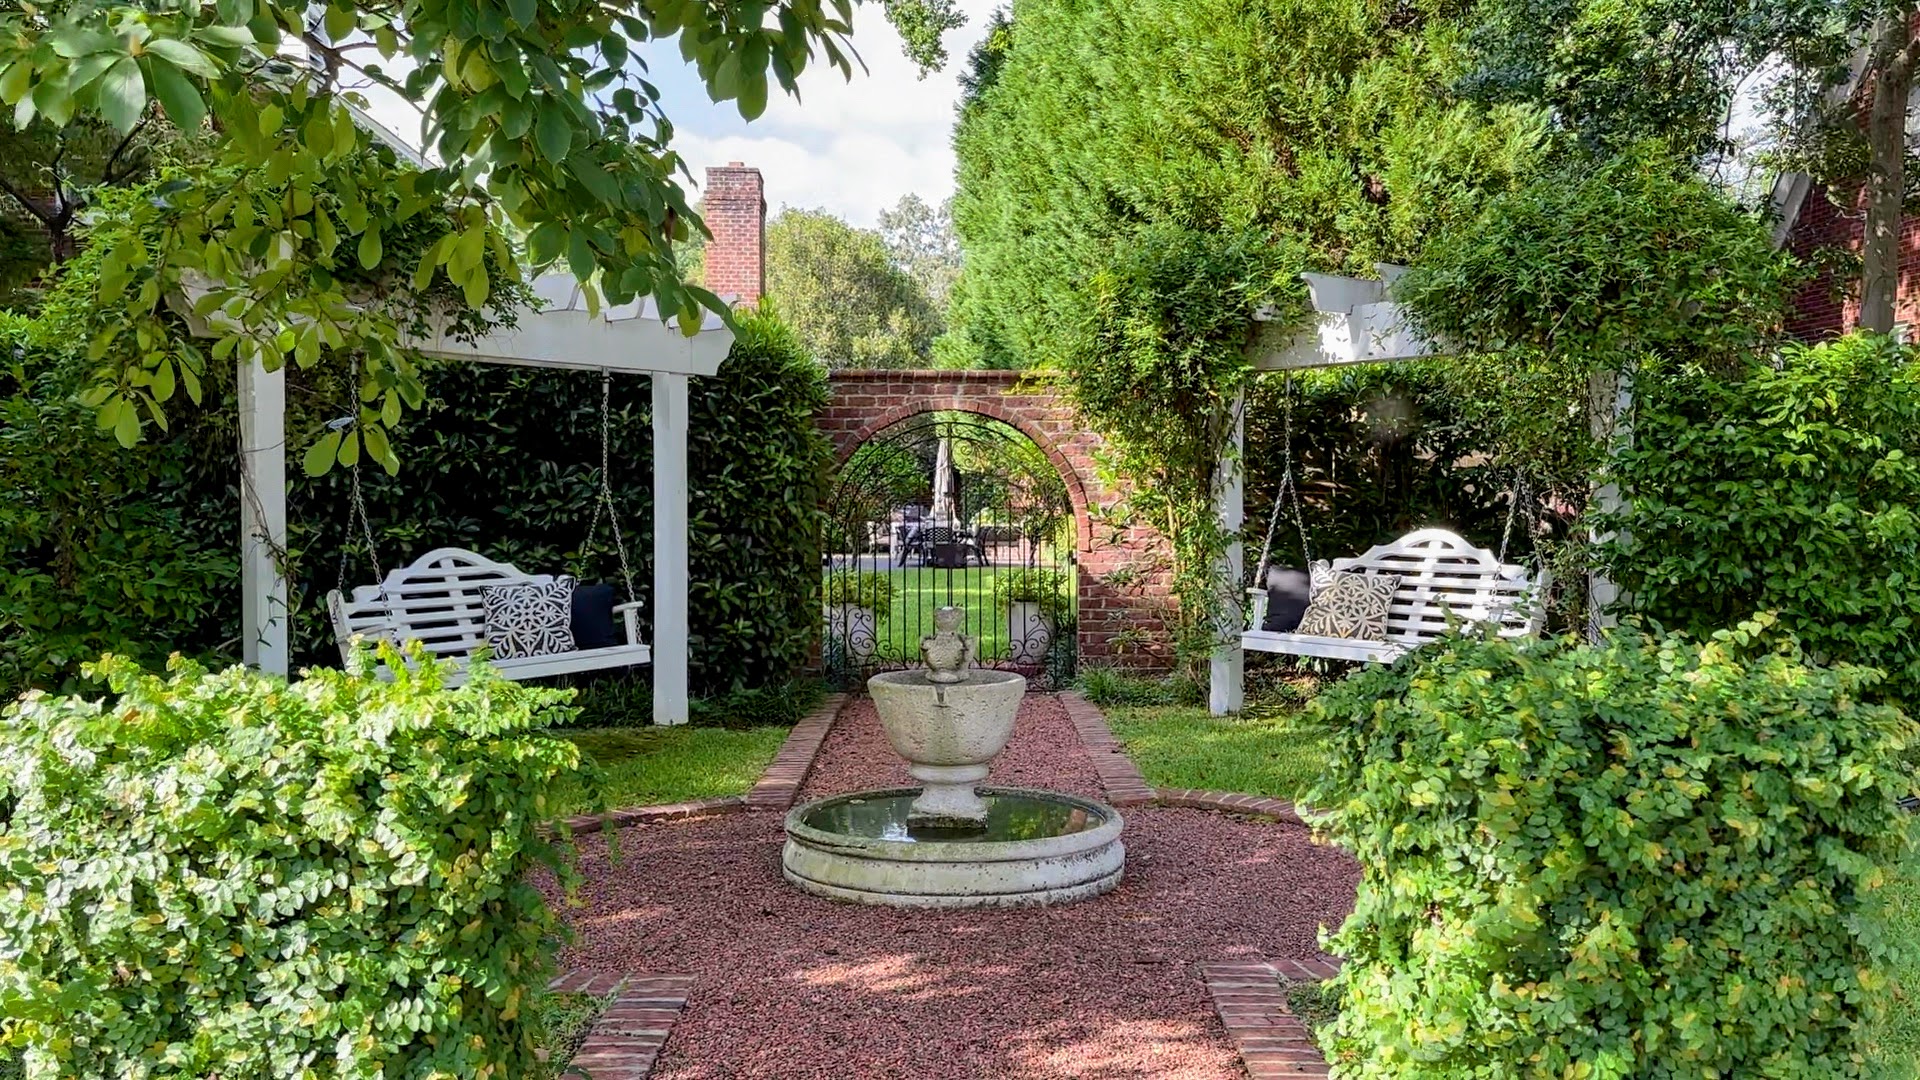
This Anteroom at the side entry to a home’s back area features a nice example of a formal garden with mirrored symmetry.
Episode 2
Garden Design One Room at a Time
In Episode 2 of this series, I explored the idea of conceptualizing outdoor spaces as rooms, and took you on a video tour of my own yard as an example. The idea of thinking about outdoor spaces as rooms seemed to resonate with a lot of you. I’m so glad!
I invite you to take a look at Garden Design One Room at a Time if you haven’t already done so.
“Designing outdoor spaces requires defining those spaces both physically and conceptually. Just as each room in your home was designed with a different purpose and decorated with a particular vibe, outdoor spaces work the same way.”
JHJ, Garden Design One Room at a Time
Using Line & Shape to Define Spaces as Rooms
So, line and shape. How do you shape and define spaces so they feel like rooms? What do you use to create the “walls” if they aren’t already there? How do line and shape influence the way those rooms feel? And how do you learn how to “see” what isn’t there while you consider the possibilities for your spaces? What is the best method for figuring all this out at the beginning of a project, and what is the best method for laying it out once you have decided on a plan?
I talked in One Room at a Time about the fact that in small lots like mine, spaces and shapes are often predetermined; there’s not a lot you can do except work with what’s already there.
For example, the space and shape created between my house and my neighbor’s house which I call my Entry Hall is a given. It is long and narrow and shaped like a hallway, and it functions as one. My Refuge/back yard is defined by the screened porch and the Outbuilding. The Wayback is defined by the back of the Outbuilding and the back property line.
Had my house and outbuilding been built on a larger lot or out in the country, though, it is likely that they would not be so close together or so close to the property lines. The spaces would be much less constrained by the footprint of the property and less defined by the placement of the structures on it. So, dealing with larger spaces requires that you shape your spaces before shaping the beds within them. That’s the topic of this episode.
In addition to all this, we’ll look at some of the aspects of line and shape that characterize formal designs versus more informal designs so you can get some ideas about how you might use these ideas in your own spaces.
Table of Contents
Navigate back and forth between sections with these links. At the bottom of each section is a link back to the Table of Contents if you want to look around between rooms. You can also use the dots at the right of your screen to navigate between sections. Enjoy!
Developing Your Design Eye (Yes, You Can!)
Using Landscape Elements to Define Spaces as Rooms
Line and Shape in Formal Gardens
Line and Shape in Informal Gardens
Your Space is Your Canvas
I think about creating outdoor space as an artistic endeavor, where the yard is your canvas, and you create using the elements of art: line, shape, texture, form, space, color, value, and materials.
Now, before you run screaming, “I can’t draw!” and, “I don’t have an artistic bone in my body!” think again.
Because if you know when you look at something that you like it, that it is beautiful—even if you can’t say why—you are tapping into the artistic part of your brain. And every part of your brain can be developed—if you want to develop it. We grow through experience and practice. So if this is something you wish for yourself, stay with me, friends! Fear not! You can do this.
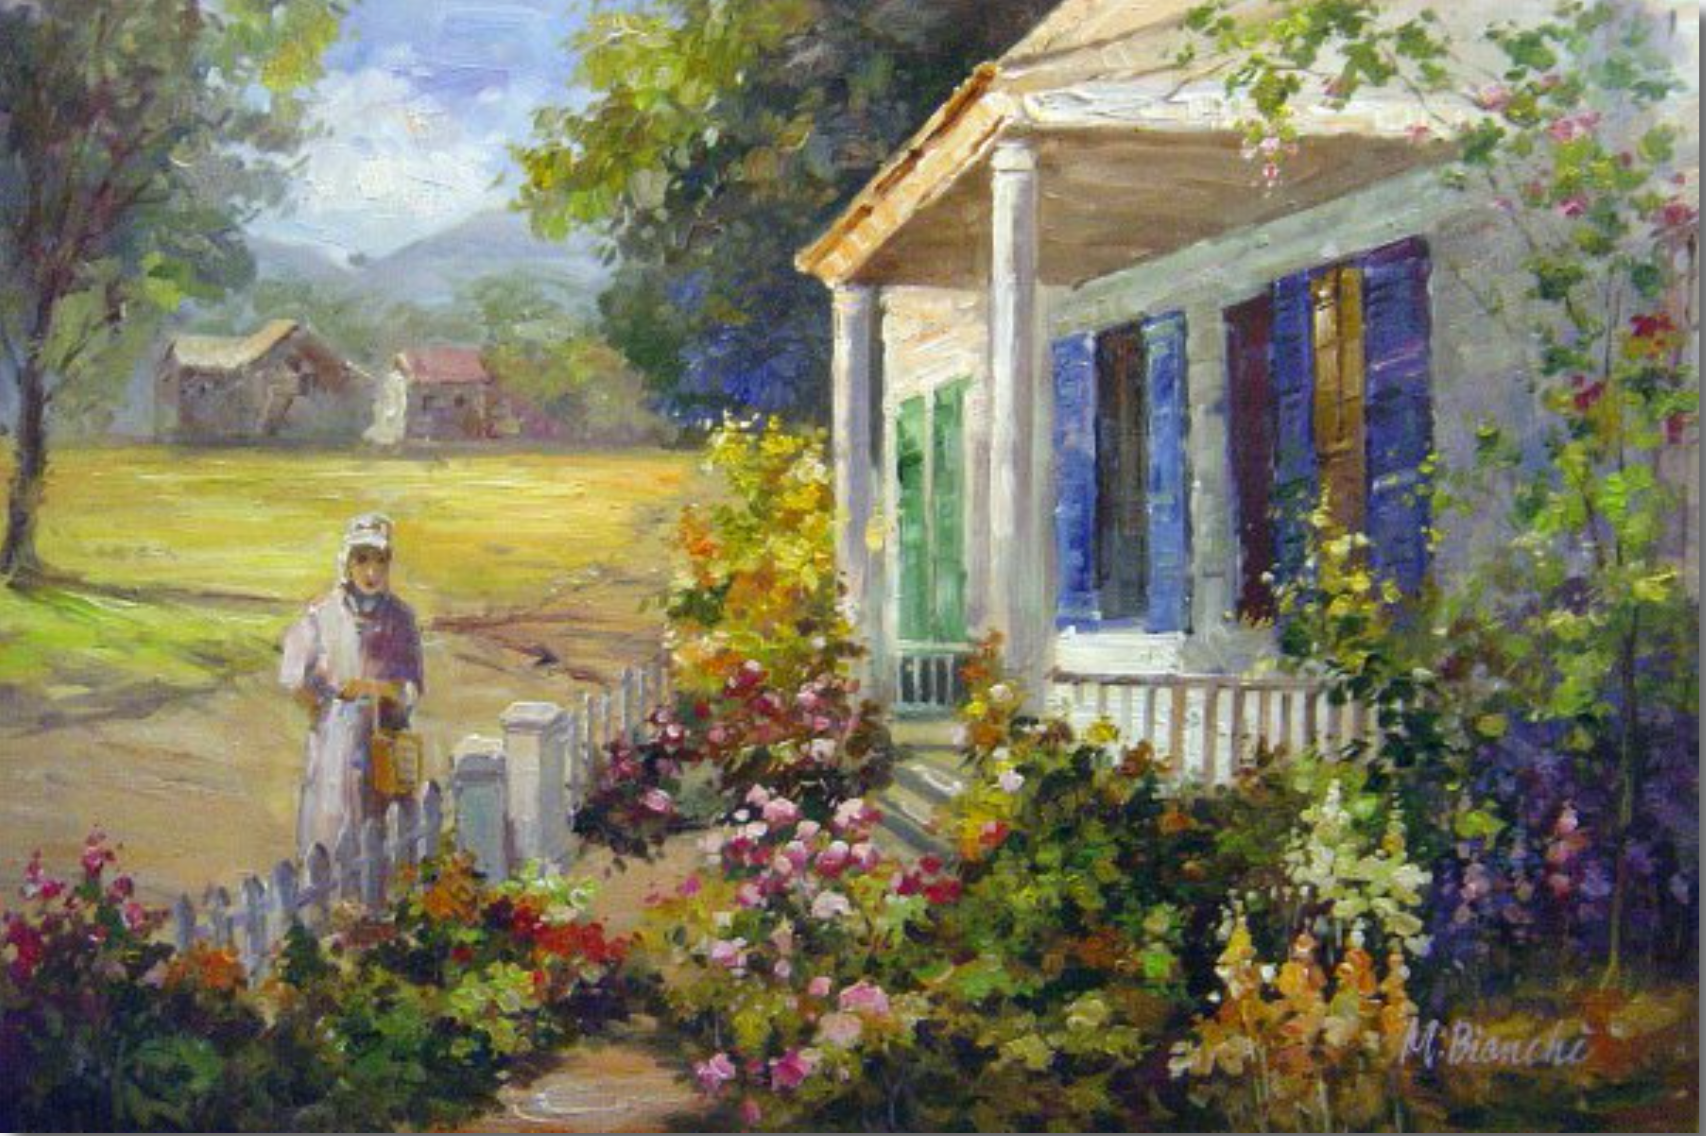
A Summer Garden (1924) by Abbott Fuller Graves (1859-1936).
Me? Develop a Design Eye?
Yes. You. You can.
All abilities can be developed through time and practice. In my mind, developing a design eye requires two things:
- Pausing when you see something that speaks to you and then analyzing its elements to figure out what it is that you like about it, and
- Developing your ability through time and practice to imagine what isn’t already there. This means learning (this is not an inborn ability, people) to see past the present into the possible. As my mom used to say about houses and gardens that might have looked rough to others: “That place has possibilities.”
Practice imaging what isn’t already there. This is something we learn how to do. Give yourself time and practice to learn how to see past the present to the possibilities.
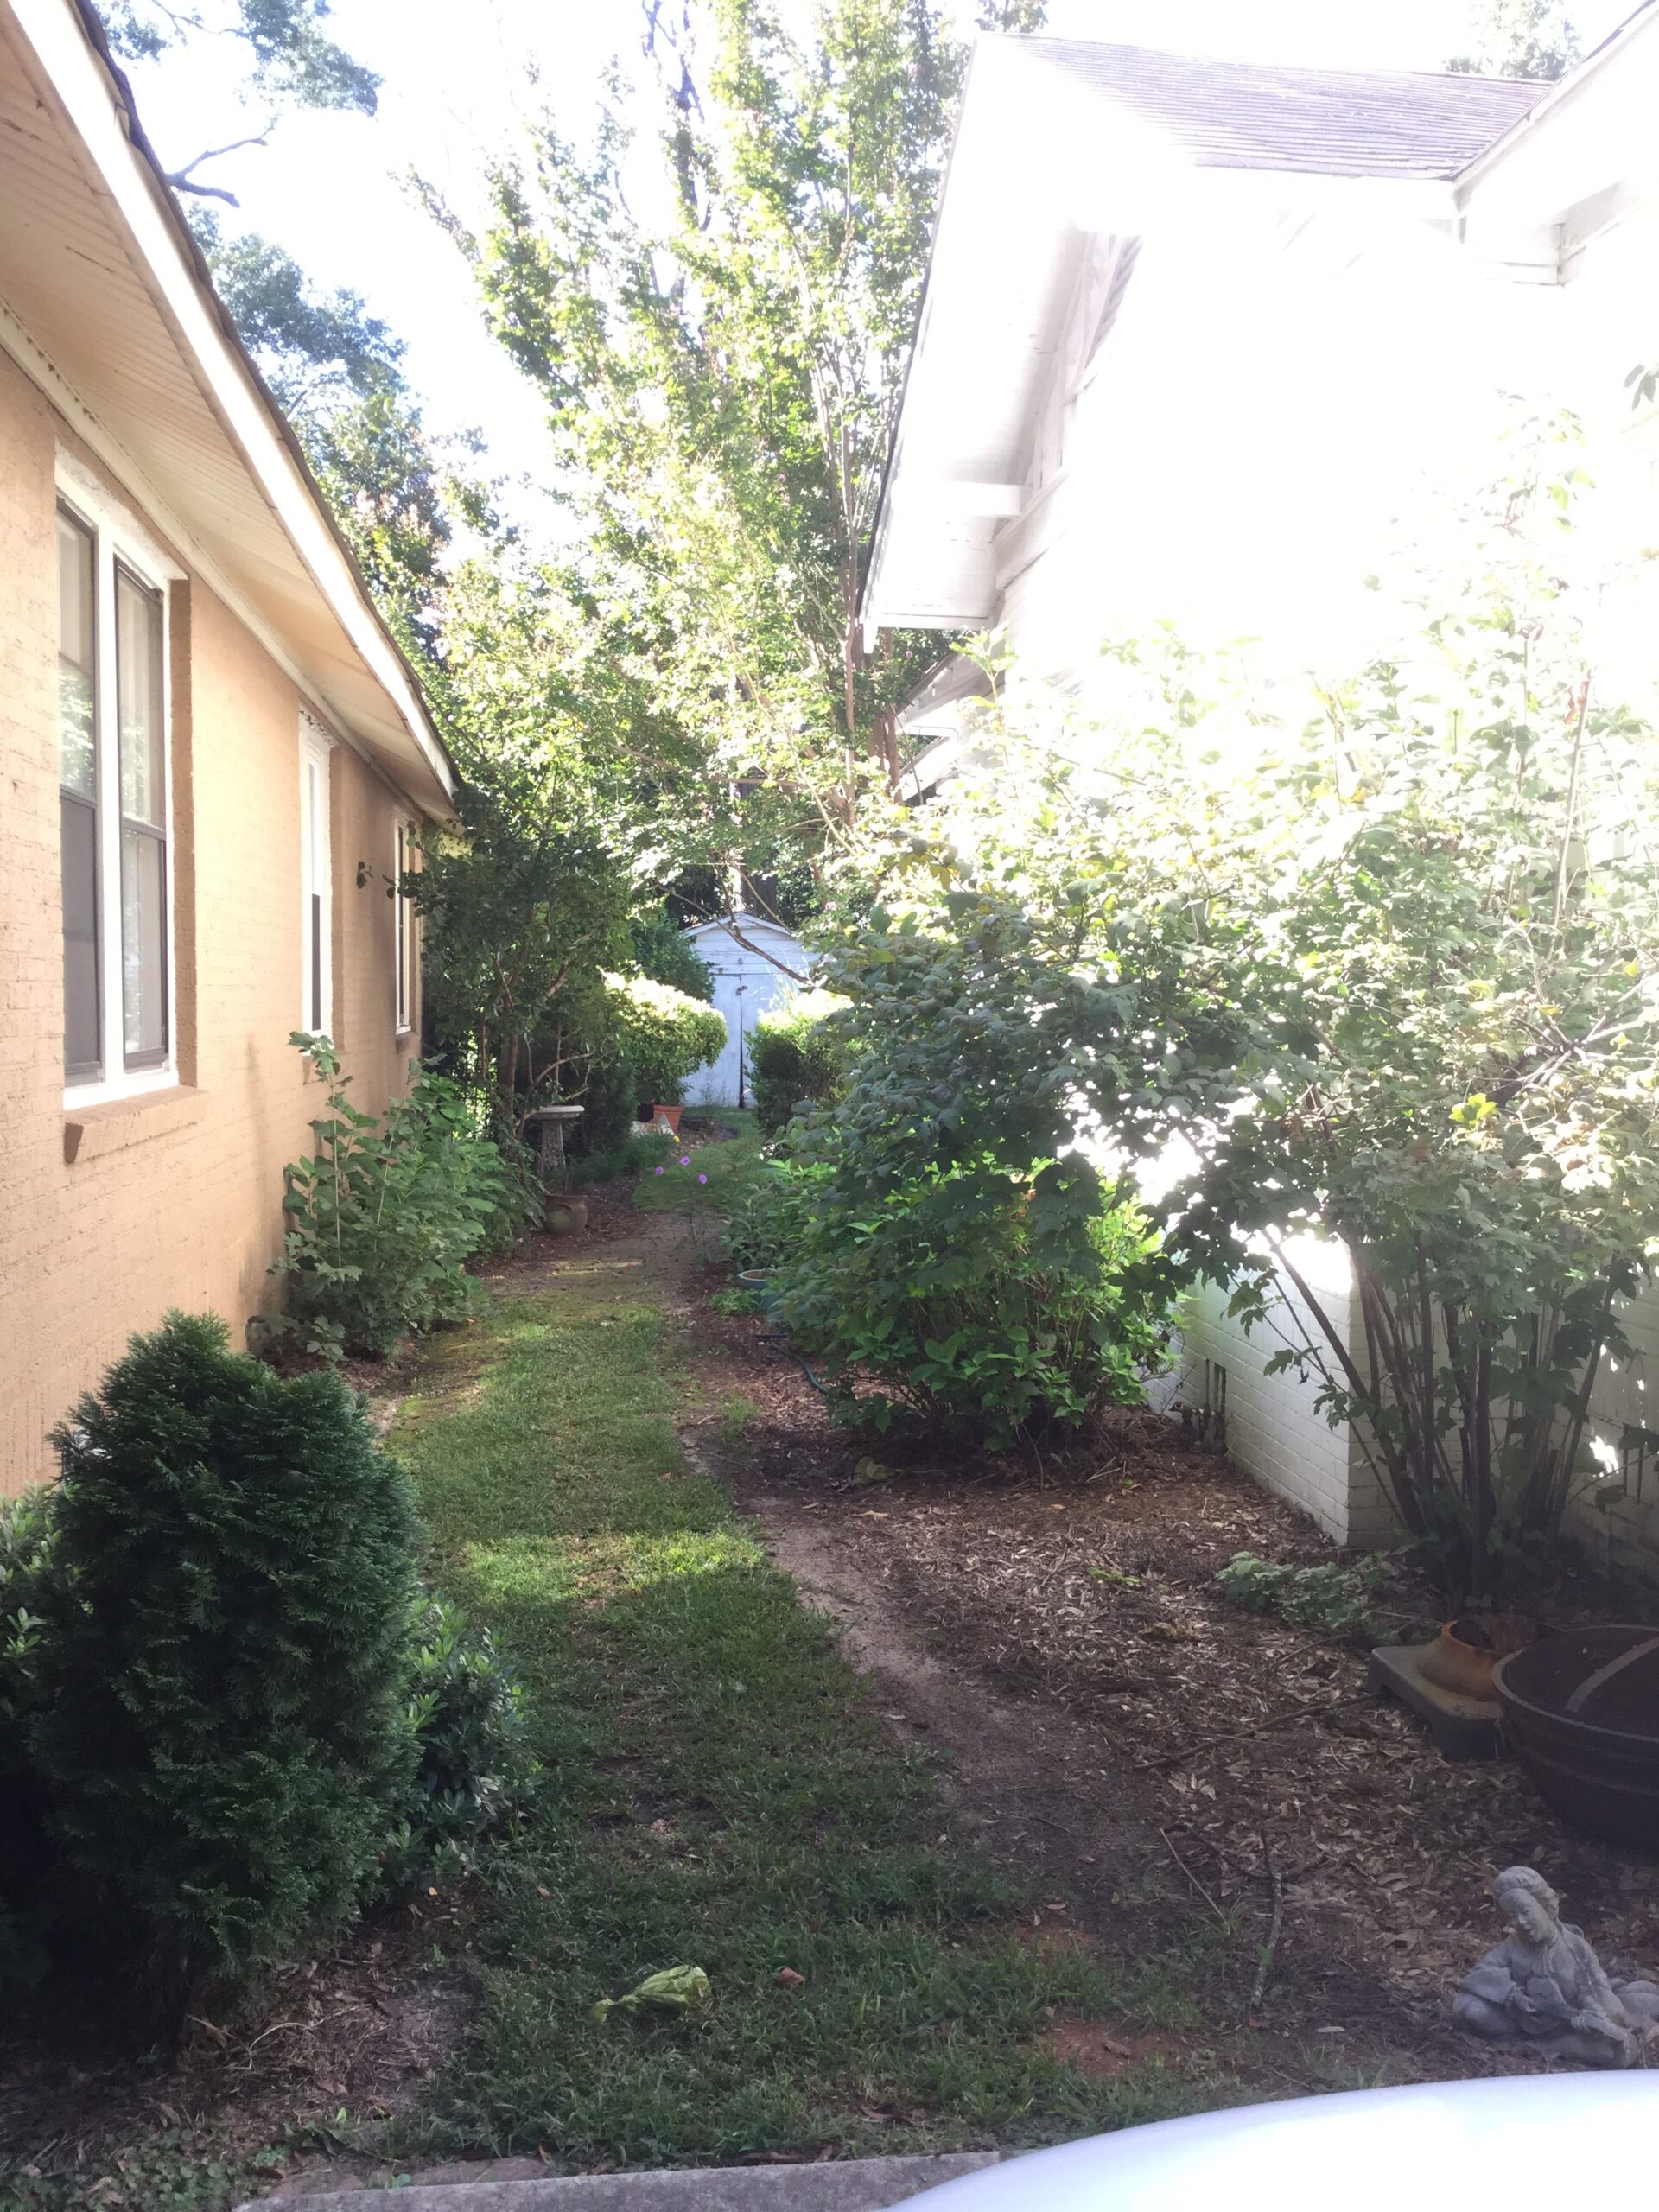
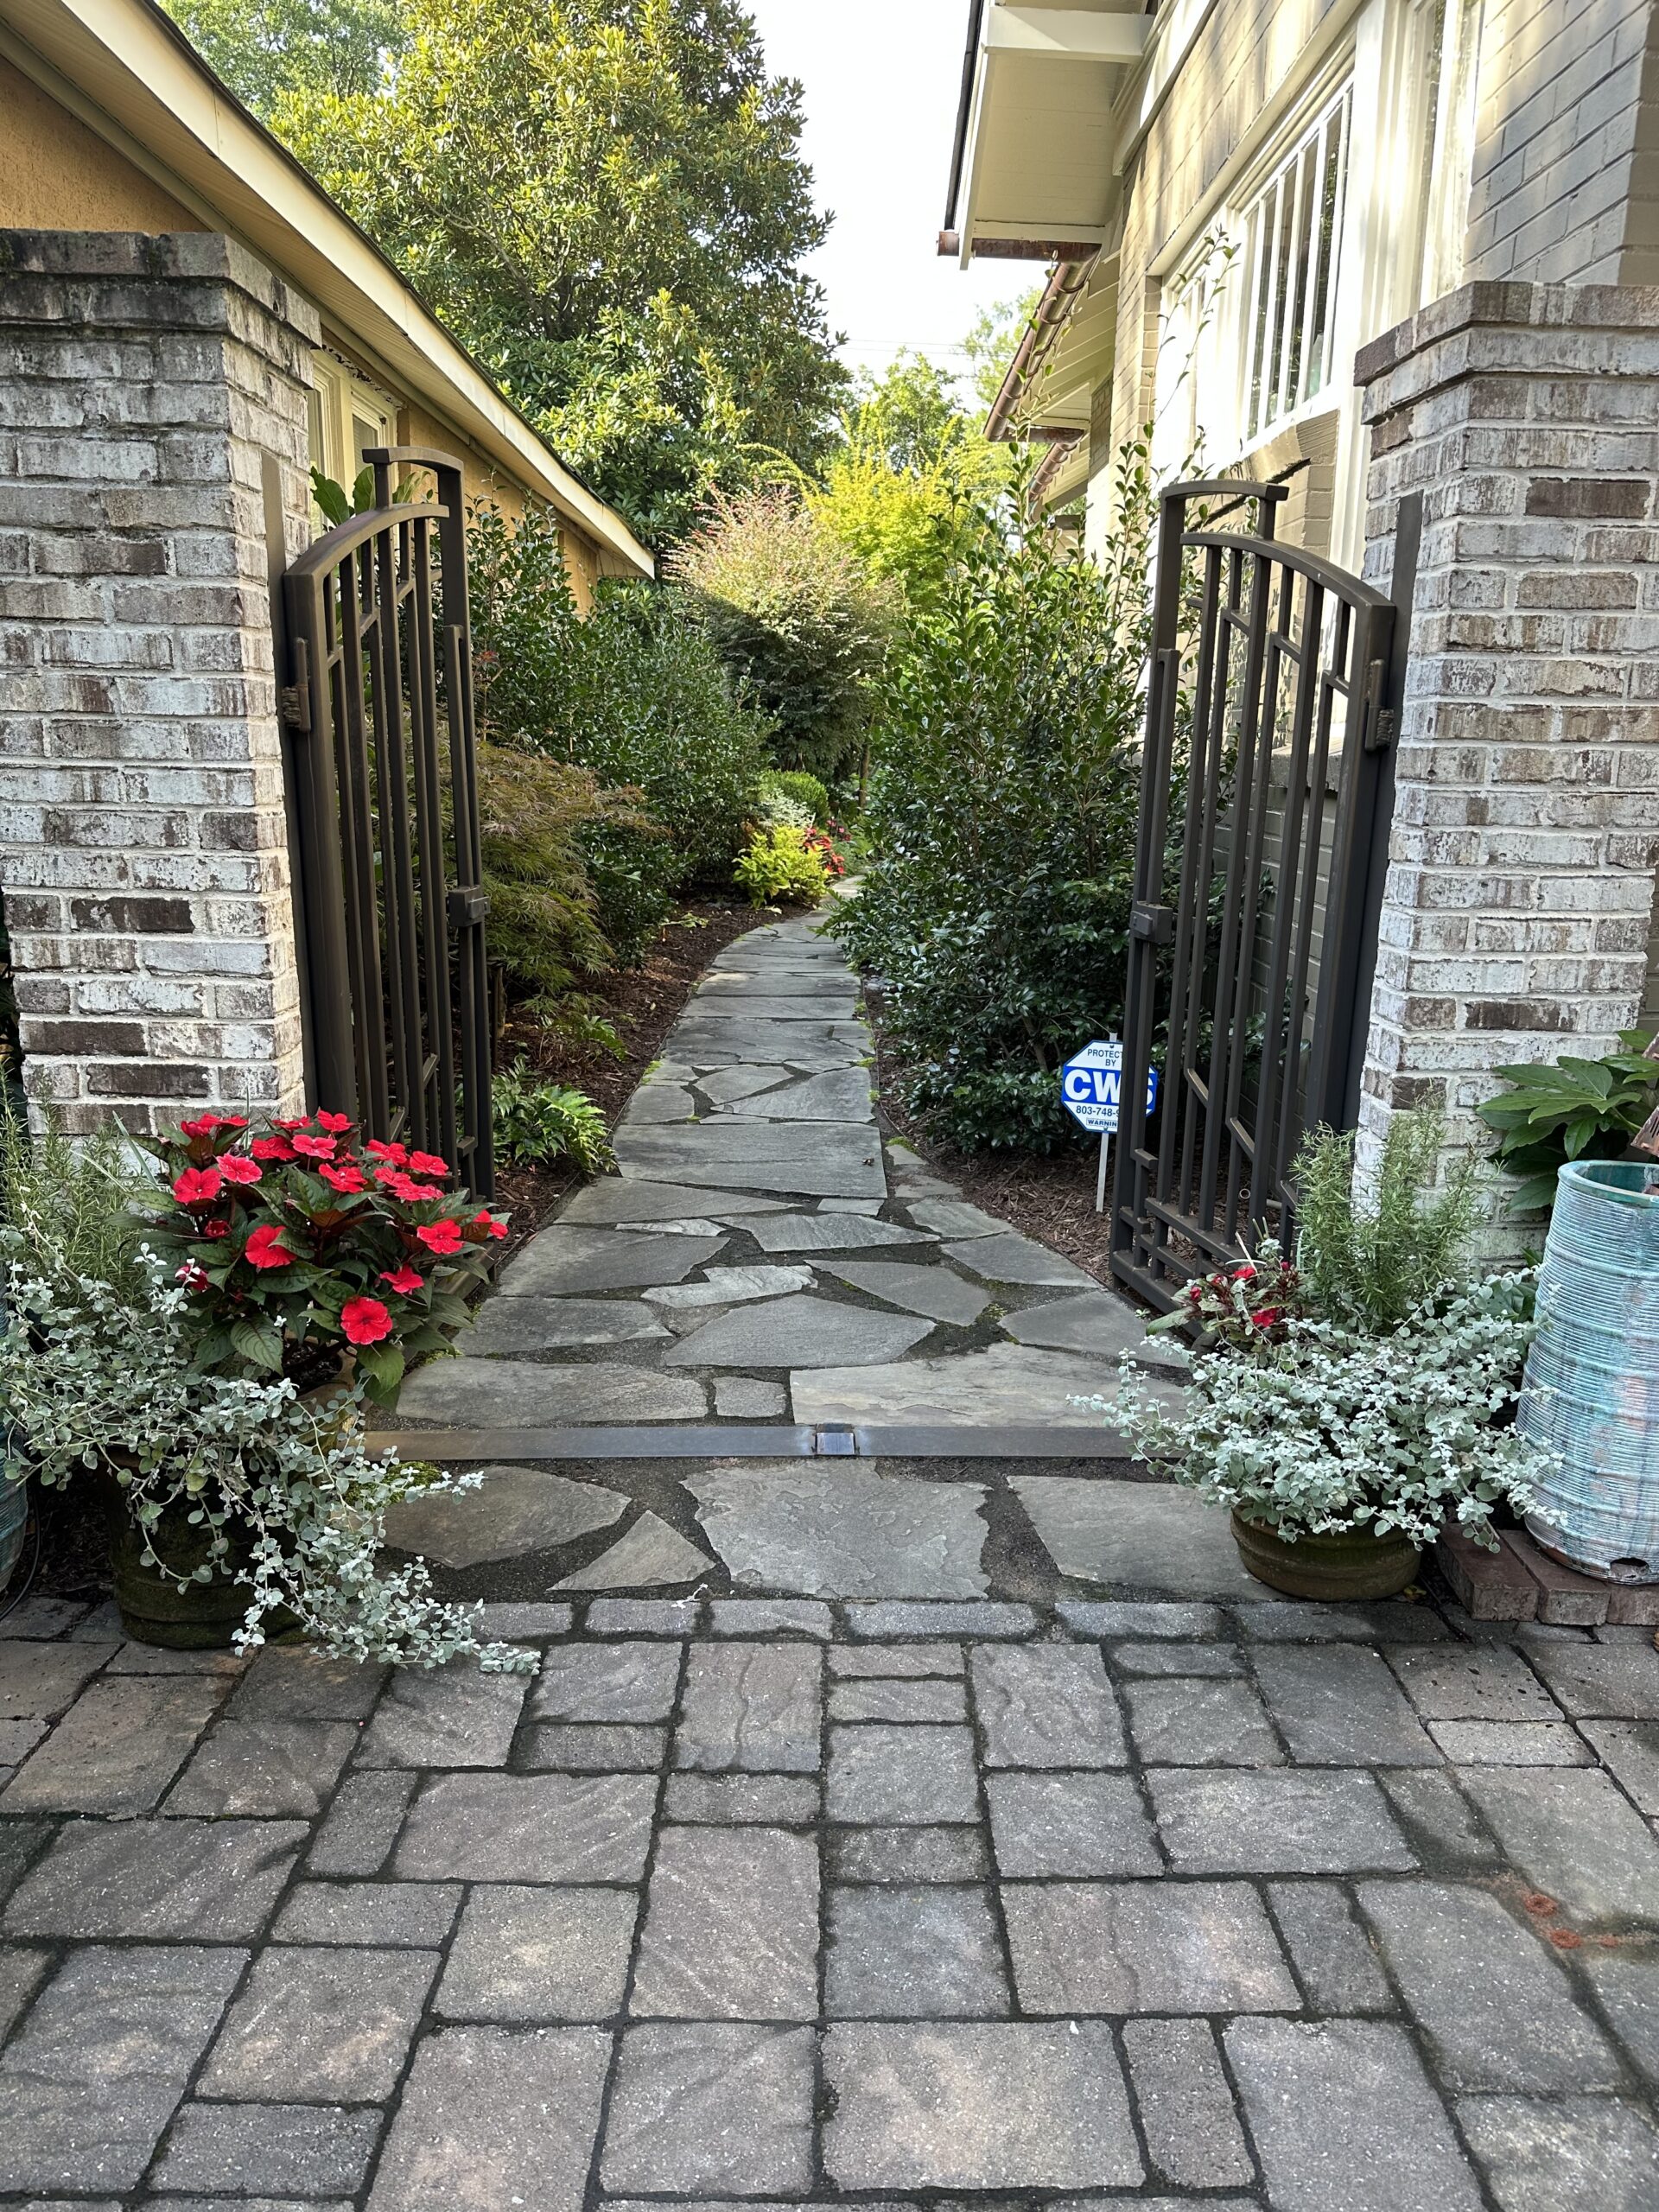
Learning to see past the present into the possible. Above is my Entry Hall before our 2017 redesign project. Below is what it looks like today.
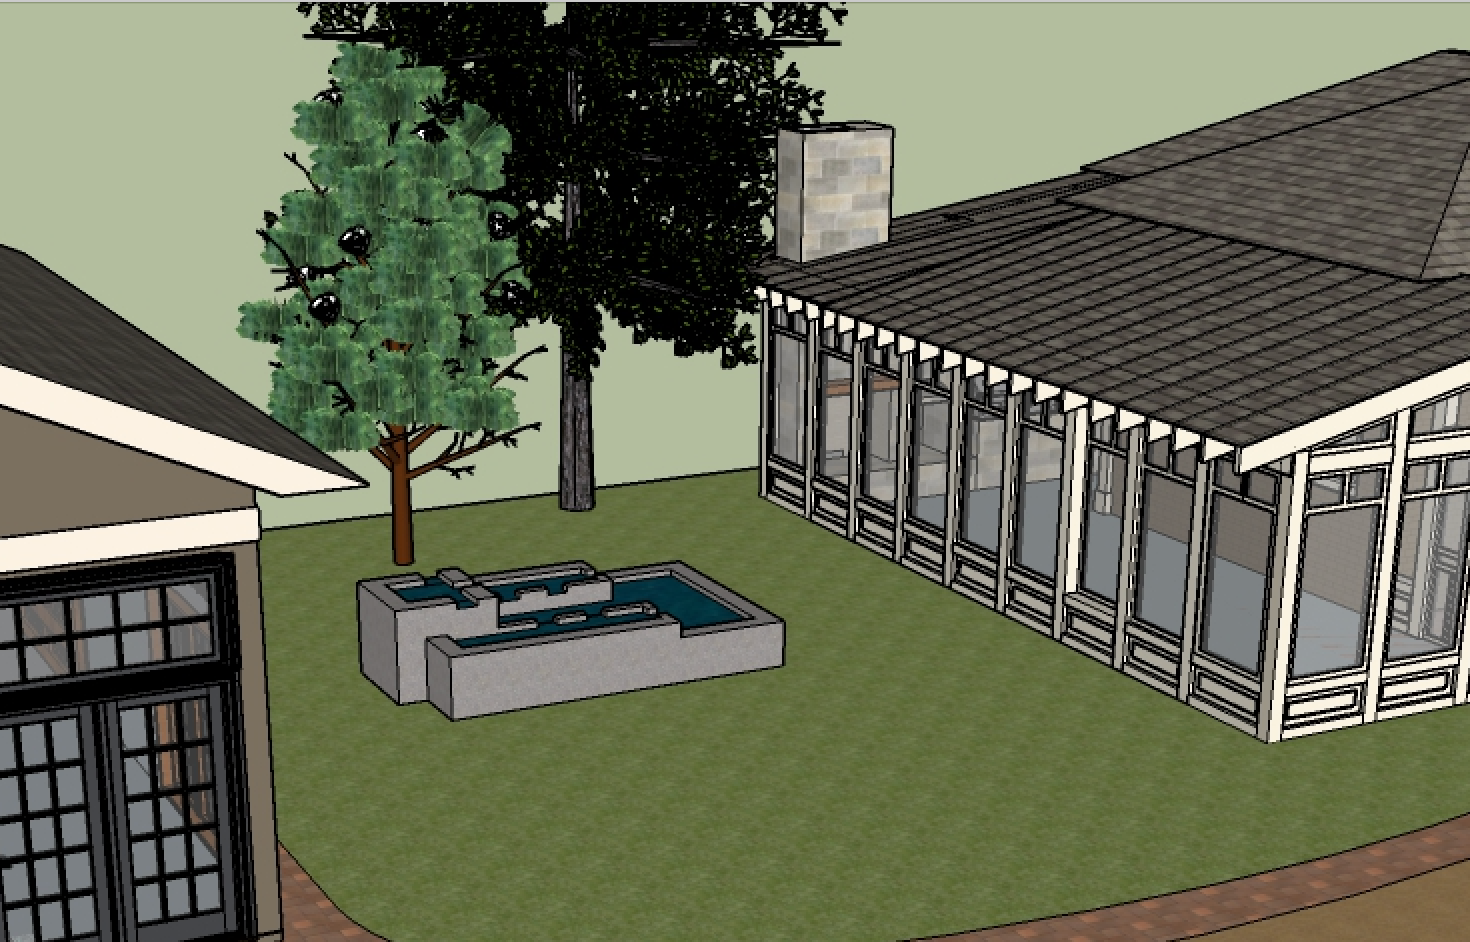
This is an early sketch I did in Google Sketchup of the backyard including a fountain and waterfall in the middle of the yard that was to house koi. Obviously, this idea went by the wayside due to space and cost. But I spent a lot of time imagining what that water feature might look like and how it might work.
I do like what we did instead (below).
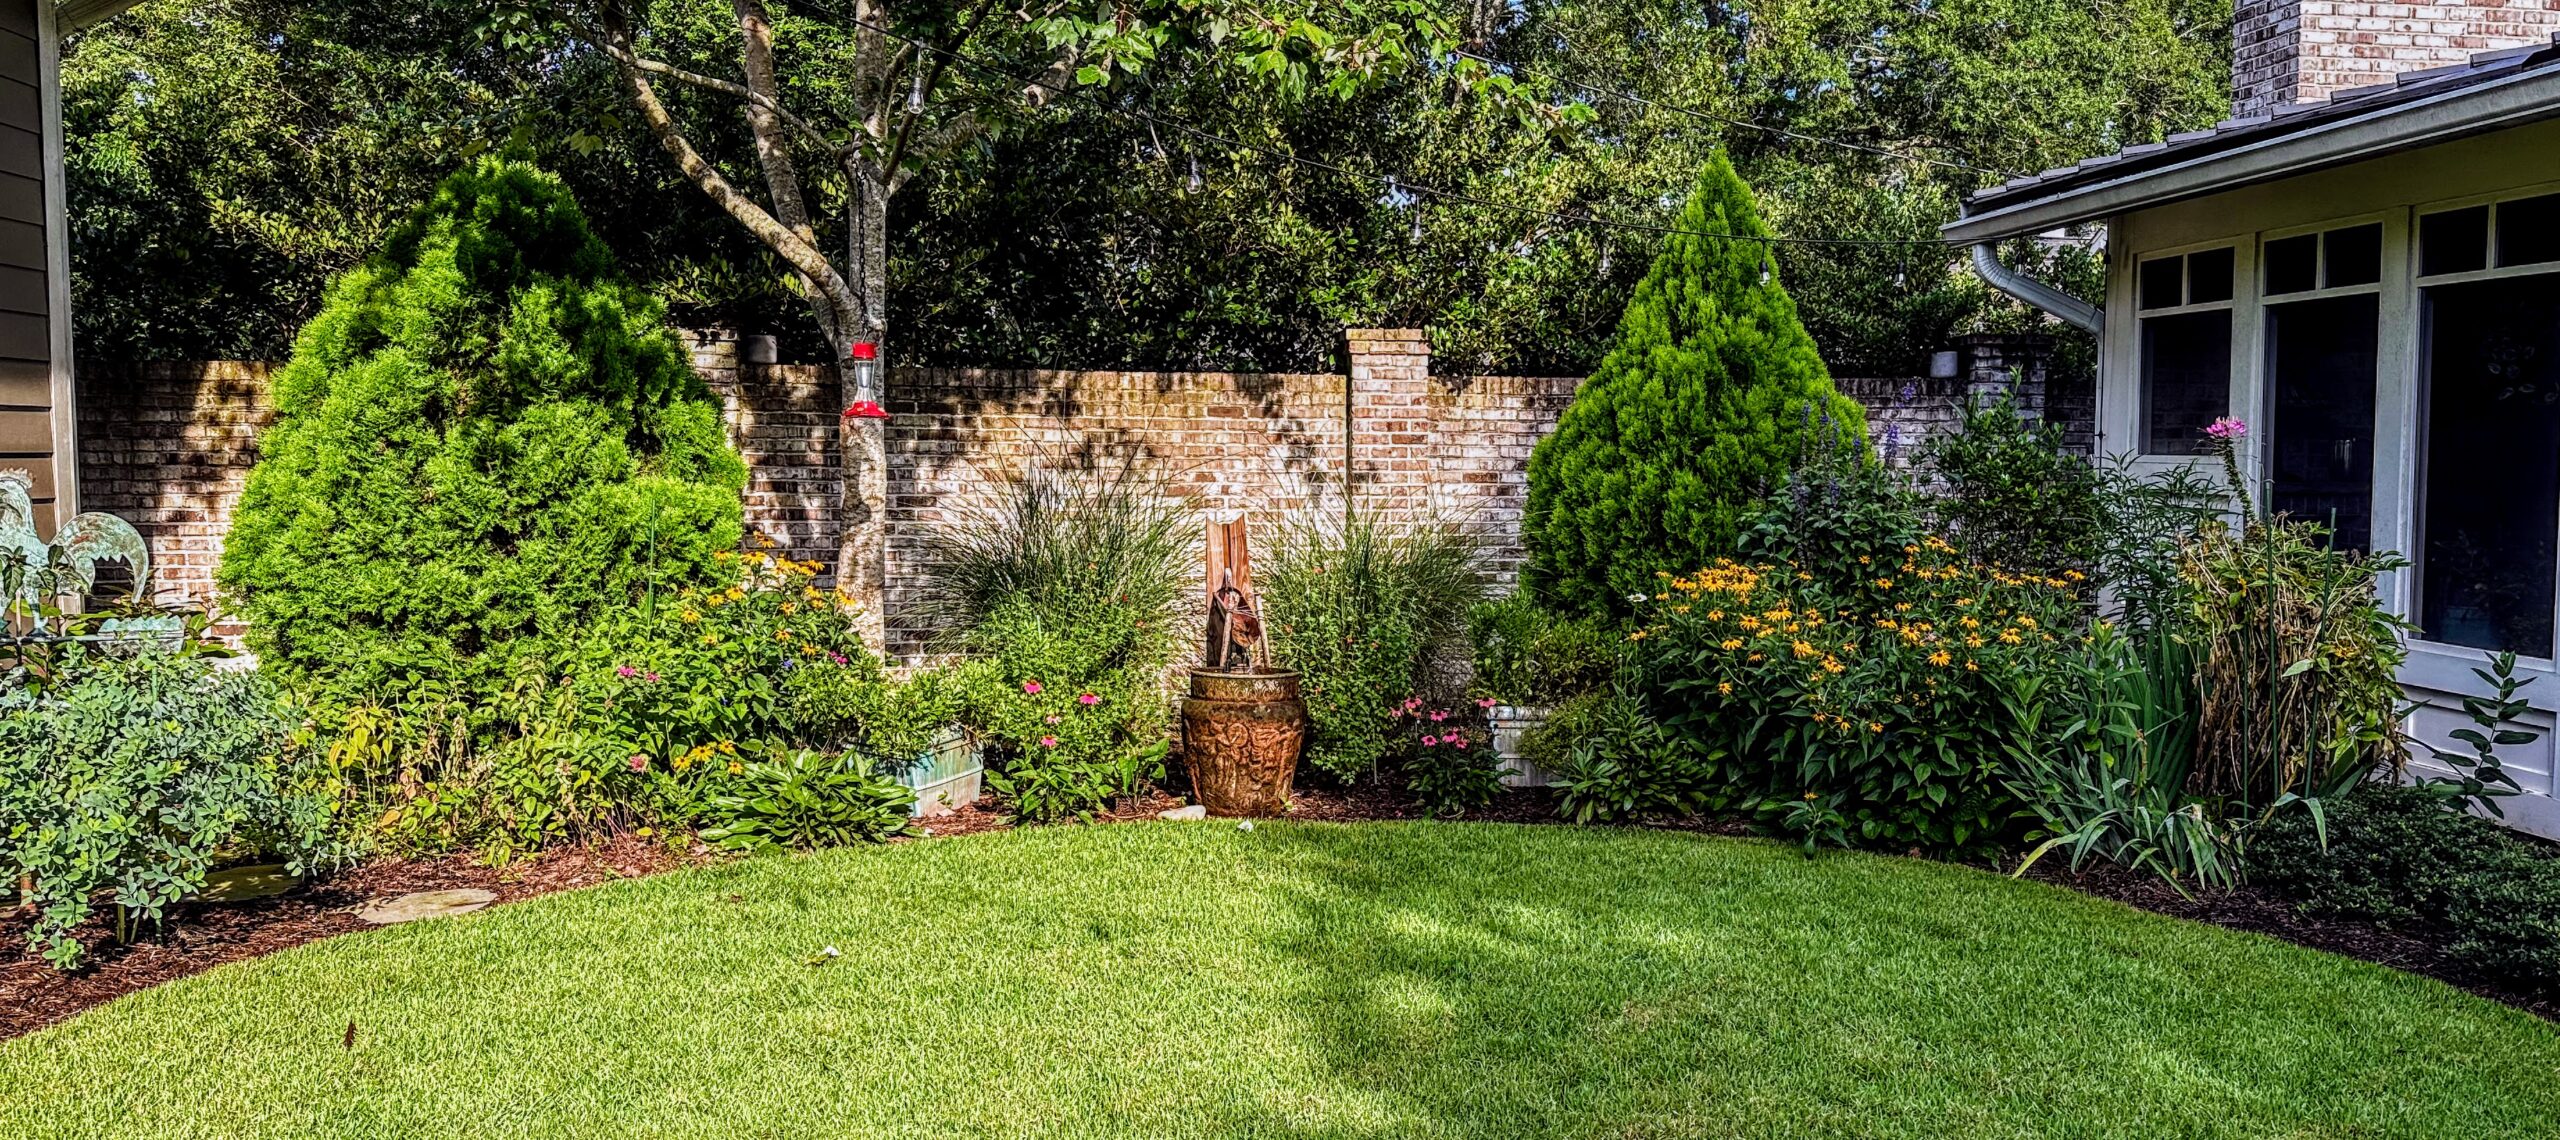
Sketching Ideas
Designing and shaping outdoor spaces and the beds within them is much like what artists do when they make an initial sketch or study. Just as artists often do multiple sketches before actually beginning a piece (and make many more changes along the way) you should feel free to sketch out your ideas on the ground and on paper, and try out a number of ideas before committing to digging your first hole.
So, how?
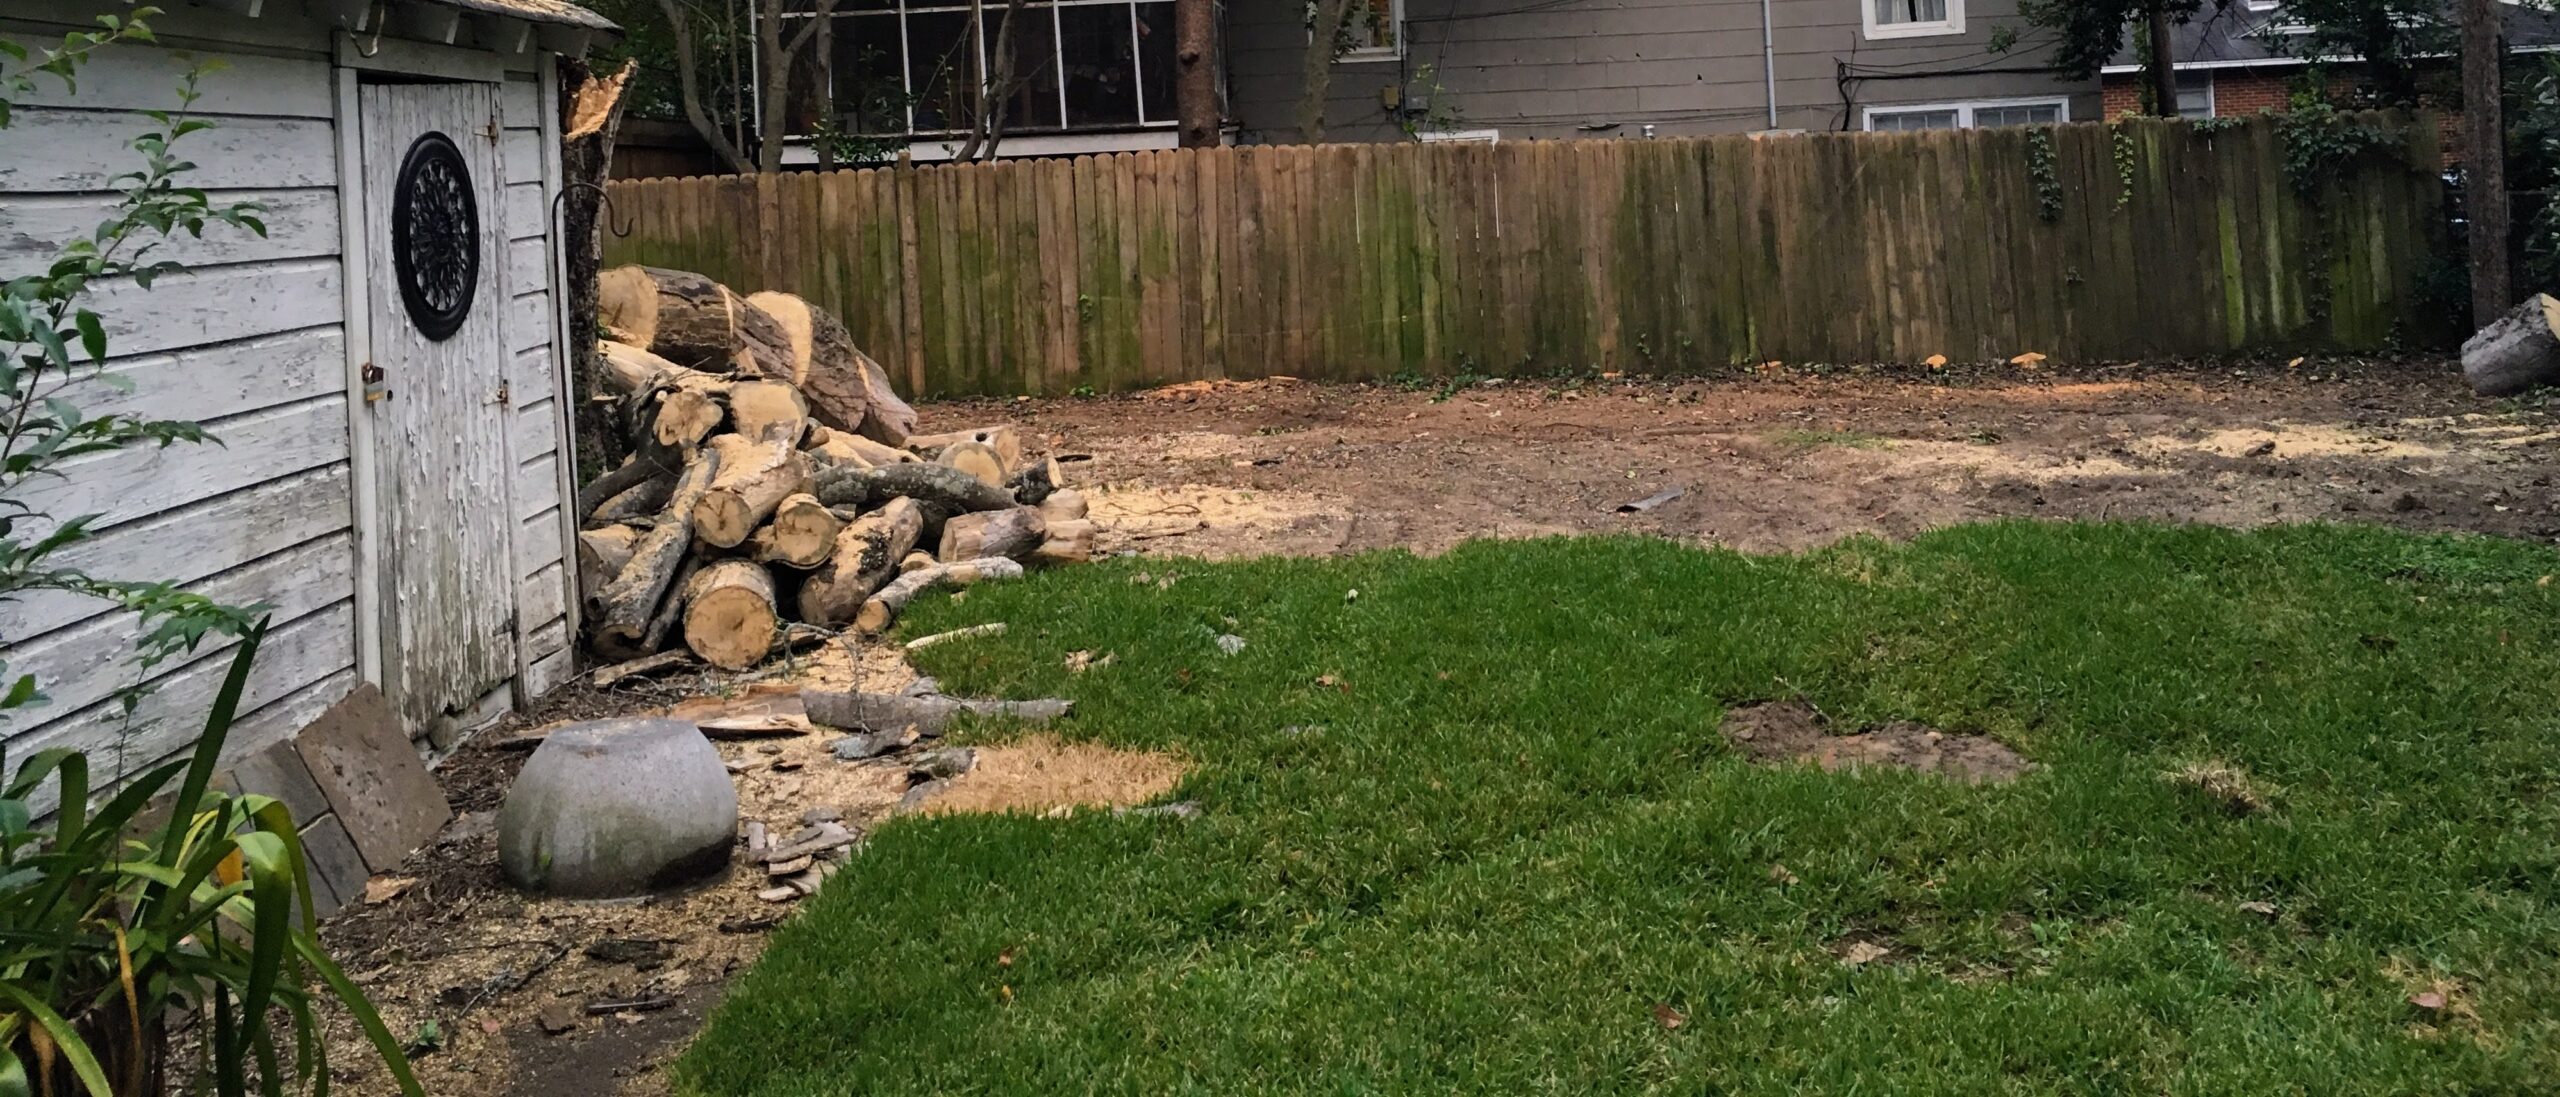
For me, I have to mark out space and move around in it, walk away and come back. Sleep on it. I tried a number of configurations in the backyard before landing on placement of the outbuilding. Part of what made it hard was the old garage and dead tree in the middle of everything!
Defining Rooms: Learning How to Imagine Space
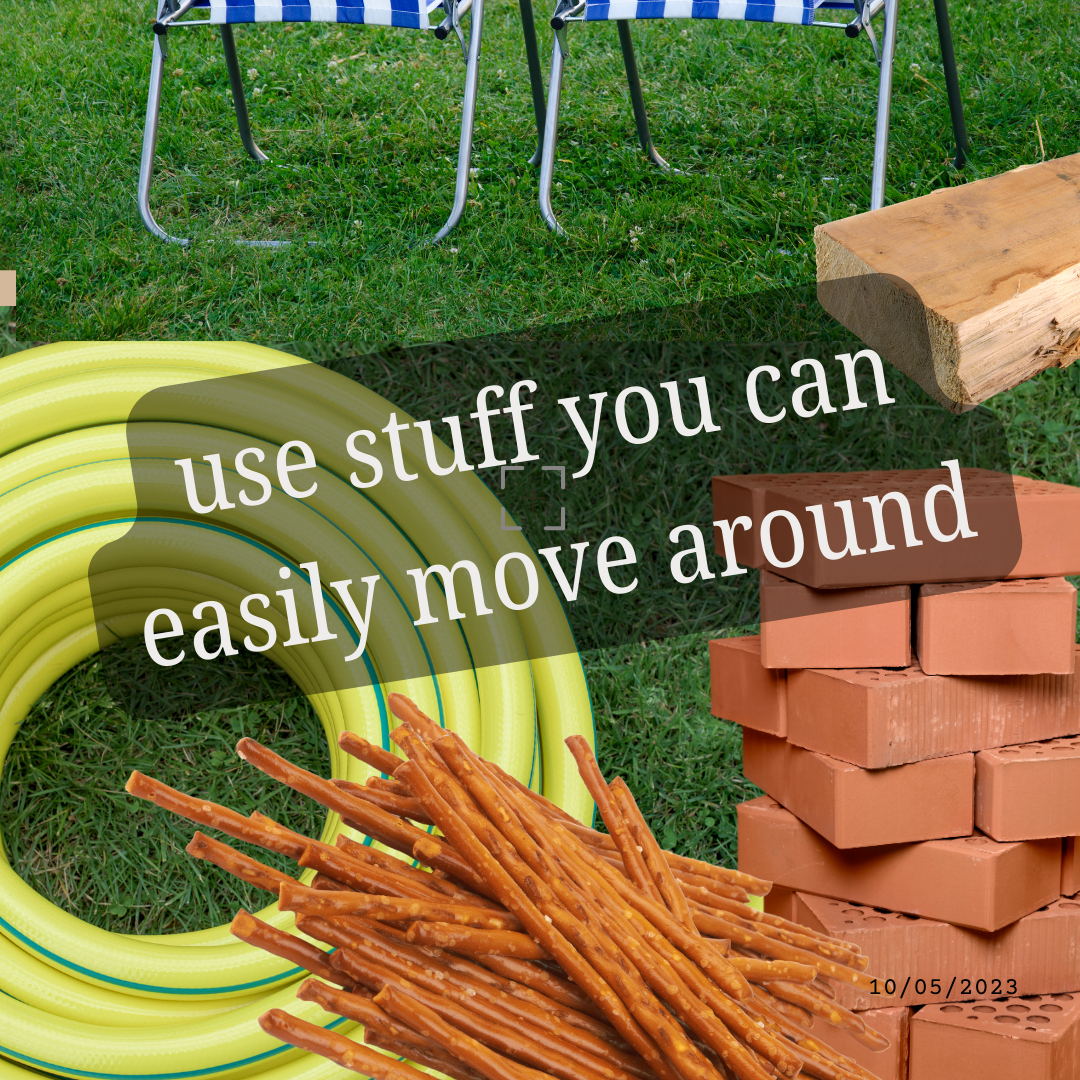
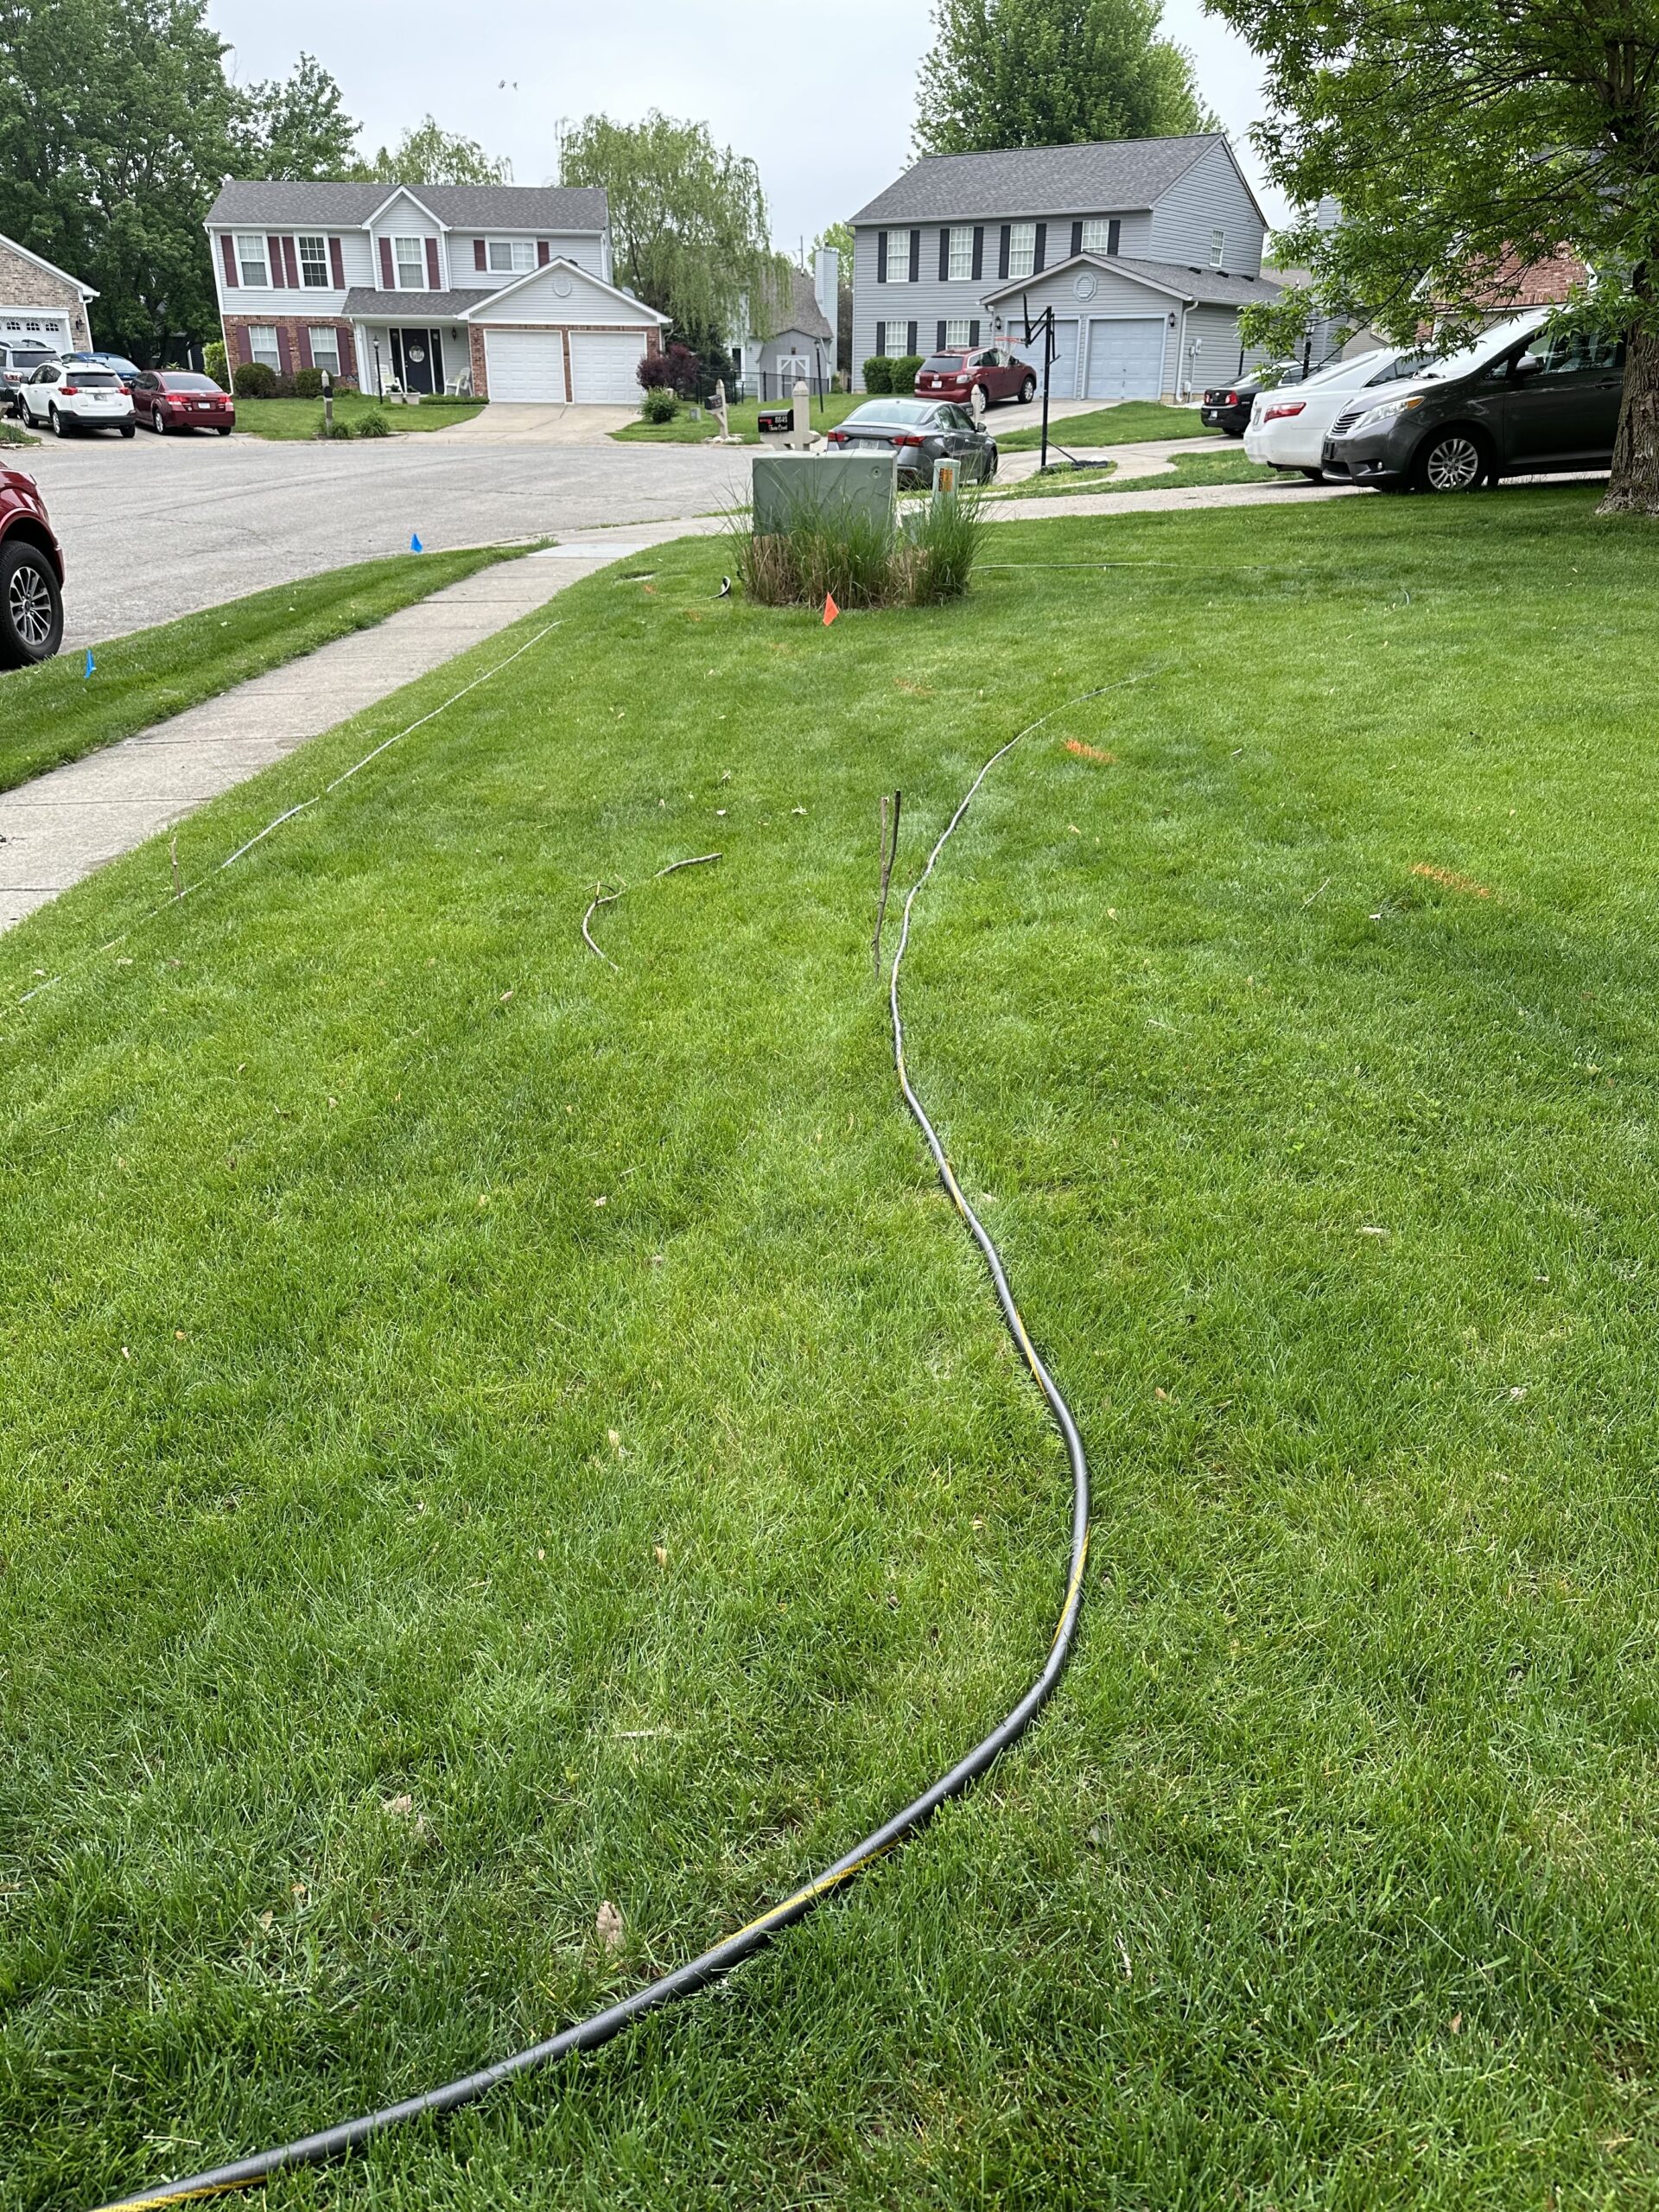
When defining possible rooms, you will have to imagine walls where there are none. And if you are like me, you have a hard time seeing what isn’t (yet) there. So, I suggest using objects to help you sketch your ideas on the ground. These could be anything easily moved—a hose, pieces of lumber, firewood, bricks, lawn chairs—whatever you can grab to place around the perimeter of the room you are trying to define to visually mark out the edges of the space so you can see it and move around in it.
When I was in planning stages, that dead tree was still standing and there were overgrown redbuds along that fence. Visualizing was hard without laying down objects on the ground! This photo shows what is now my Wayback and the Outbuilding.
Michael will tell you he found me out in our old backyard many times measuring between pieces of wood I stuck into the ground or dropped on the ground to mark the edges of what then were just imagined spaces.
Rich and Katie’s border garden was designed to create a wall between the street and their back yard. A row of arborvitae was planned to create a privacy wall and an an arbor was planned to create an entrance into the yard from the street. During the planning stages, we used sticks to mark the entry where the arbor would eventually be built, and a hose to mark the edges of the bed we were planning. Once we got the size and shape the way we wanted it, we marked it with paint.
What’s important during the sketching and planning phase is to use things that are easy to move around so you can visually play with space until you get it the way you want it.
Using Landscape Elements to Define Spaces as Rooms
Once you have roughed out the general size and shape of a room, it’s time to think a bit more about the landscape elements you might use to create the walls.
Again, at Rich and Katie’s, we used a line of dwarf arborvitae that will eventually grow to a height of 8-10′ to create the wall that defines their back yard. And we built a gorgeous arbor to create the sense of a doorway. After they stain the arbor, Katie plans to grow climbing roses on it.
So, here’s a list I came up with…what else can you think of?
- Existing structures
- Property lines
- Fences of various types and heights
- Brick or stone walls
- Trees and shrubs
- Hedges
- Retaining walls
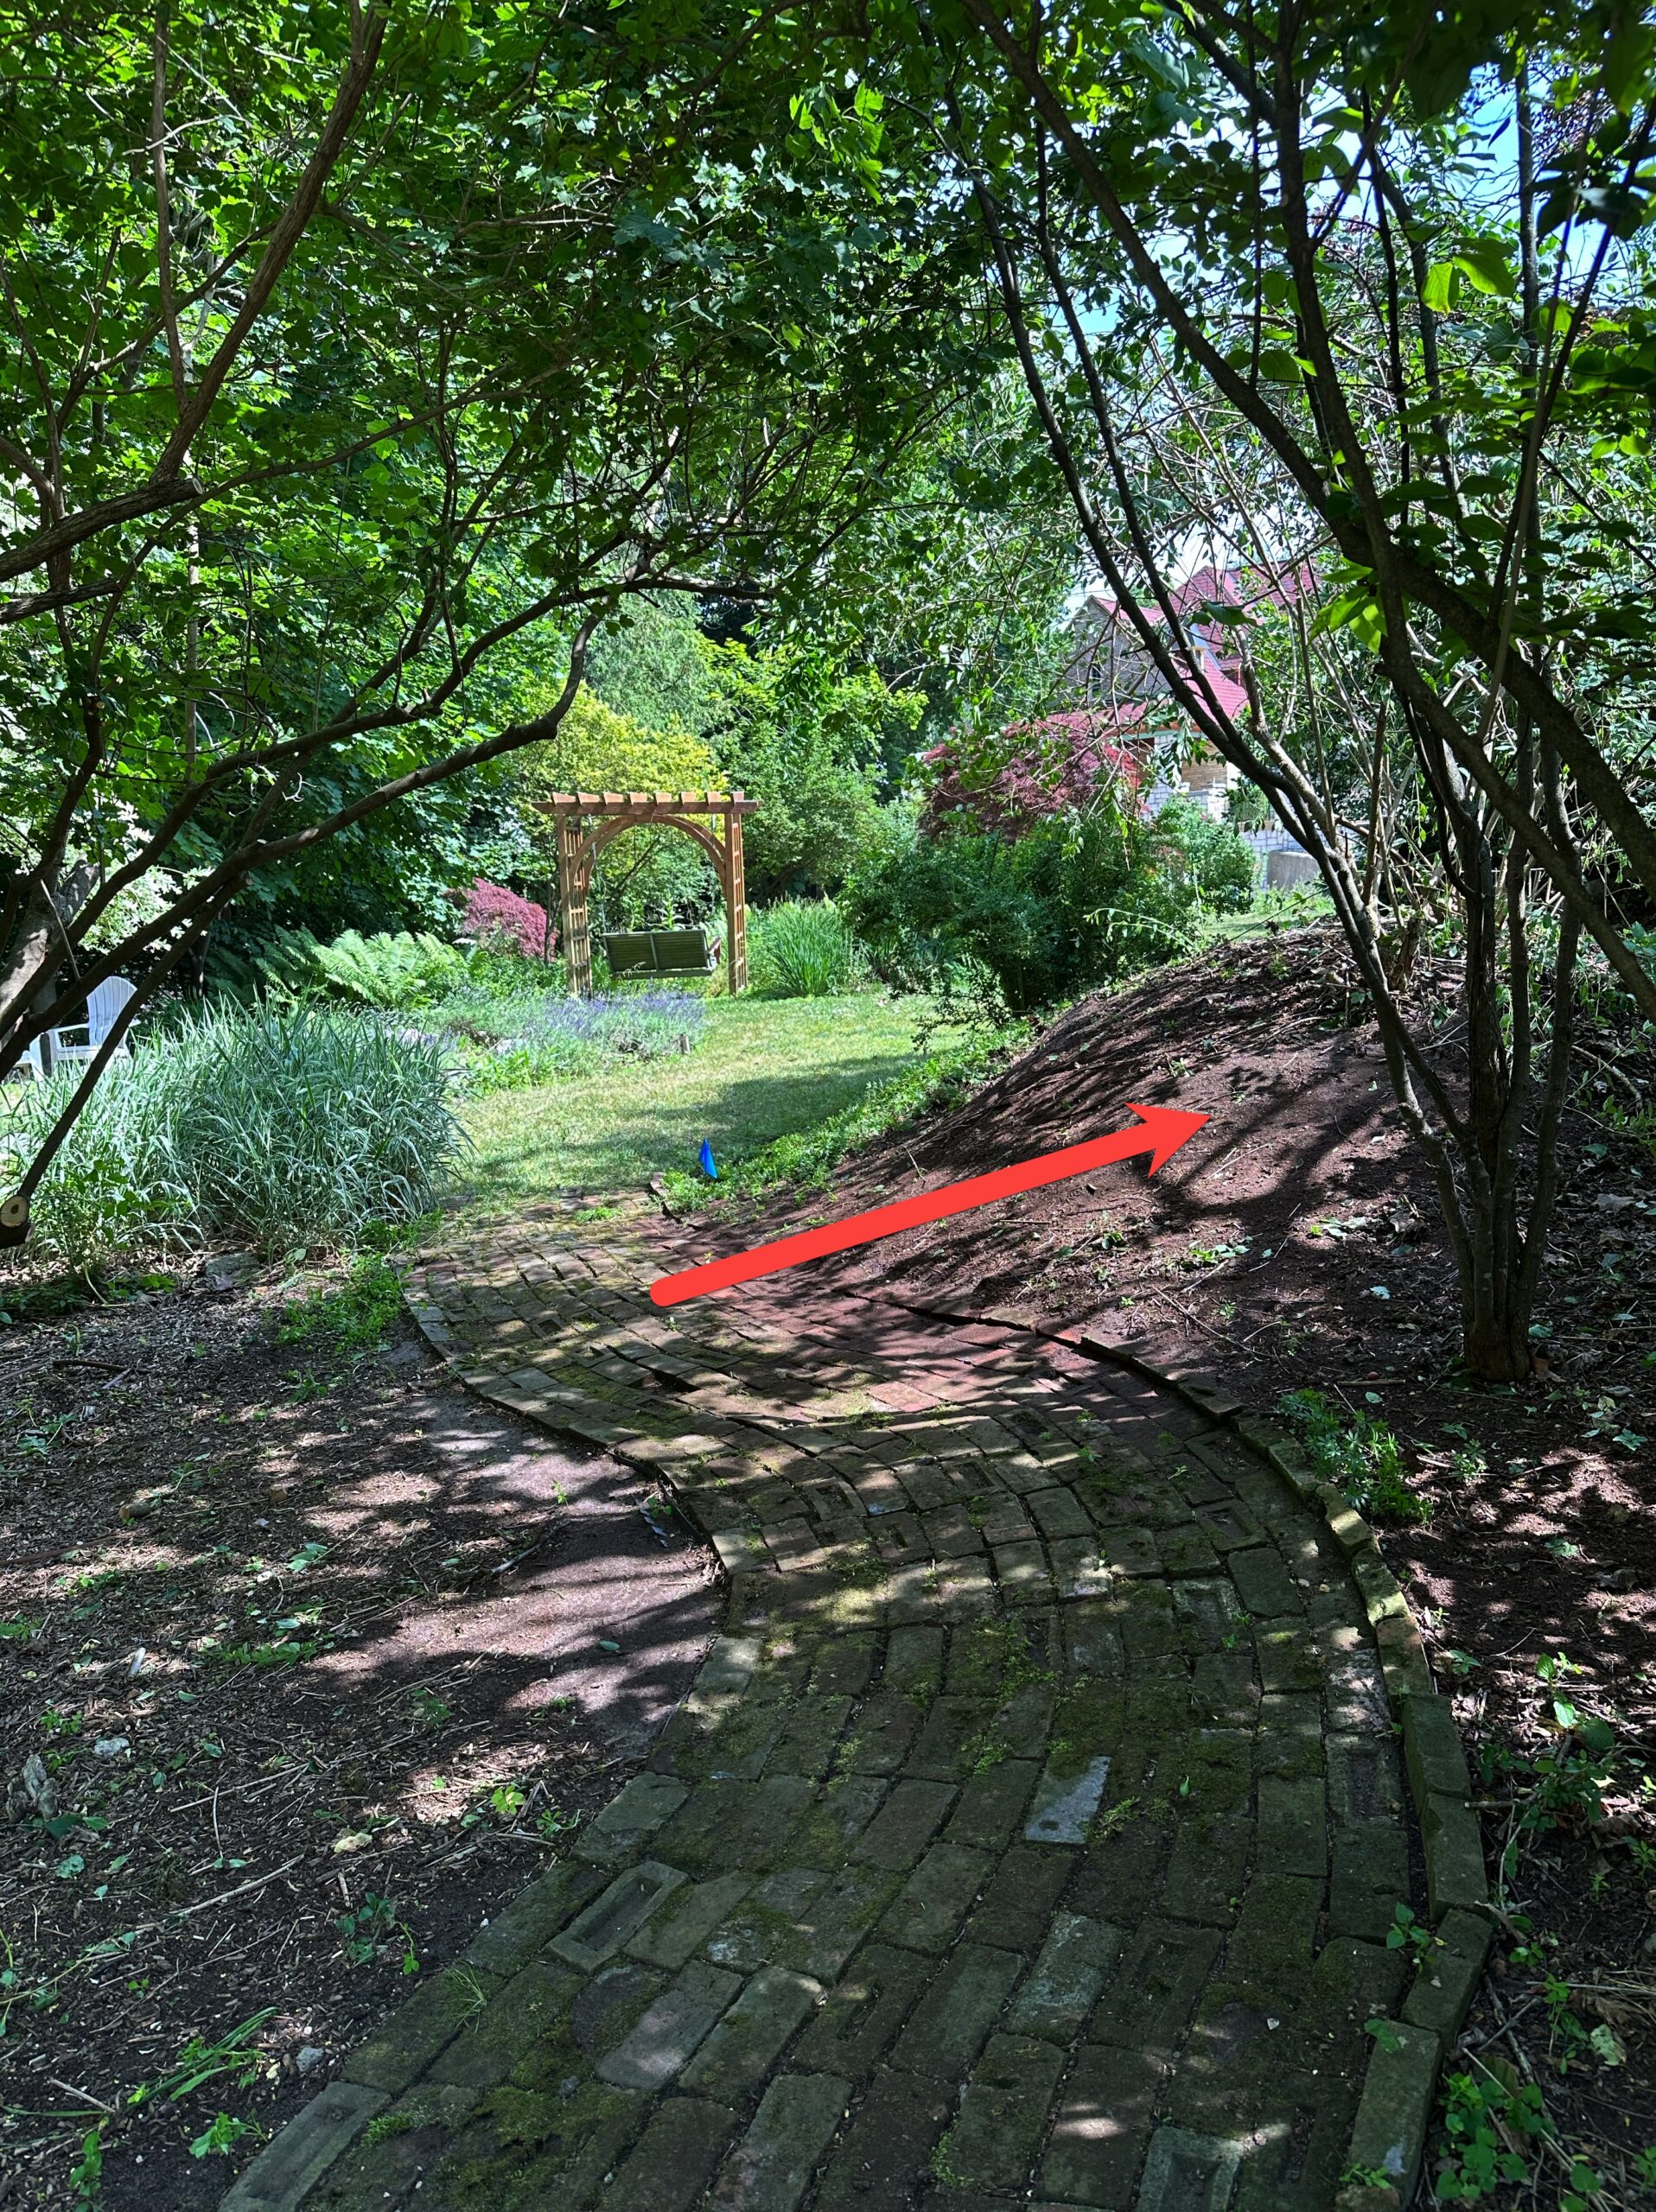
- Berms
You don’t necessarily need to nail this part down just yet, as you will probably wind up incorporating a few of these ideas into your plan. And some ideas may well cost more than your budget can stand. But keep these ideas in mind as we move forward.
- Walkways, paths, and steps
- Hardscaping (e.g., pool surround, patio)
- A pergola
- A border bed
- An arbor
- Raised bed planters
This yard features a berm between the yard and the street. Planted with tall shrubs and a few trees, it provides the sense of a wall.
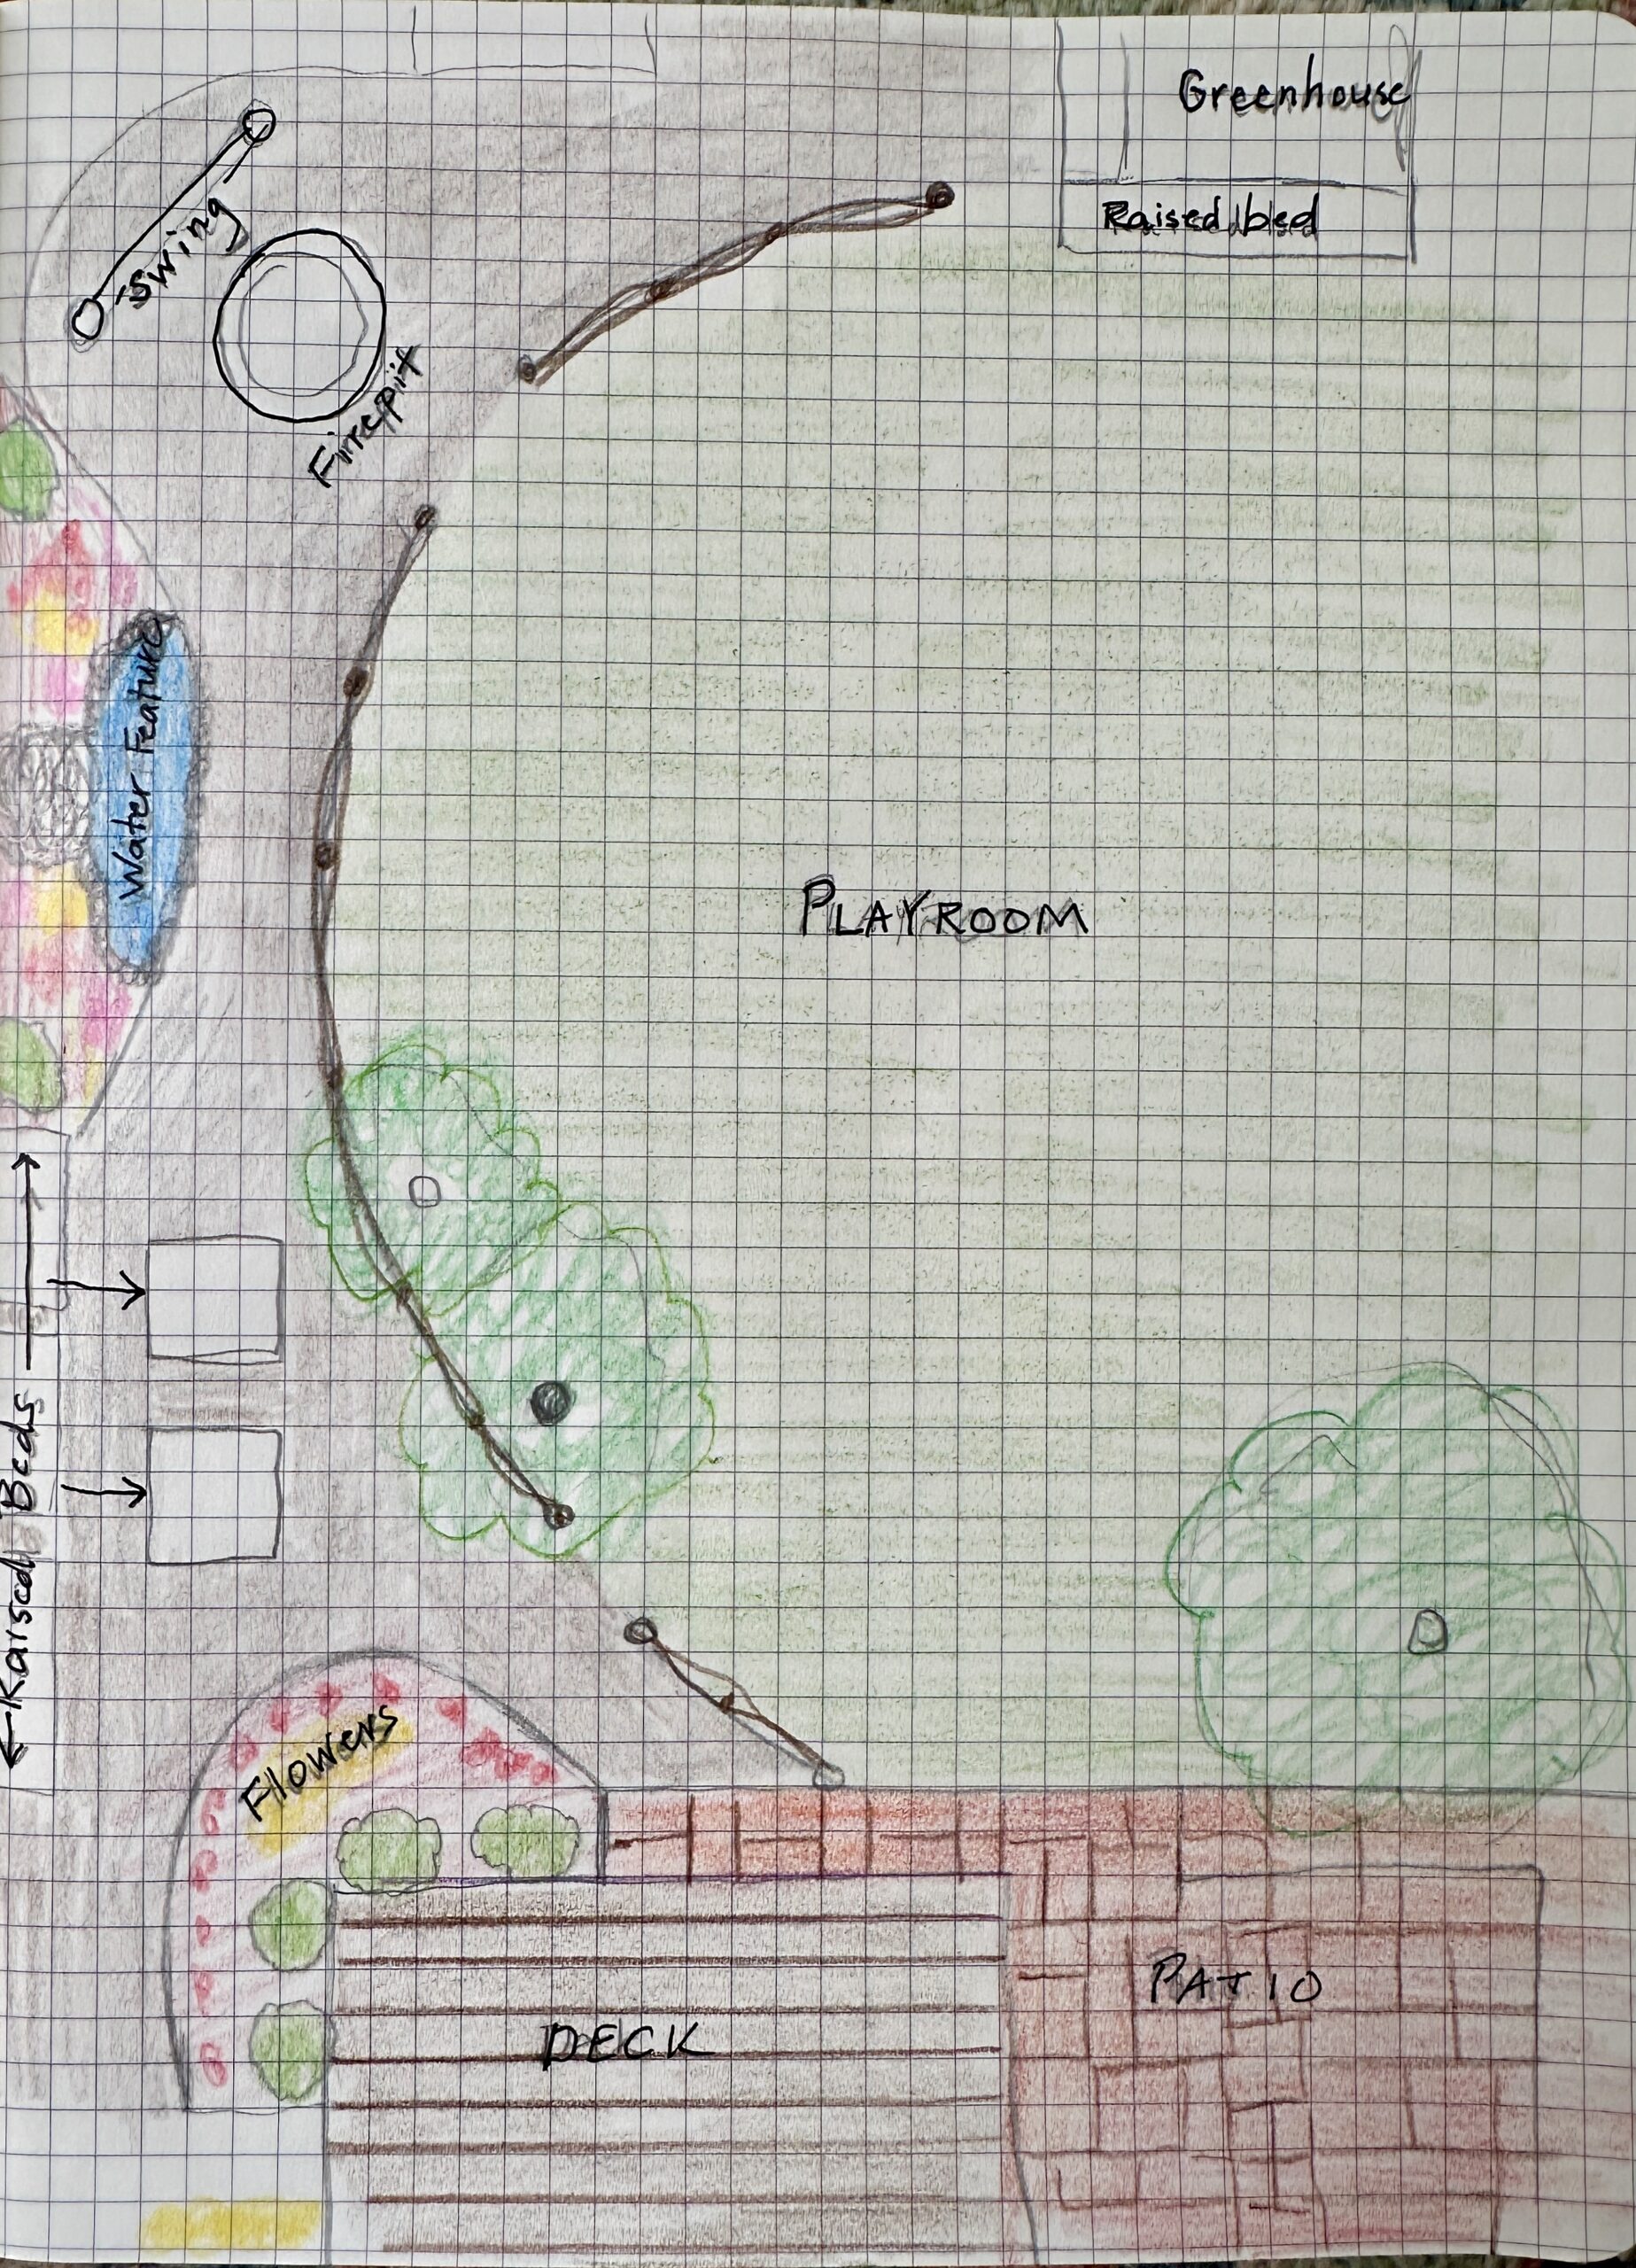
A sketch I made of possibilities for Corey’s backyard. A wide arch is created through what is now all grass, edged by a low, woven fence to divide the Playroom from the Garden which will feature raised beds, packed cinder paths, flower beds, a water feature, and a firepit.
Using Line to Shape Beds
Oulines create the shapes that you will that you will “paint” with colors and textures. by filling them in with different materials—plants, shrubs, trees, mulch, pathways, statuary, or perhaps a water feature.
The shapes you create will also do a lot to suggest the overall “feel” in your space, whether you want something with a formal feel or something with a more informal feel.
Whether you strive to create a formal or an informal look and feel, it is important to strive for balance and flow. Let’s explore how this is achived in both types of gardens and rooms.
Shape in Formal Gardens
A few elements characterize most formal gardens: symmettry, patterns, and straight lines.
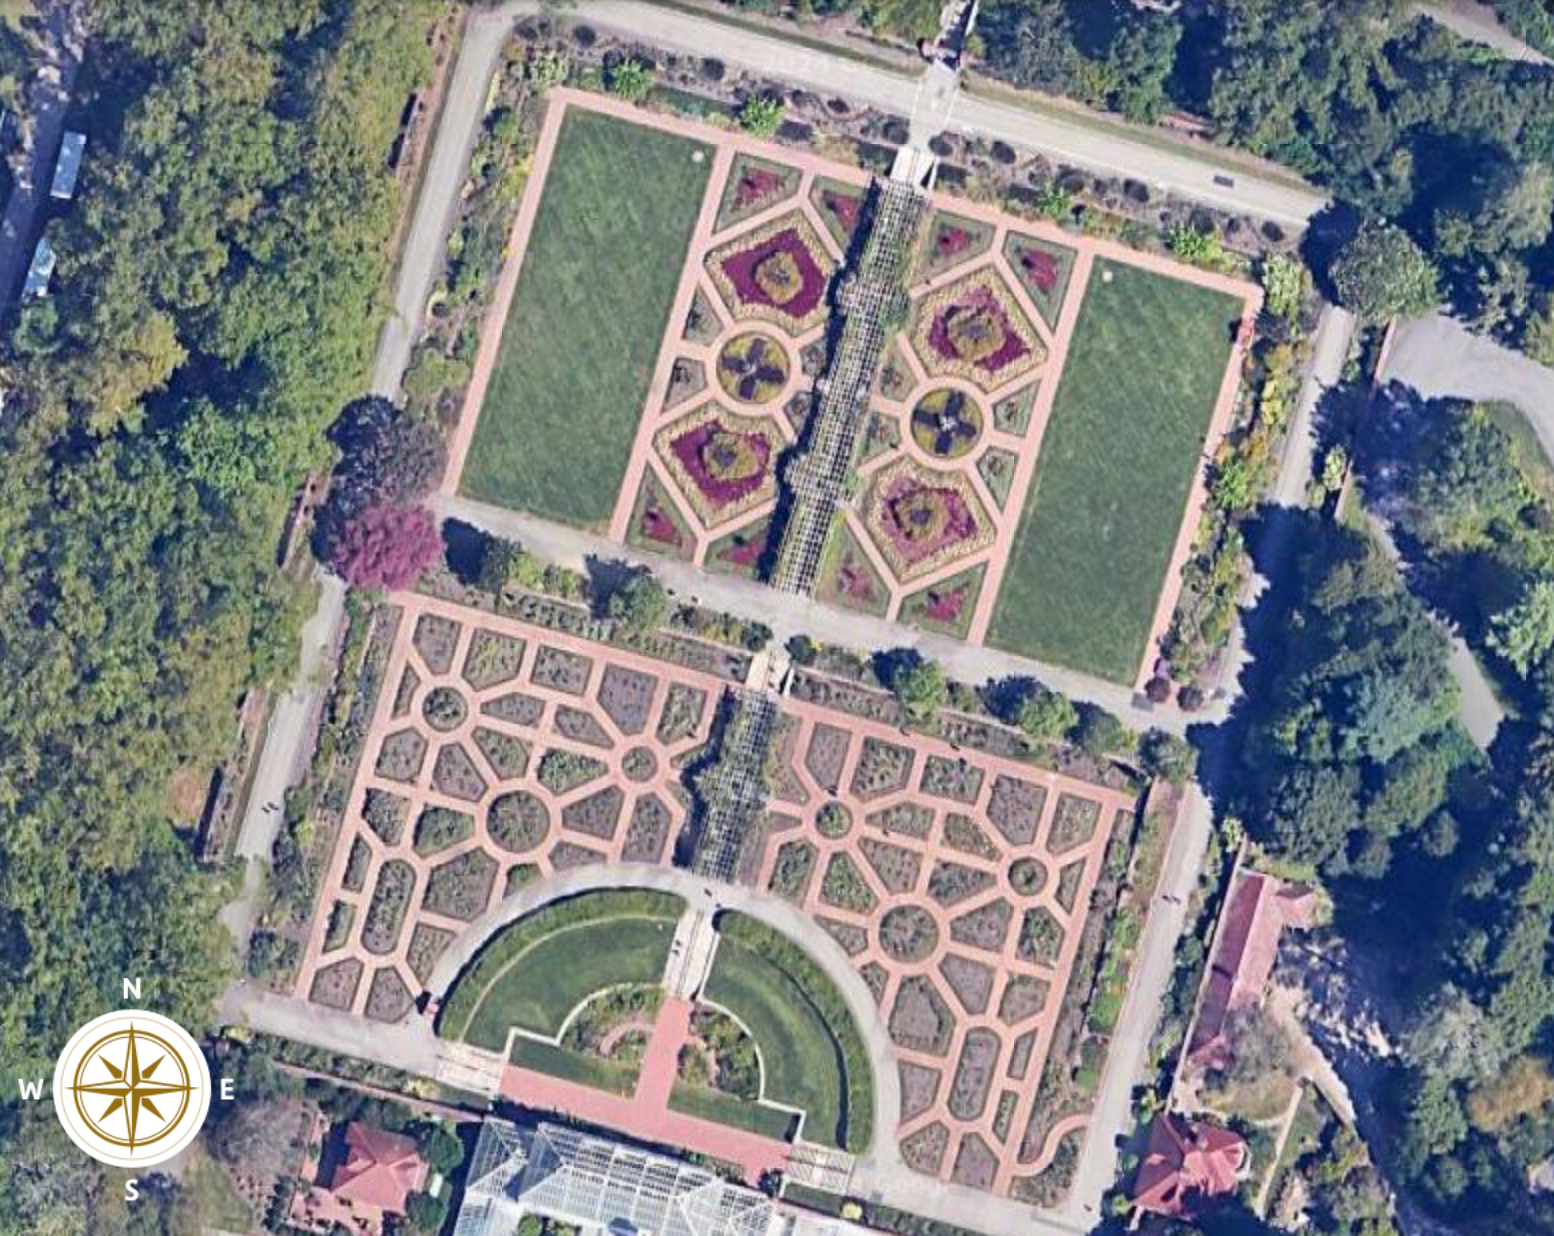
You know I love the Biltmore gardens. Take a look at this aerial view of the gardens outside the Conservatory. The symmetry is striking, as is the use of repeated shapes that create patterns. This type of symmetry is called mirrored symmetry because the two sides of the garden are mirror images of one another. Of course, this space is expansive and you probably cannot (or wouldn’t want to!) create a garden this expansive in your own space! But you can definitely use the concepts represented here.
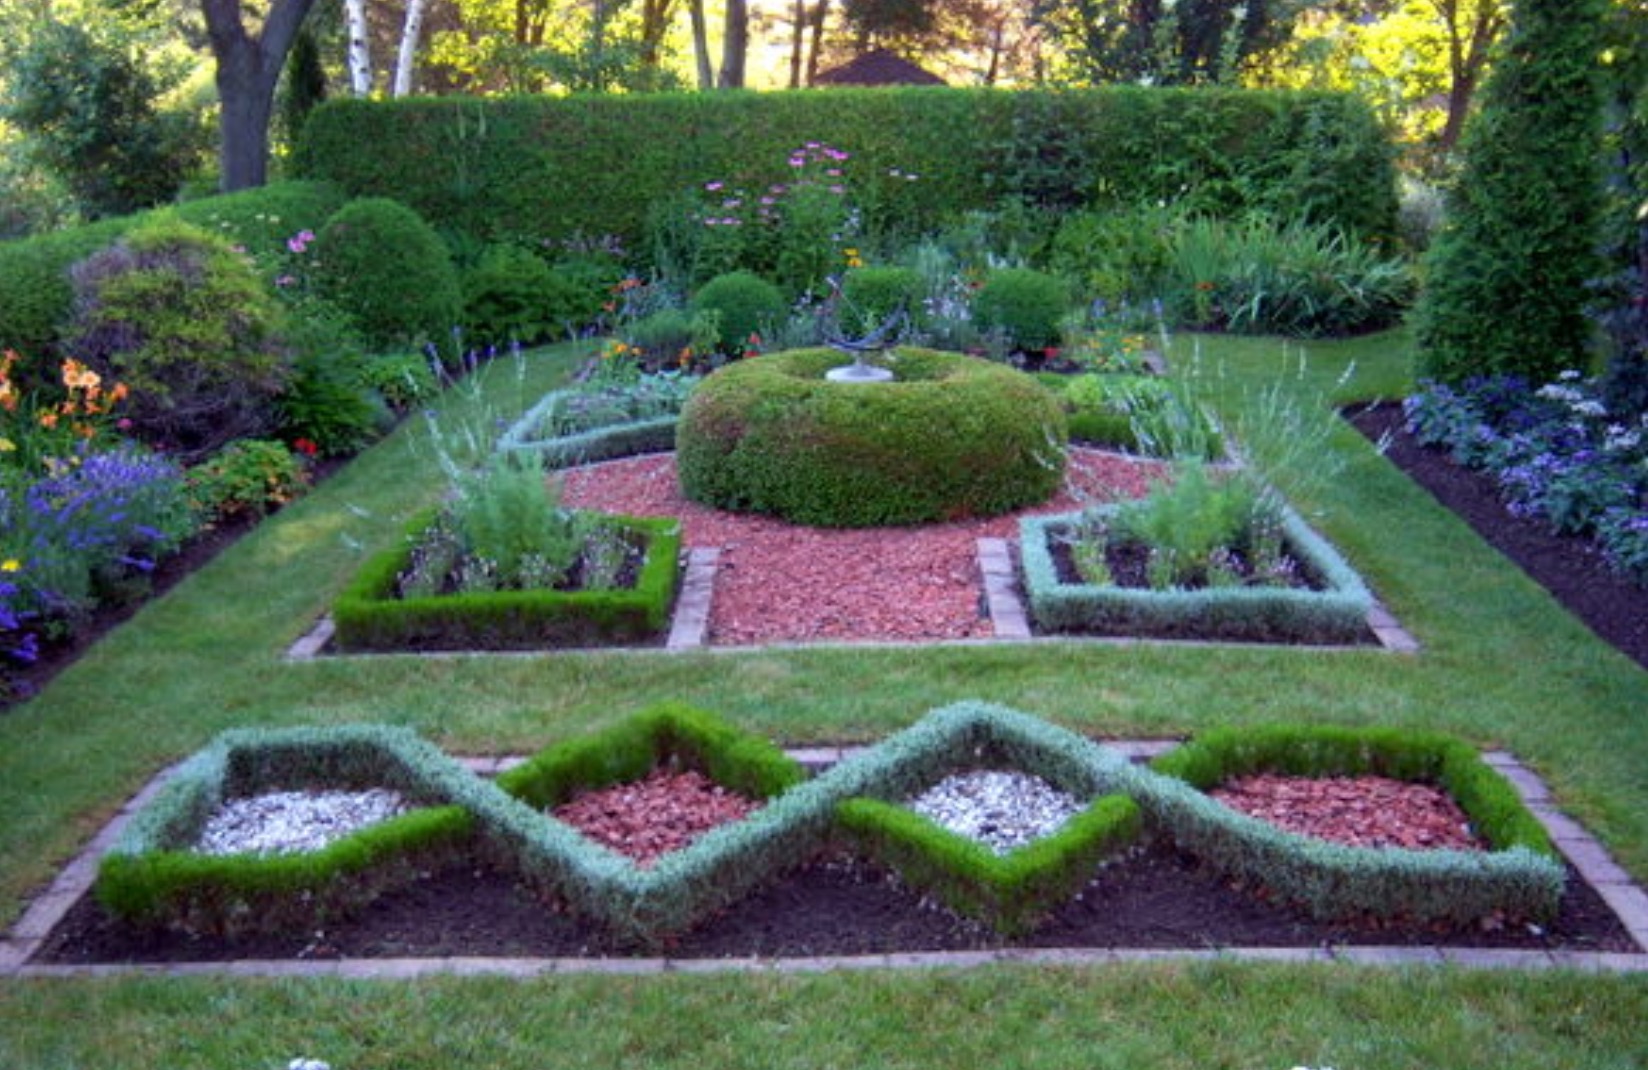
A second example, from Lakeview Garden Center located in Ontario, Canada, shows the same idea on a much smaller scale. Again, notice the use of straight lines, symmetry, and repeating shapes that create patterns. All the beds that frame this herb garden are perfectly straight wiith one exception at the back left corner. Here is a lovely example of using a curve to draw the eye (and feet) around the back of the garden and toward another view (and room?) out of sight of the camera to the right.
Several more photos from my neighborhood feature formal elements. Notice the symmetrical placement of the two swings, the concentric circles created by the fountain, the basin, and the walkway around it, and the center pathway that divides this Anteroom in half.
In all these gardens, notice how the pathways help to create repeating shapes and patterns that are filled with different materials (plants, mulch, grass, gravel, brick) that provide color and texture.)
Ariel view of the gardens outside the Conservatory at Biltmore Estate in Asheville, NC. The two sides of the garden mirror one another. Note use of straight lines and repeated shapes forming patterns.
Lakeview Garden Center’s formal herb garden uses the same elements as above but on a much smaller scale.
I call the side entrance to this home’s back area The Anteroom. It is another nice example of mirrored symmetry and repeated shapes and patterns. Formal yet inviting. (Actually, I have often wondered whether passersby are invited to sit on those swings…I have been tempted!)
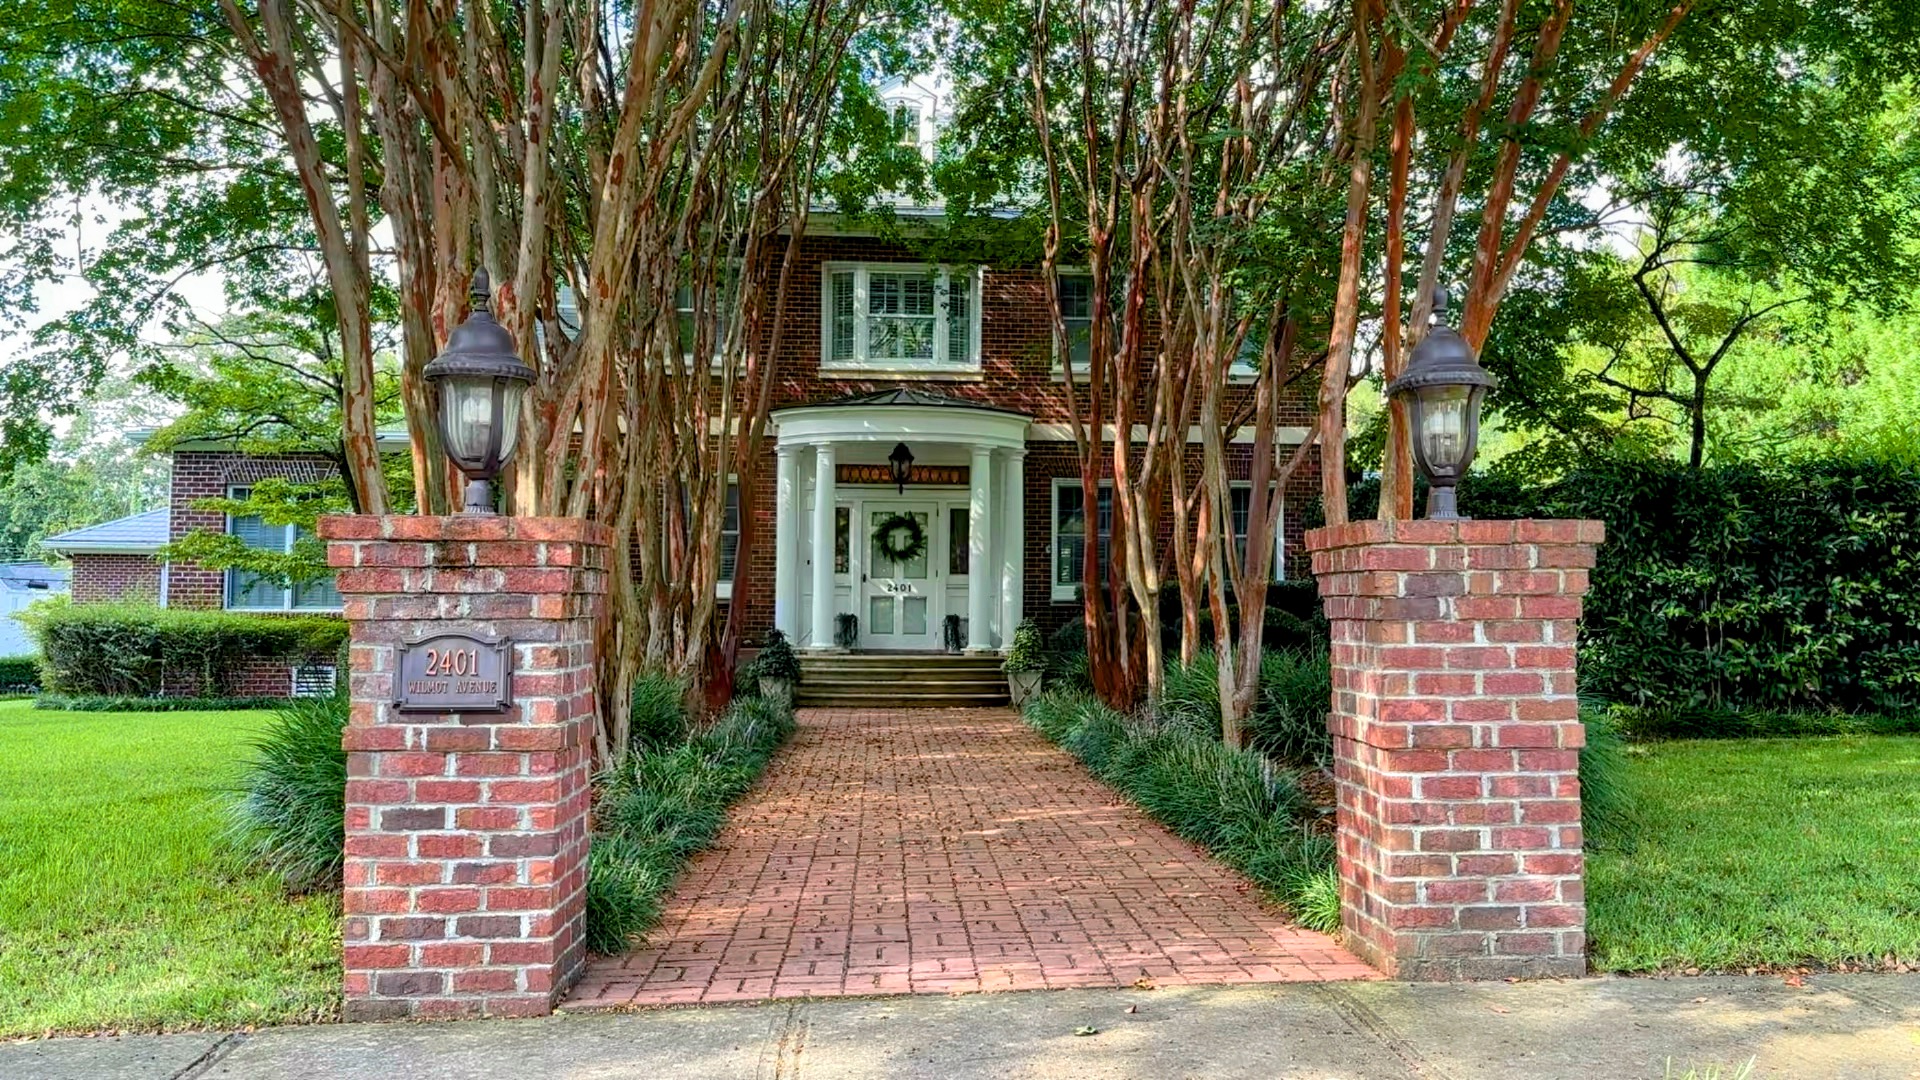
This home’s front entrance is perfectly symmetrical and features repeated use of vertical lines that create depth and draw the eyes forward.
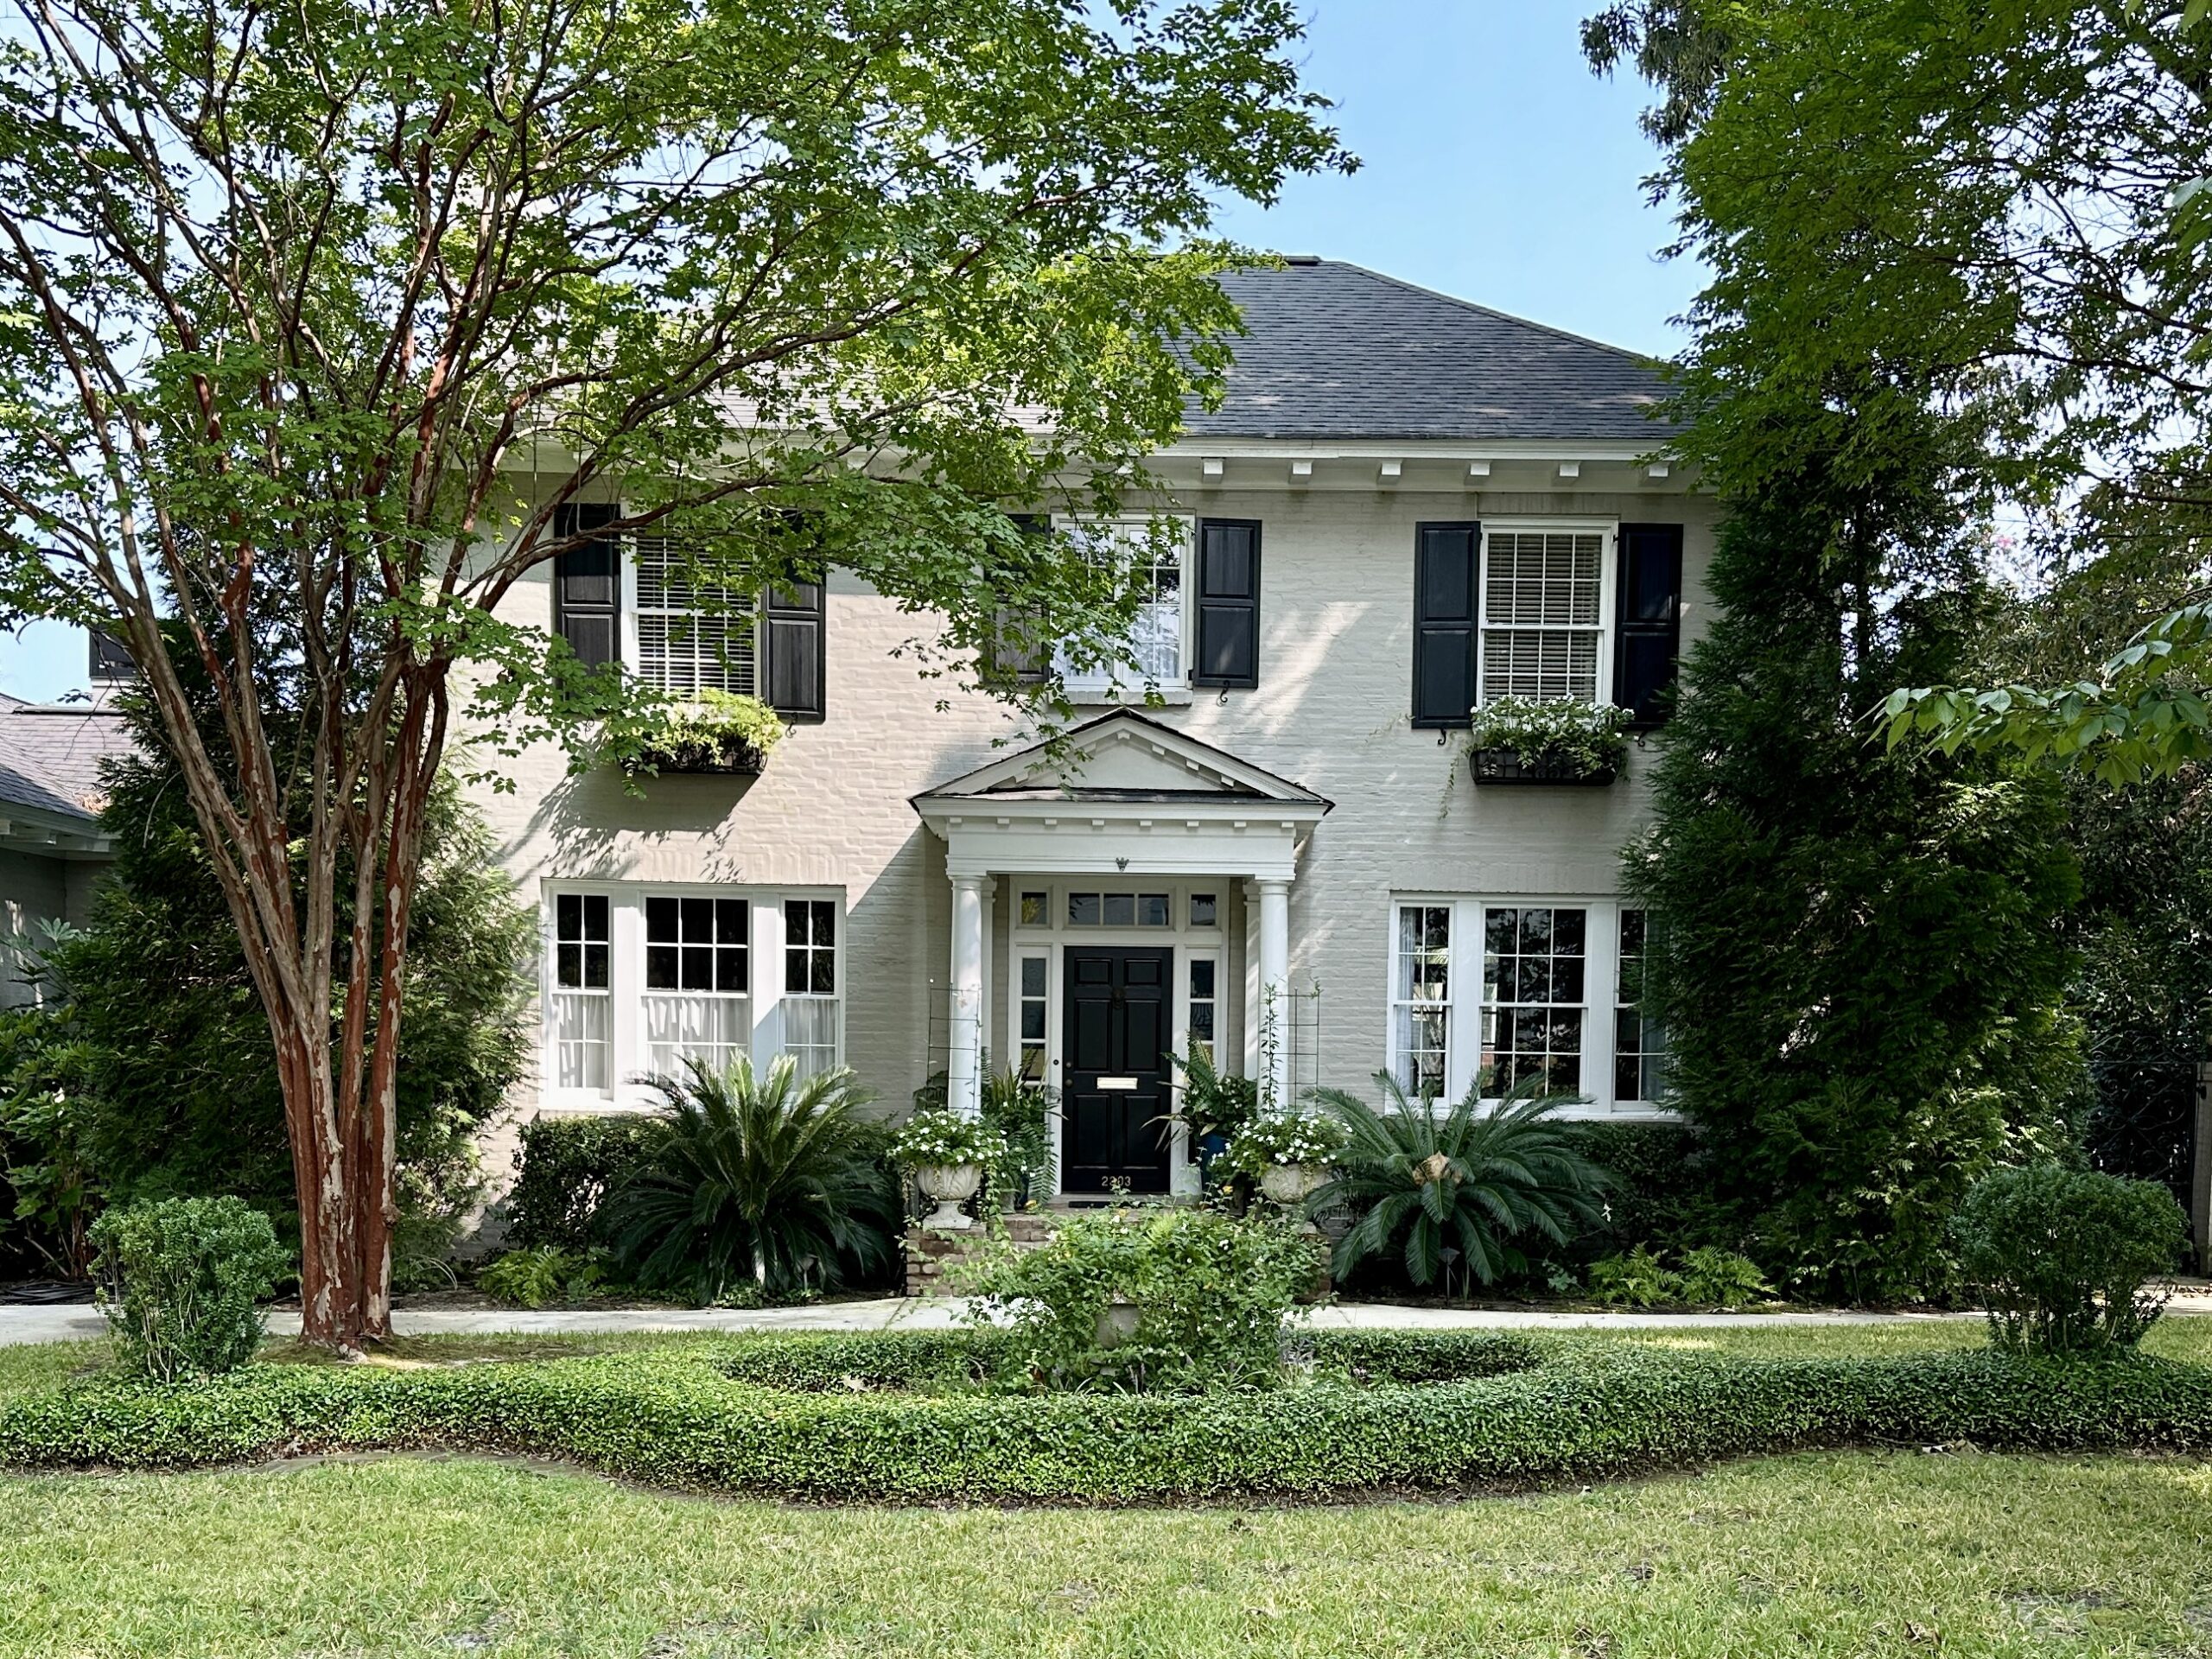
The Front Room for this federal-style home features a circular drive. Between the drive and the street is a curved knot of creeping myrtle with a tall planter in the center flanked on either side by two evergreen shrubs. In addition to the use of symmetry in the plants that frame the front door, note the way the curved knot echoes the curved drive.
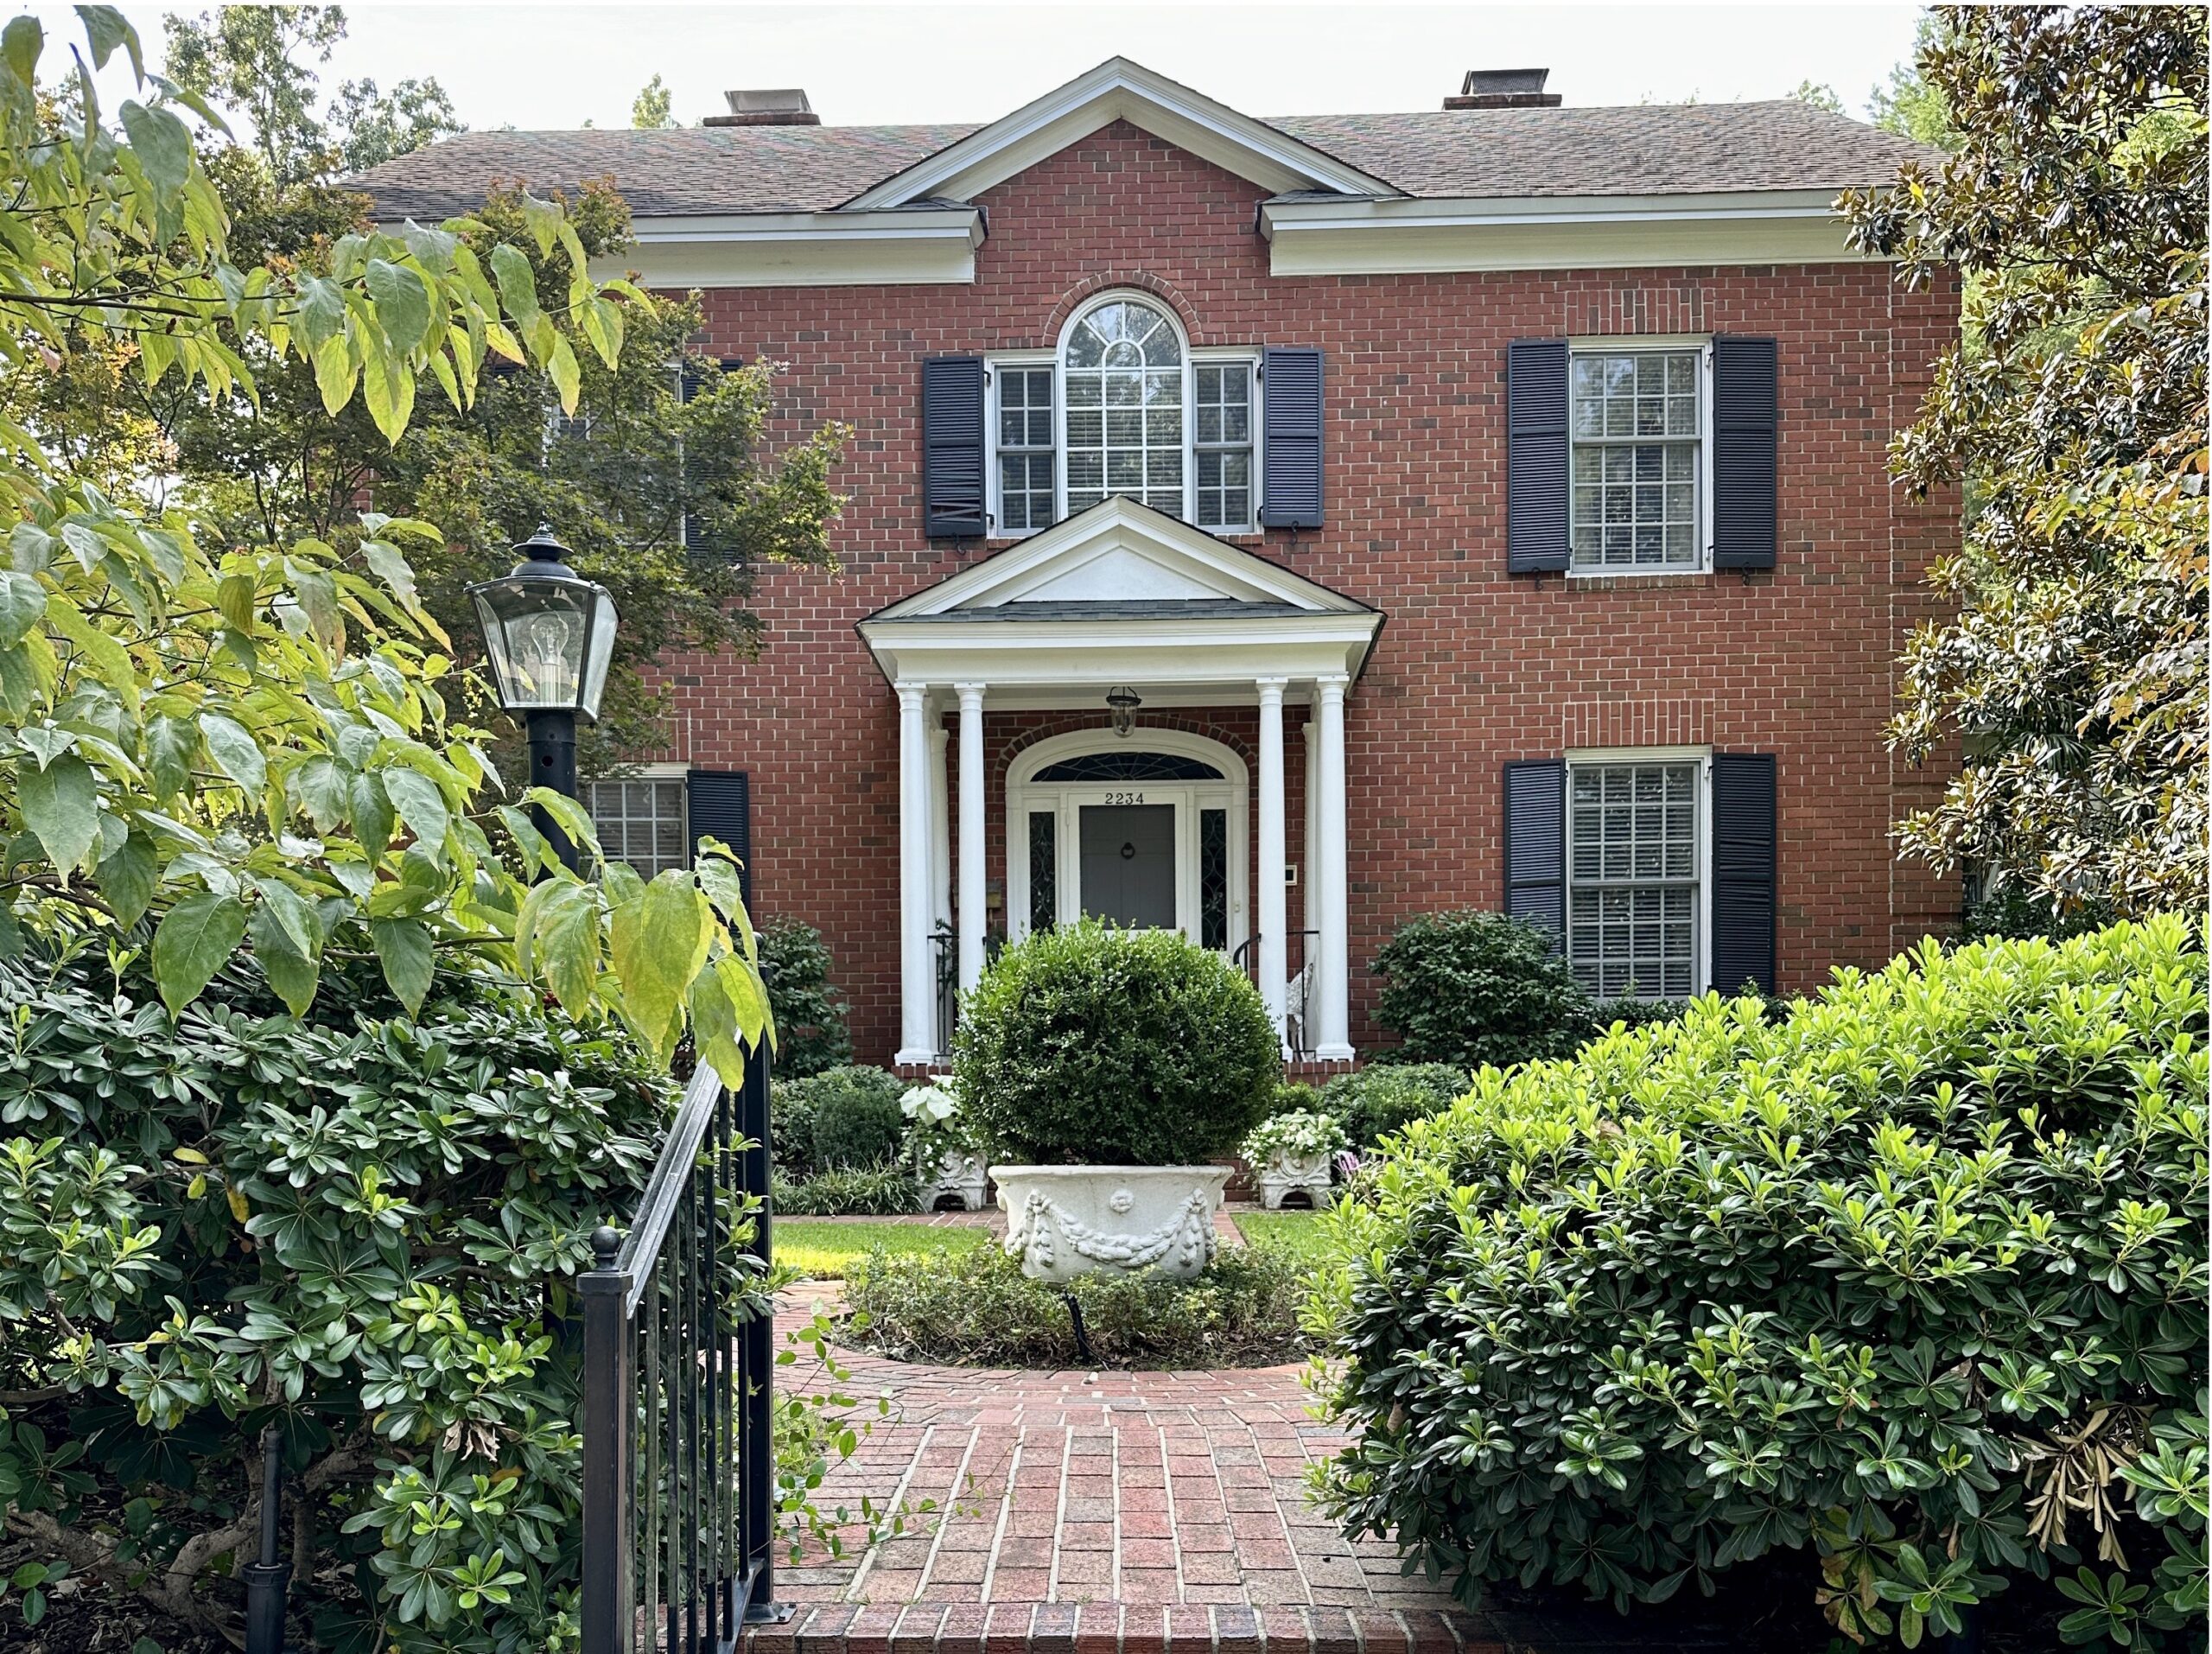
This Entry Room features the straight lines and repeated patterns typical in formal gardens. A brick retaining wall forms the front wall, with brick steps up to the level of the yard flanked on either side by podocarpus. A large circular planter in the center of the circular walkway is planted with a boxwood that has been pruned into a globe.
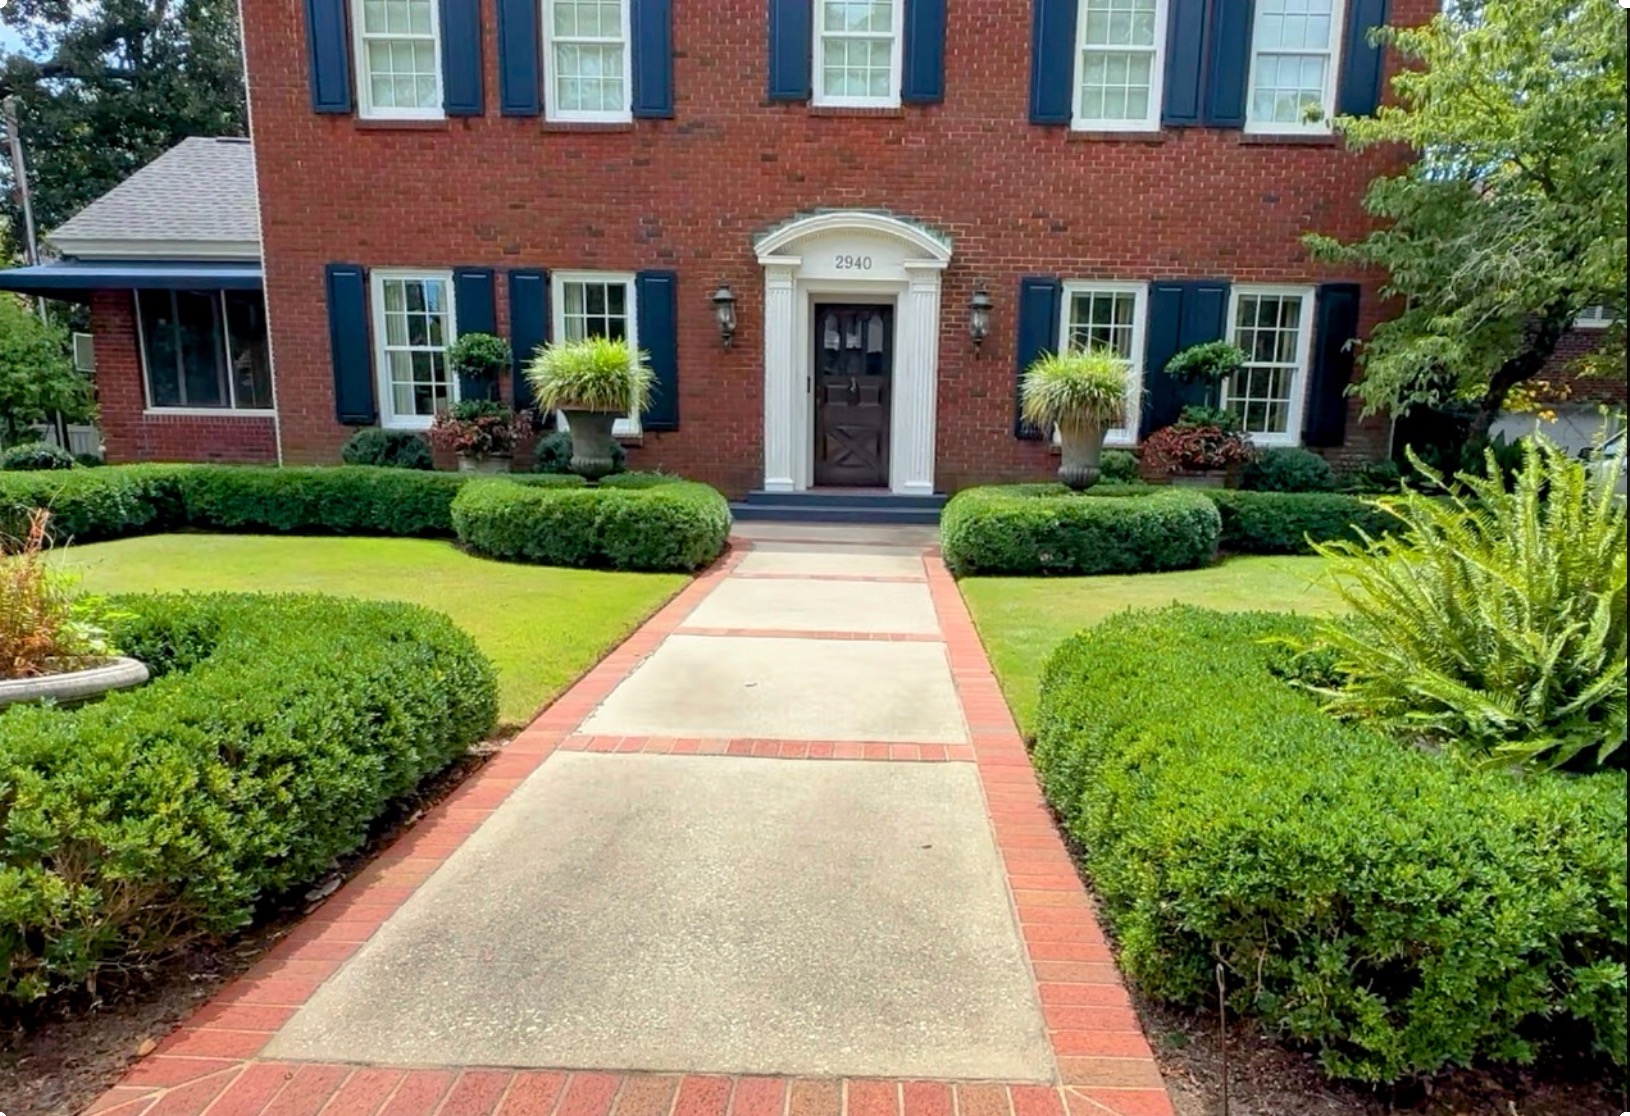
A classic formal entry garden features a boxwood hedge trimmed in a rounded shape with four circles framing the front door and the entrance to the garden. Matching ferns center the circles at the four corners.
Shape in Informal Gardens
Informal gardens rely on line, shape, and symmetry, also, but here the idea of balance is more at play than the strict symmetry created by repeated patterns in formal gardens.
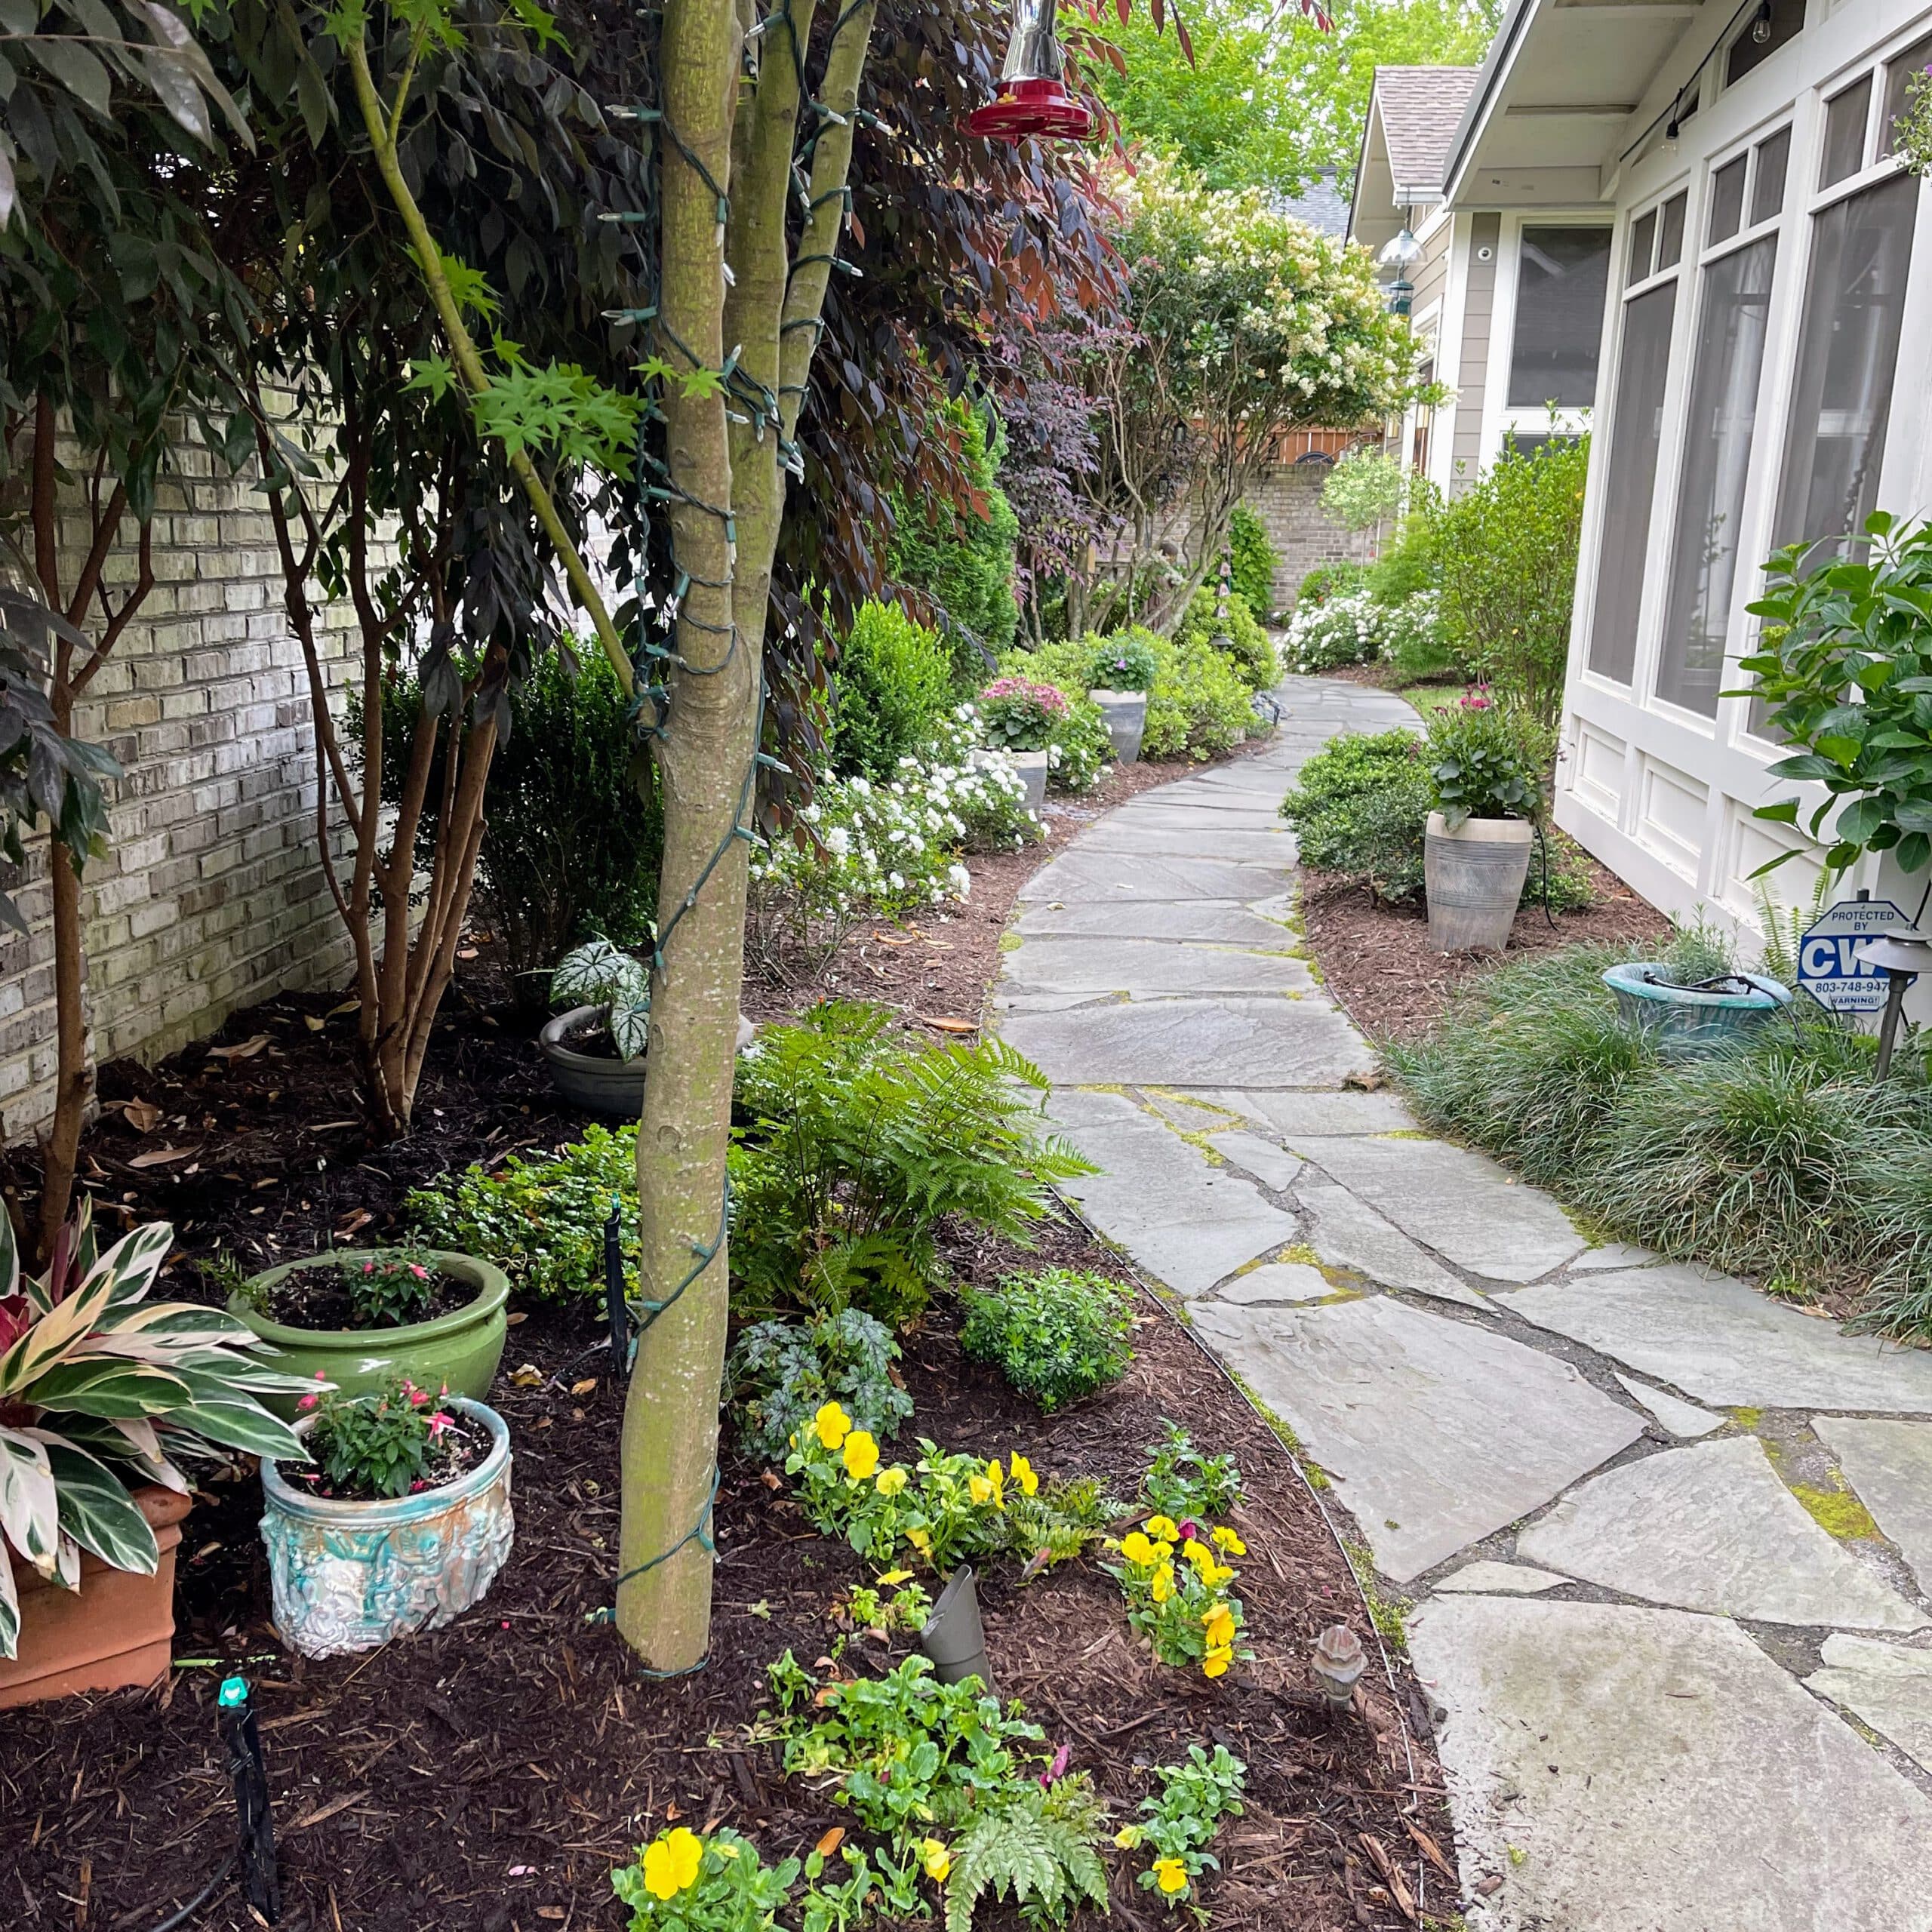
In my back yard, the beds along the east wall are shaped by a gently curving pathway that stretches from the gate at my Entry Hall all the way to The Wayback. The back of the beds are right up against the brick wall on the property line.
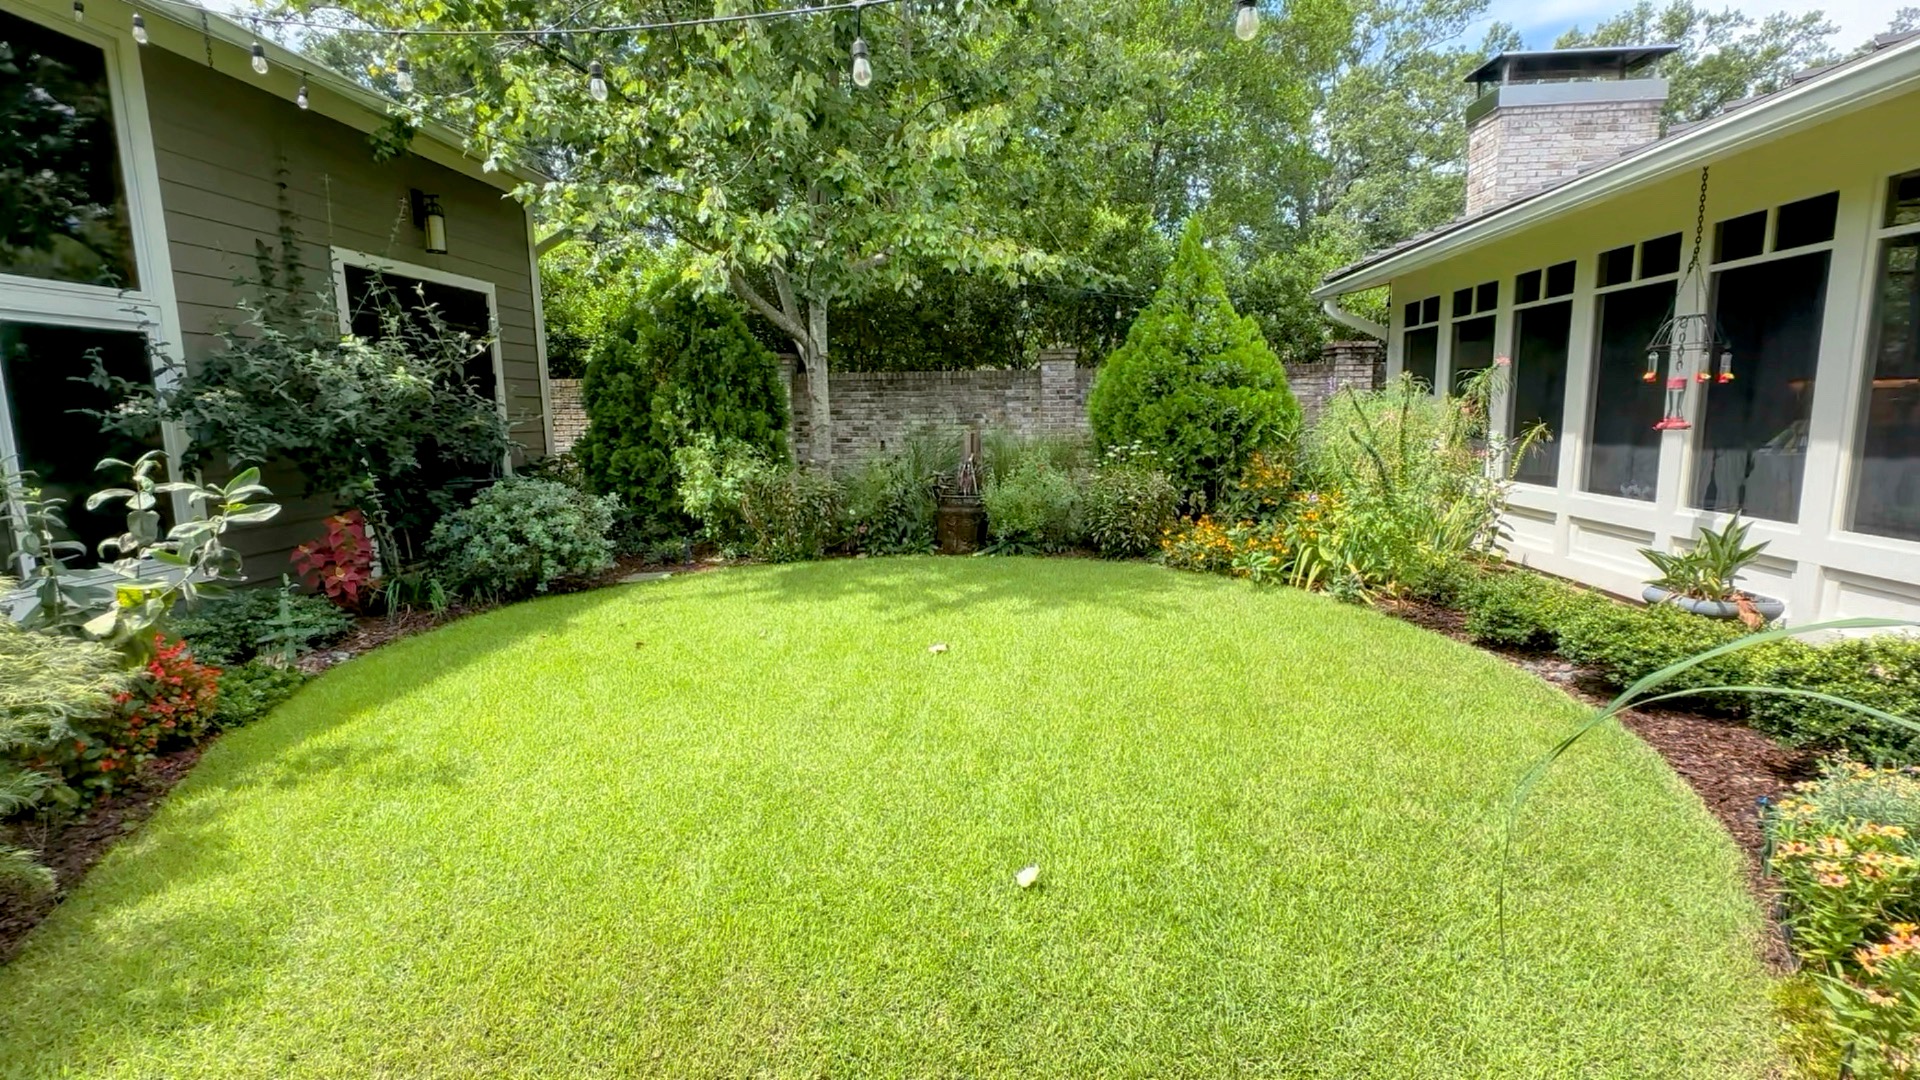
In my Refuge, the shape of the beds is defined by a symmetrical arc of grass that carpets the middle of the room. The back of the beds is defined by the walls of the two buildings and the brick wall on the property line.
Balance is achieved not by symmetry, but by the curves and by how the gardens are planted. Four arborvitae anchor the corners of the refuge; drift roses line most of the path, and focal points are created by several Japanese maples and the two fountains. I move pots, objects, and plants around in my garden like furniture, always trying to get a pleasing balance.
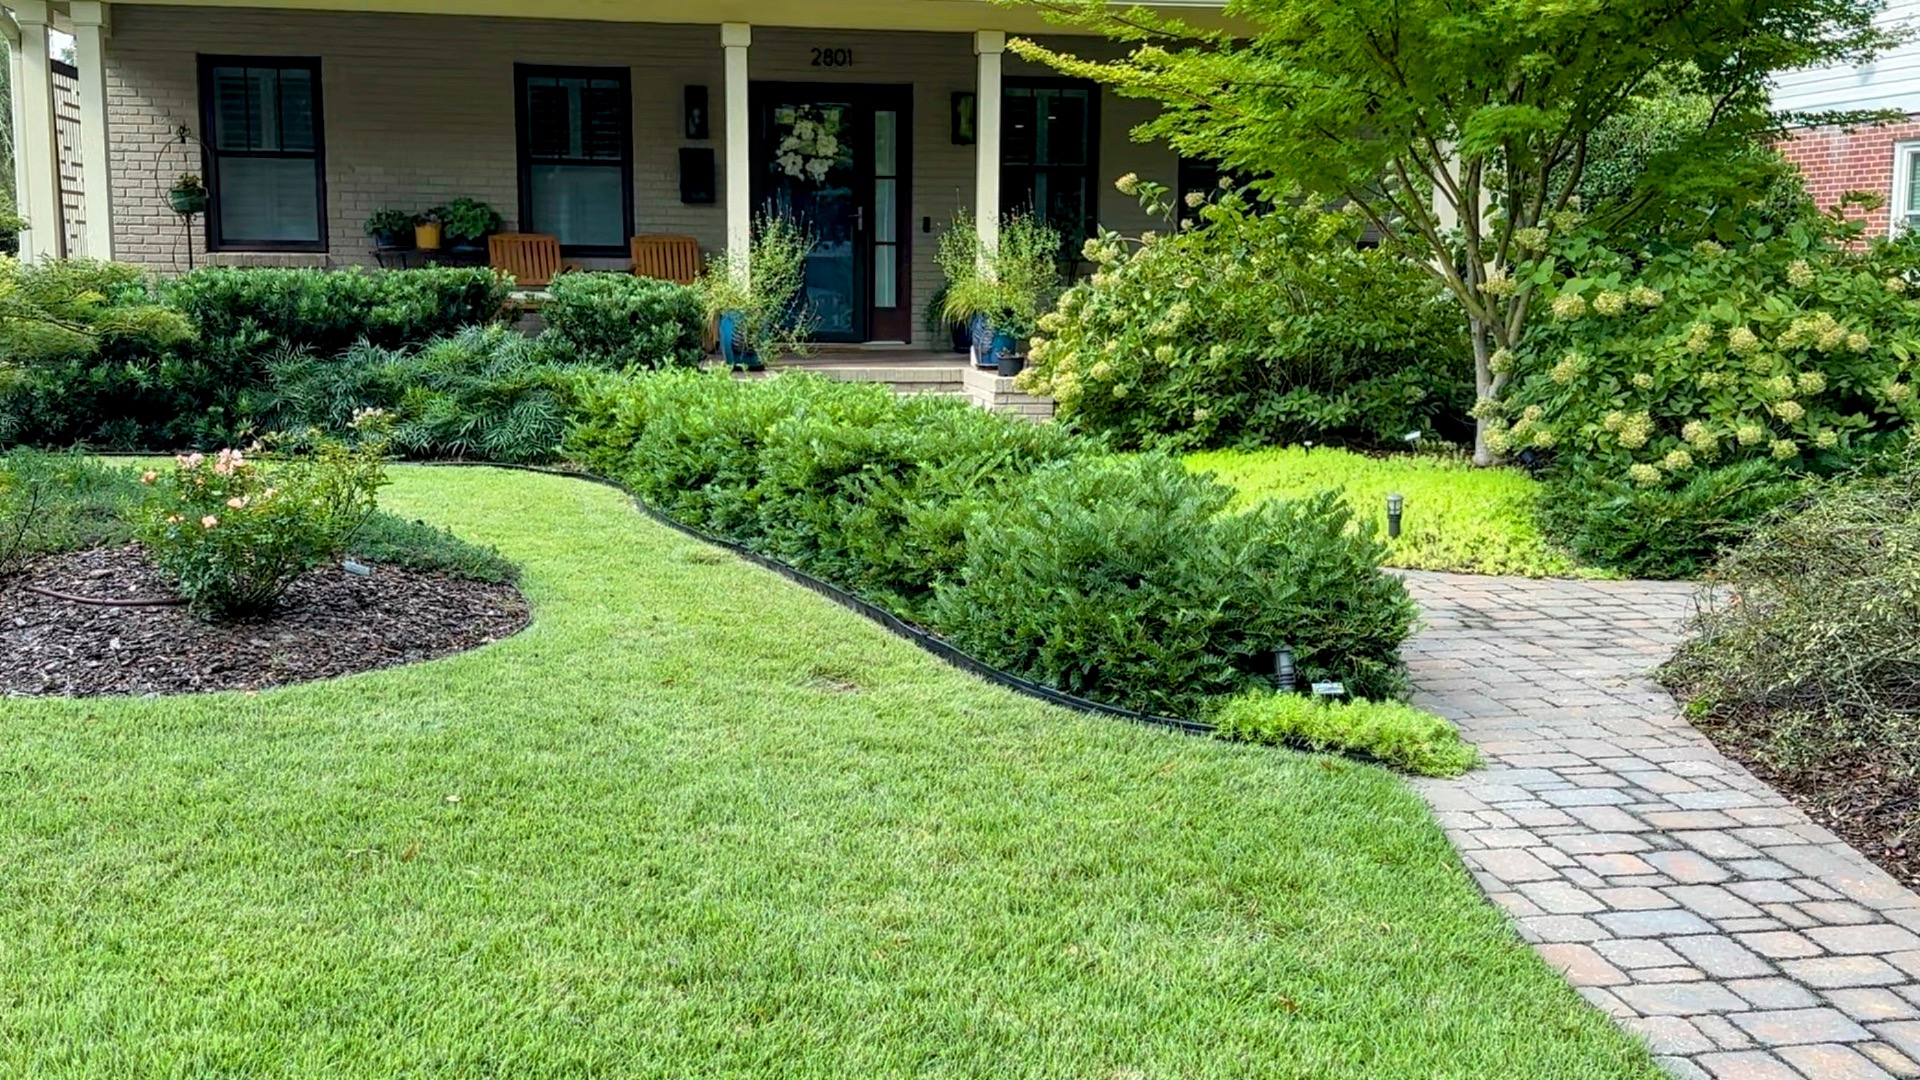
In the last photo, which is designed with a heavy Japanese influence, flowing curves are edged with evergreen shrubs, beds that feature sparse plantings with brown mulch that provides contrast with the grass, and several small trees pruned to stay small including a bonsaied Japanese maple. I think this garden has a lot of elements of both formal and informal.
For more Front Room ideas, watch the video below.
The beds against the east wall get their shape from the gently curving path that runs the length of the property from the gate to The Wayback.
The beds in The Refuge are formed by a single arc created by the edge of the grass in the middle of the area.
This Front Rooms features a gorgeoous Japanese garden. The walkways and grass form the edges of the beds that are planted with evergreens and flowering shrubs pruned to stay small.
Tips for Laying out Beds
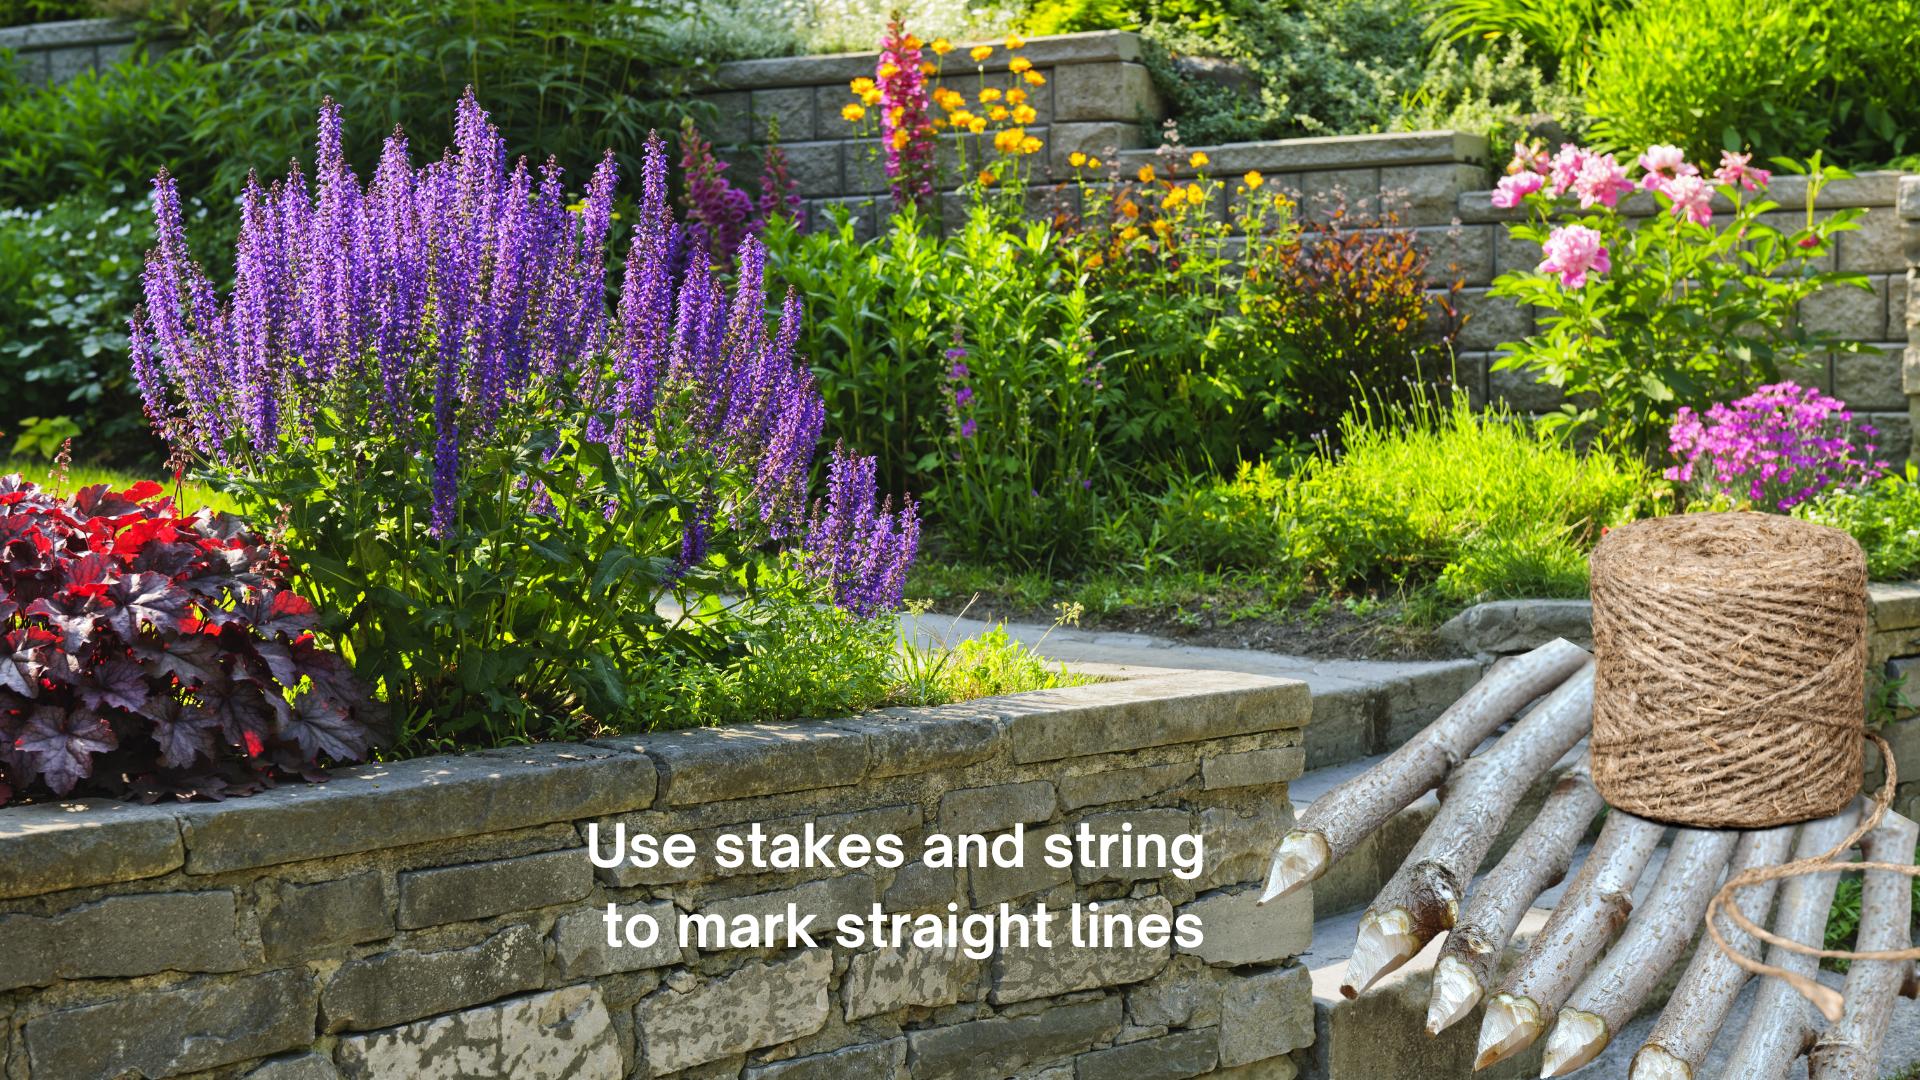
To lay out beds with straight lines, use posts and string, then use landscape paint to mark the shapes.
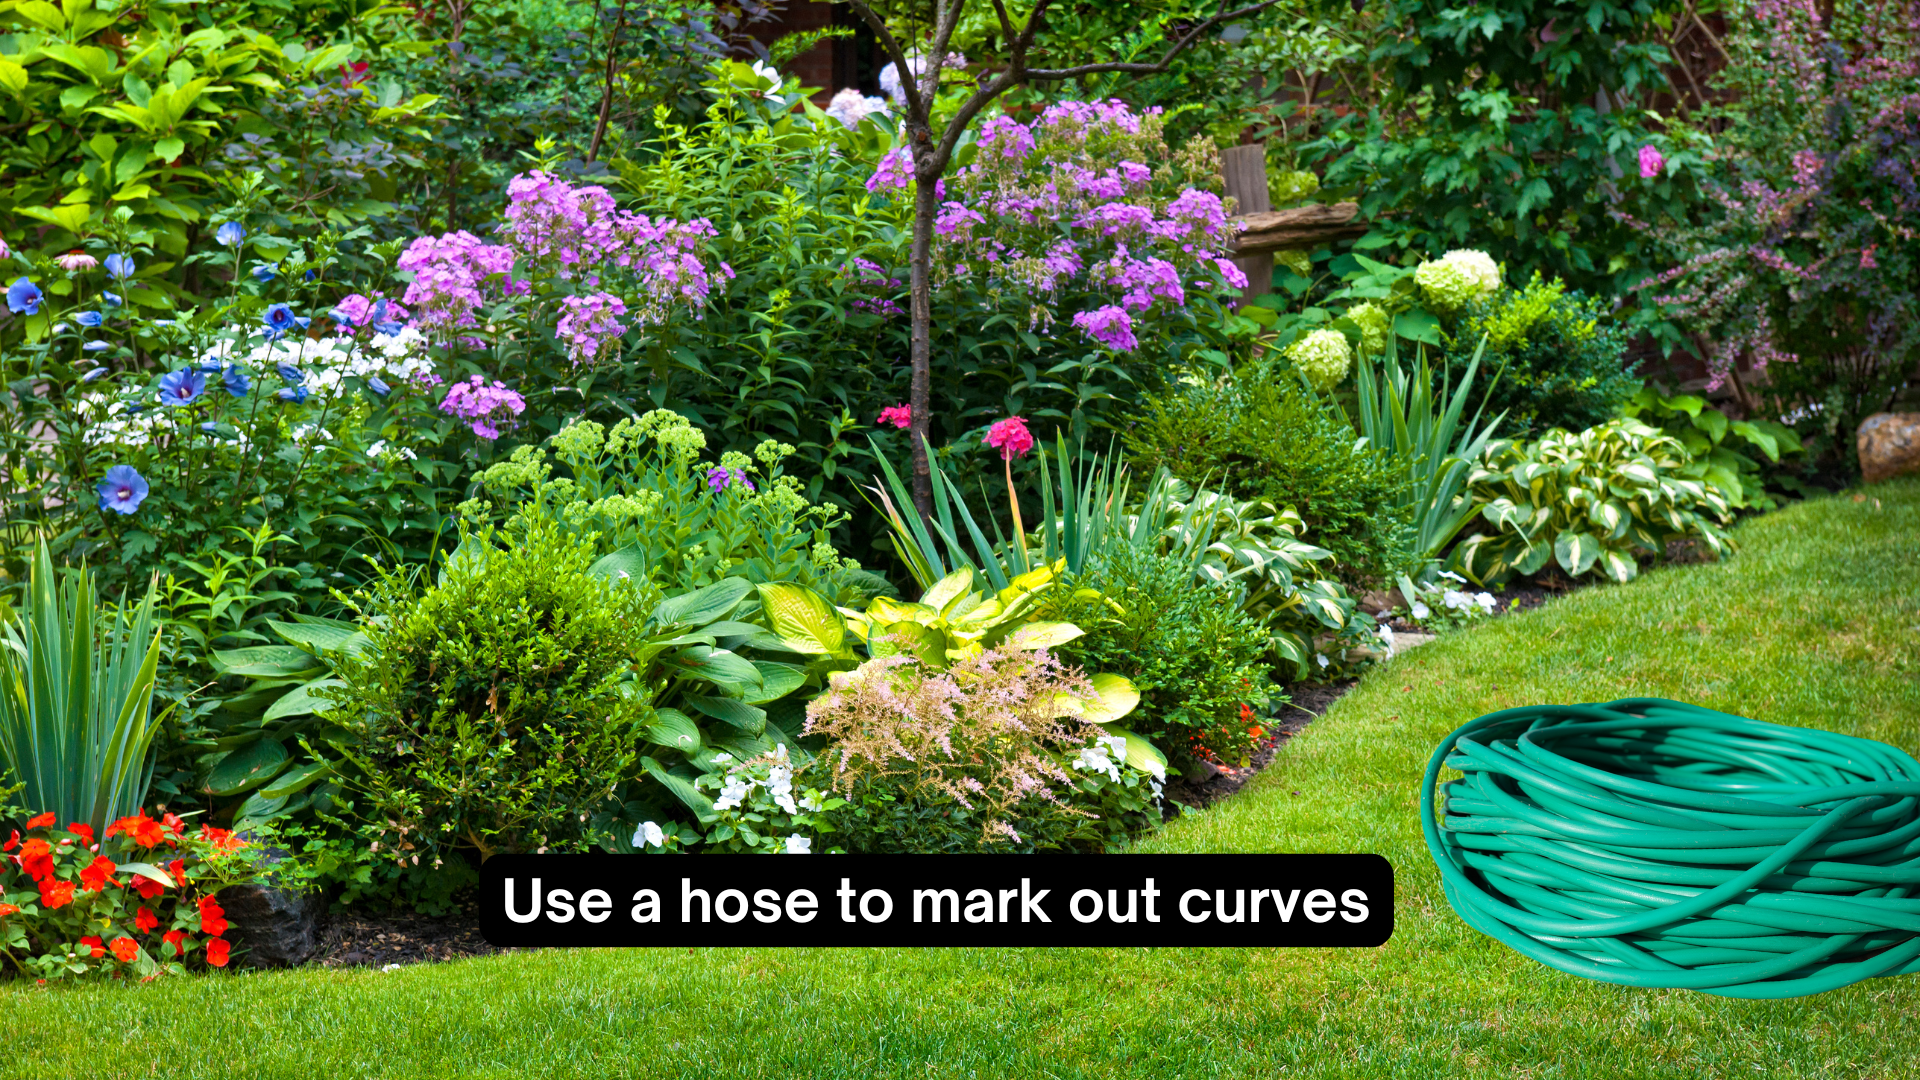
To lay out curves, use a garden hose. Lay it down and move it around until you get the curves you like. Be cautious though, that you don’t make curves too deep or cutting the grass will be difficult.
What I Hope to Do with This Series
The other day, I was exploring gardens with friends, and we got to talking about garden clubs. One of them asked, “Do you want to join one?” I said, “Yes I kind of do.” I just like talking about gardening with people who garden. One of them said, “You don’t want to join mine. It’s not on your level.”
I have to say, I was shaken by that. I didn’t know there were “levels” of gardeners. But then, I guess there are given that there are people called Master Gardeners (I’m not one) and Landscape Designers (I’m a hack). And so forth.
Just to be clear, I’m not on a “level.” I just do what my mom taught me and what I have learned from reading and from visiting gardens and talking with other gardeners. With Jennifer’s Home Journal, I am trying my best to provide a little inspiration, a little information, and a lot of encouragement to explore ideas so you can make your spaces yours. I’m not an expert on this or anything else. I’m a learner, just like you. I seek inspiration and crave connection with others who have similar interests.
So, what might you do with any of this? Maybe throw down some stuff in your yard and mess around with spaces and shapes? Maybe go buy some graph paper and colored pencils and mess about on paper? I’d love to see and hear about it!
You know where to find me…in the garden or in the kitchen or in the Wayback building something. I’d love to hear from you!
I’m no expert and I’m not on a “level.” I just do what I have learned through experience, practice, and learning from other gardeners.
