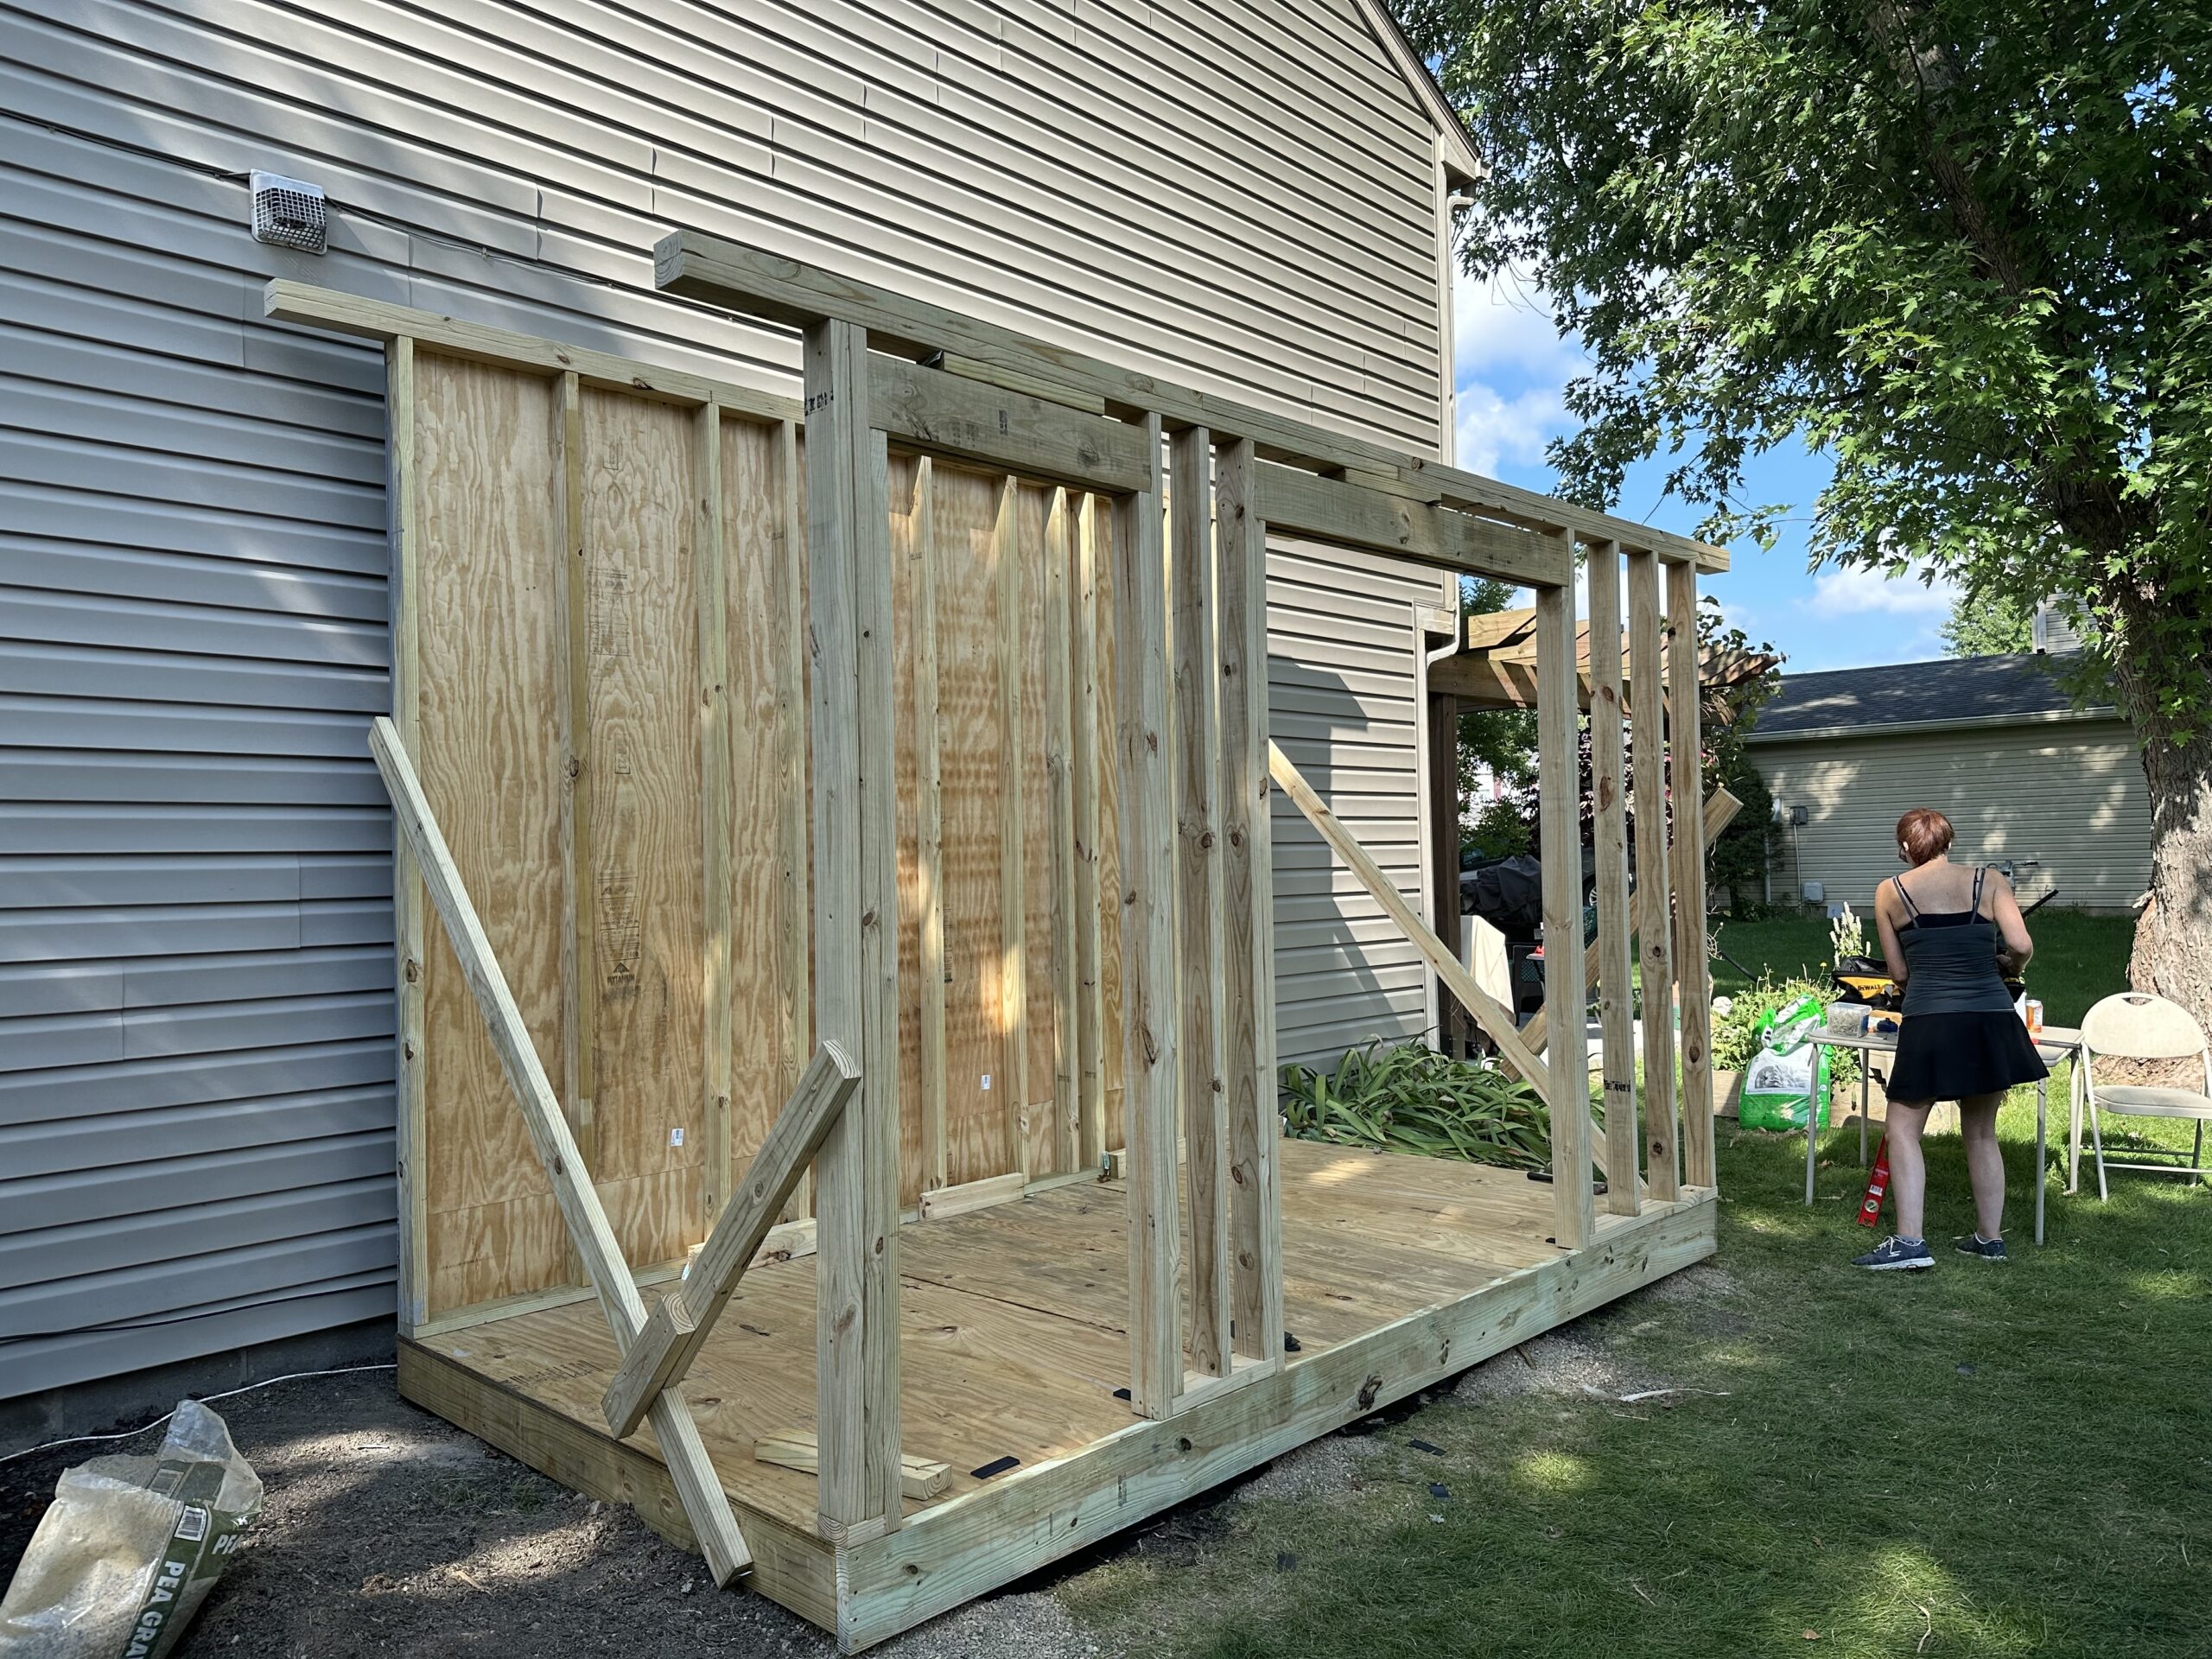
Building the front wall of Rich & Katie’s shed required framing two door openings in a load-bearing wall. Today we learn how to frame a door opening…and do a whole lot of math to make it happen! 😎
The front wall in place by the end of Day 5
Welcome to the 5th Installment of Building Rich & Katie’s Shed
In our last post, we framed, sided, painted, and raised the back wall which will support the roof. In this post, I’ll take you through building the front wall.
Like the back wall, the front wall is a load-bearing wall, supporting the weight of the roof structure. Building the front wall will require us to frame two door openings in a load-bearing wall.
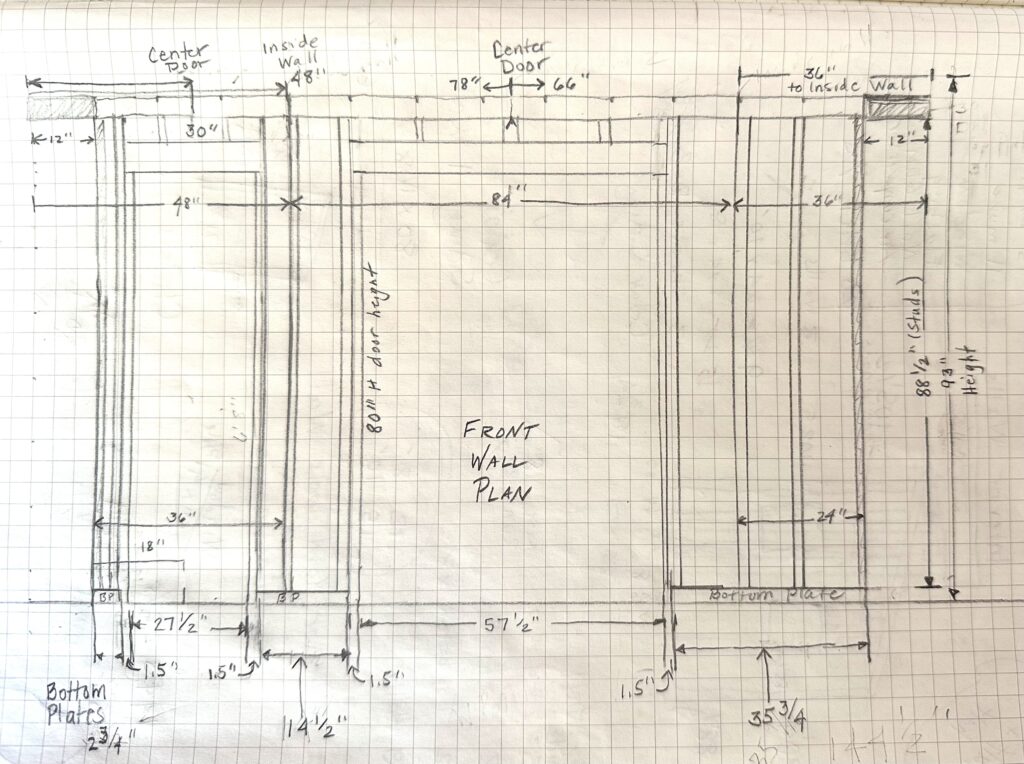
Here is the plan on paper:
Materials
2 2 x 4 x 14’ boards (top plate)
13 2 x 4 x 8’ boards
2 2 x 6 x 8’ boards (door headers)
Building the Front Wall
Table of Contents
Building a Wall with Door Openings
Step One: Measuring and Marking the Floor
August 25th, Day 5: Building the Front Wall
Weather Report
It is still really hot and humid. Ugh. It’s going to be a long day…!
My Garage Office
So, I wanted to show you my garage desk. Mission Control if you will. I borrowed the box that Rich’s electric lawn mower came in, closed it up, and turned it on its side. It worked out great as a standing desk. And it came complete with a fan that blows at my legs!
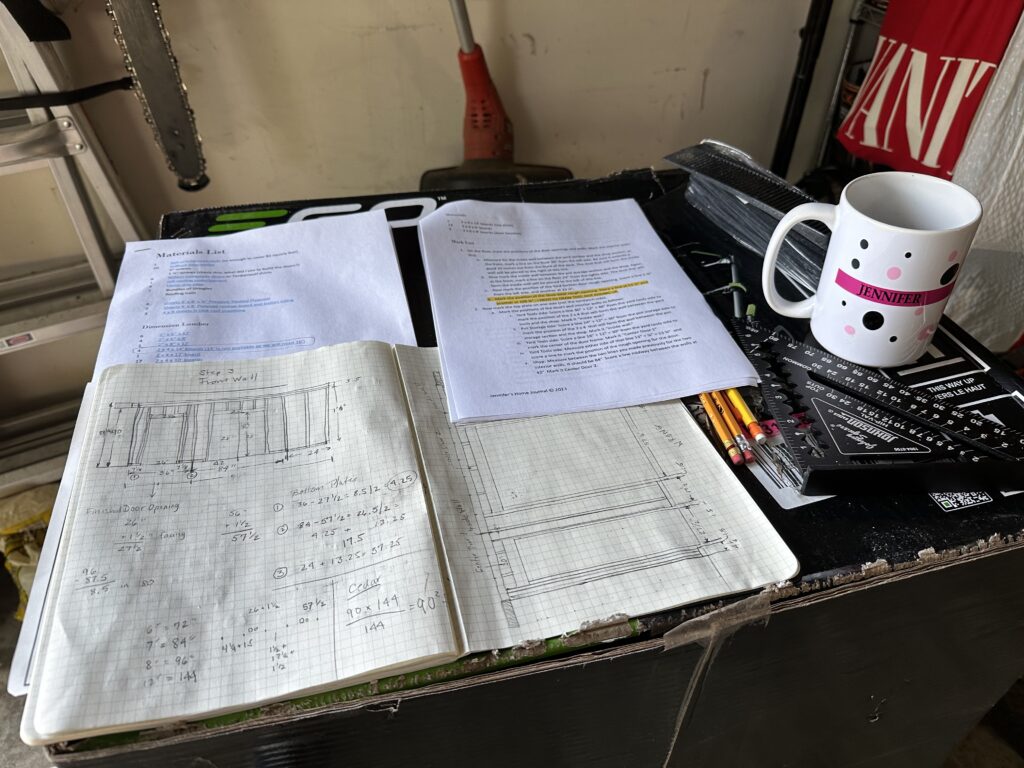
Mission Control: My garage standing desk
Framing a Wall with Door Openings
We already know that walls are generally framed with 2 x 4s placed 16” on center. We deviated from that plan for the back wall only to add a few extra studs as nailers for the interior walls to fasten to.
The front wall has two door openings—one of them for a double door. Since framing a door opening requires removing multiple studs, we must provide support above each opening with a header sized to support the weight of the roof. To determine the size of the header needed, you can use a door header size calculator such as this one. One 4 x 6 is recommended for a 58″ door opening, so I will use two 2 x 6s.
As with the back wall, we used a double top plate and a single bottom plate. BUT…the bottom plate was not one continuous piece of wood, again, because of the door openings.
The calculations for the front wall made me crazy. I struggled to get the numbers for the bottom plates, door openings, and door facings to add up correctly. I finally did, although the math was really tedious. But the plan has to be right if the build is going to be right. So I worked until I got it right!
I think of framing a wall with door openings as sort of like building with legos. Everything has to be pieced together so it holds together; like putting together a puzzle. Since I was using screws, the way I pieced things together was especially important, as I didn’t want to have to do a lot of toe-nailing (or in my case, toe-screwing).
Step One: Measuring and Marking the Floor Deck
I started by marking the positions of the door openings and walls on the floor deck. Starting from the left (tool storage) side of the shed, I marked where the interior wall between the tool storage room and the shop would go, striking a line 36” from the edge of the deck. The stud wall would be placed on the right (shop) side of that line. I made sure to extend my line out beyond where the front wall would sit.
Next, I marked the wall between the potting shed and the shop, measuring 24” from the right side of the deck. The stud wall between these two rooms would be placed to the left (shop) side of that line.
After that, I marked the position of the rough door openings, marking the center of each door opening first, I measured for rough openings of 27 ½” for the tools door and 57 ½” for the shop doors.
Finally, I cut the two top plates to 14’ and marked one of them with the position of each stud, marking an on-center mark, then ¾” on either side to place the edges of each stud.
Step Two: Cut the Pieces & Lay them Out
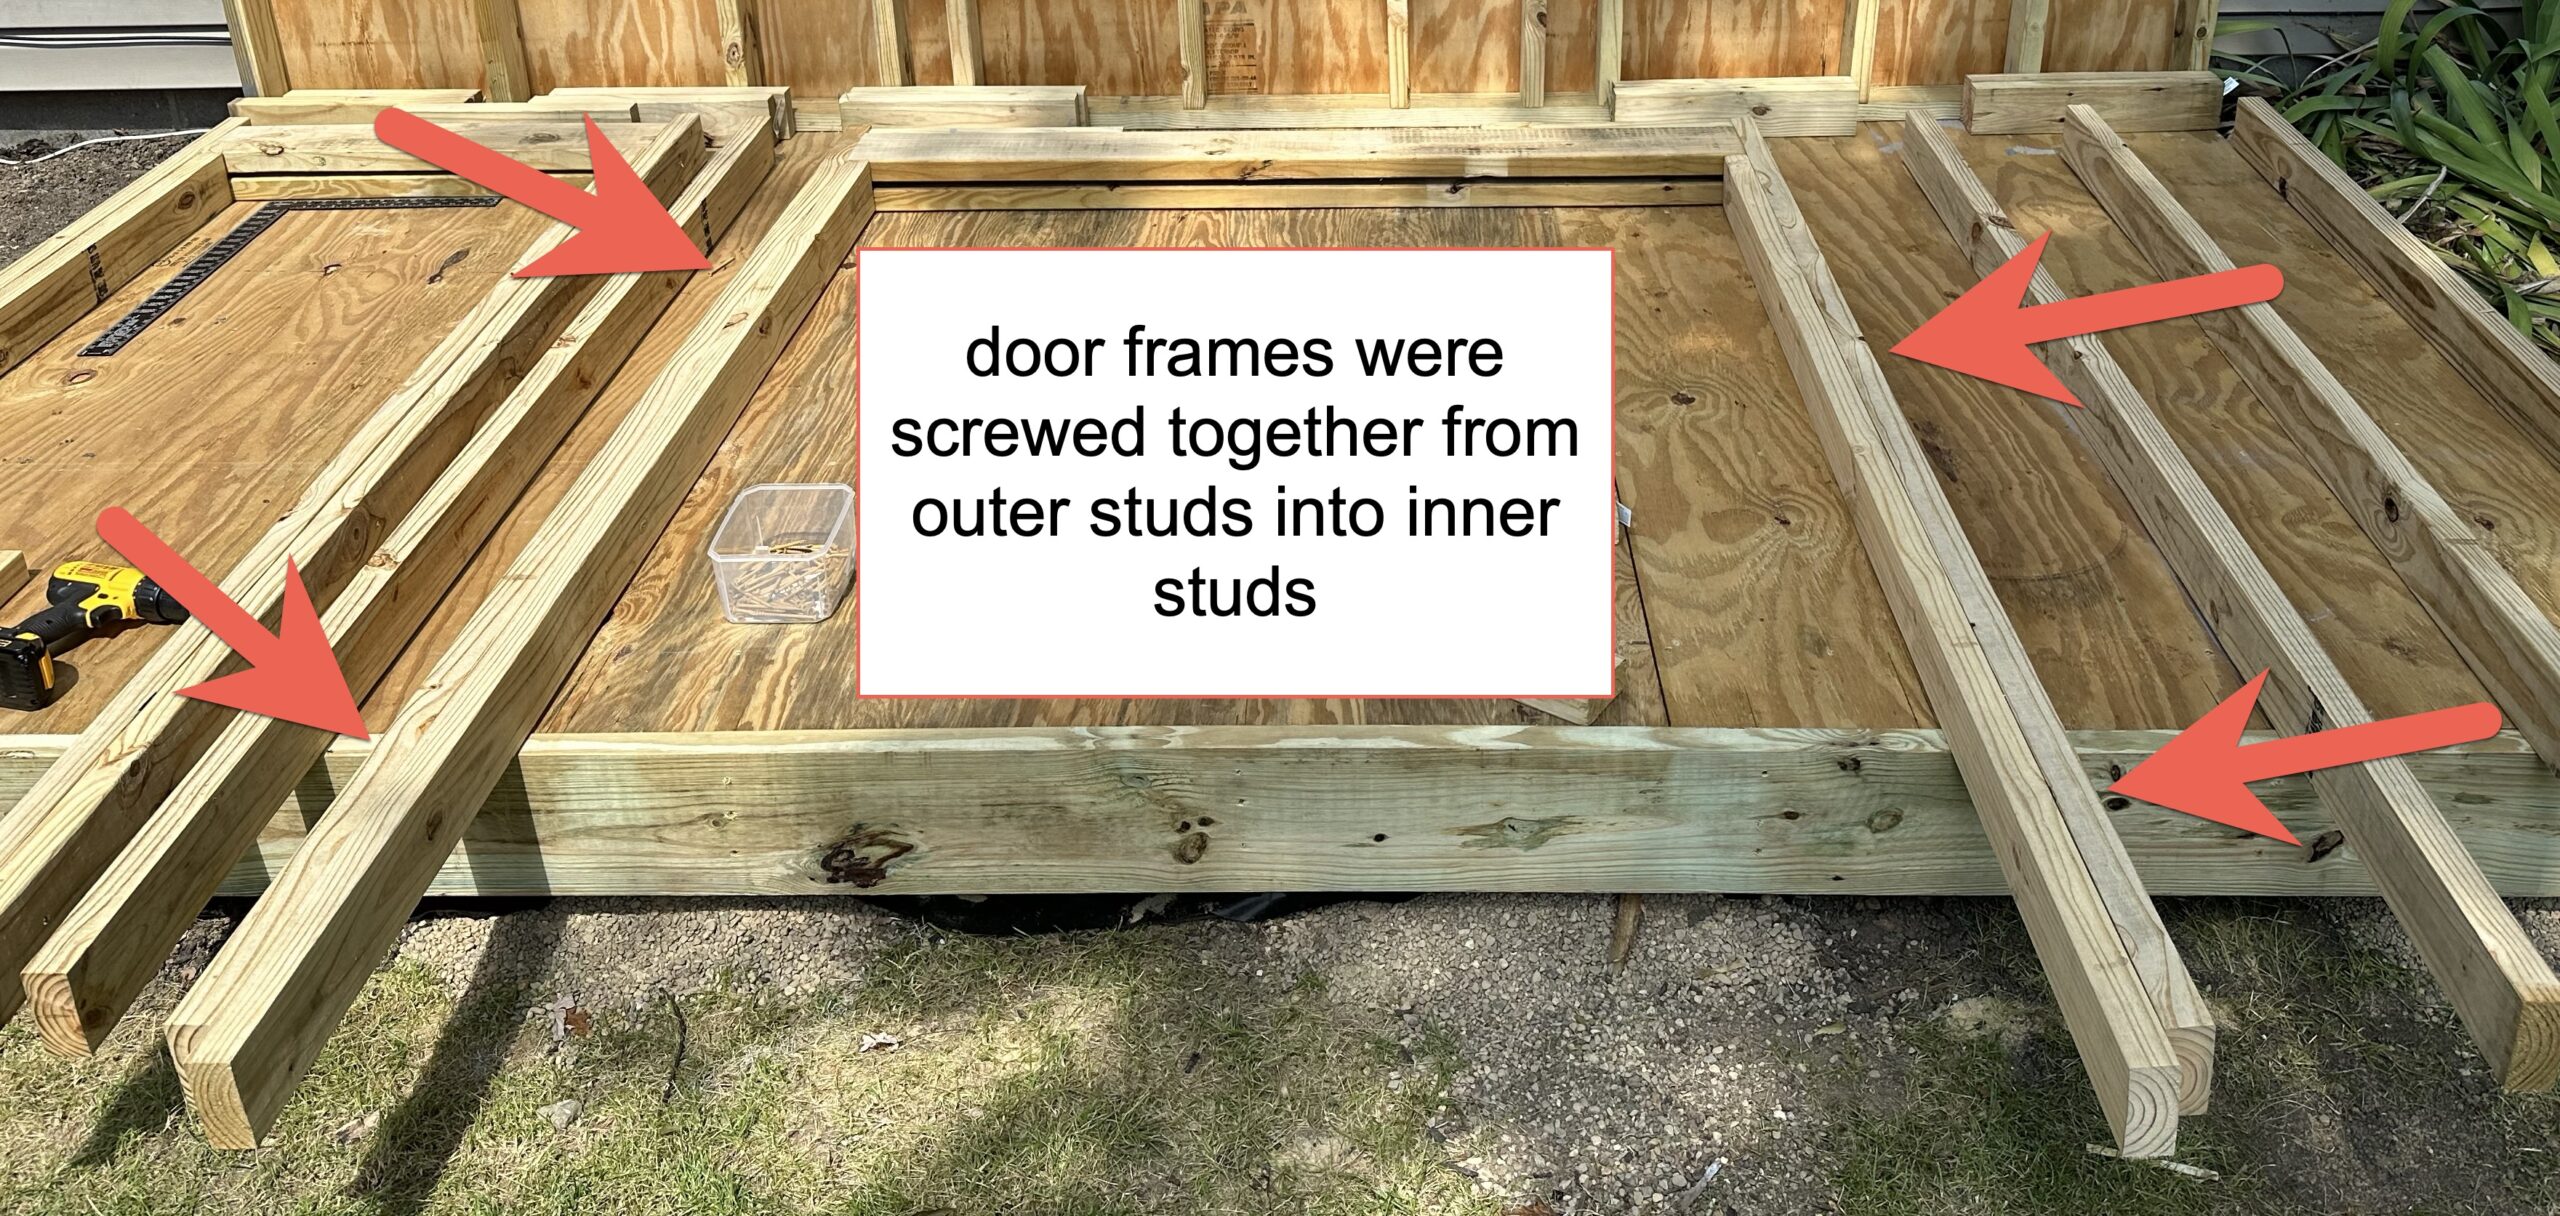
I cut the rest of the pieces according to my cut list and laid everything except the top plates out on the floor of the shed with the top of the wall against the back wall and the bottom hanging out over the front of the deck. If you zoom in on this first picture, you can see that none of the pieces are put together yet. I am just laying out the pieces of the puzzle to get ready to frame the door openings.
Notice that each door has two upright pieces on either side of the door opening, with one longer than the other. The four inside studs that make up the door frame will sit directly on the floor deck and are cut to the height of the door (80″). These pieces will hold up the headers. The rest of the studs are cut to sit on the bottom plate and extend all the way up to the underside of the top plate.
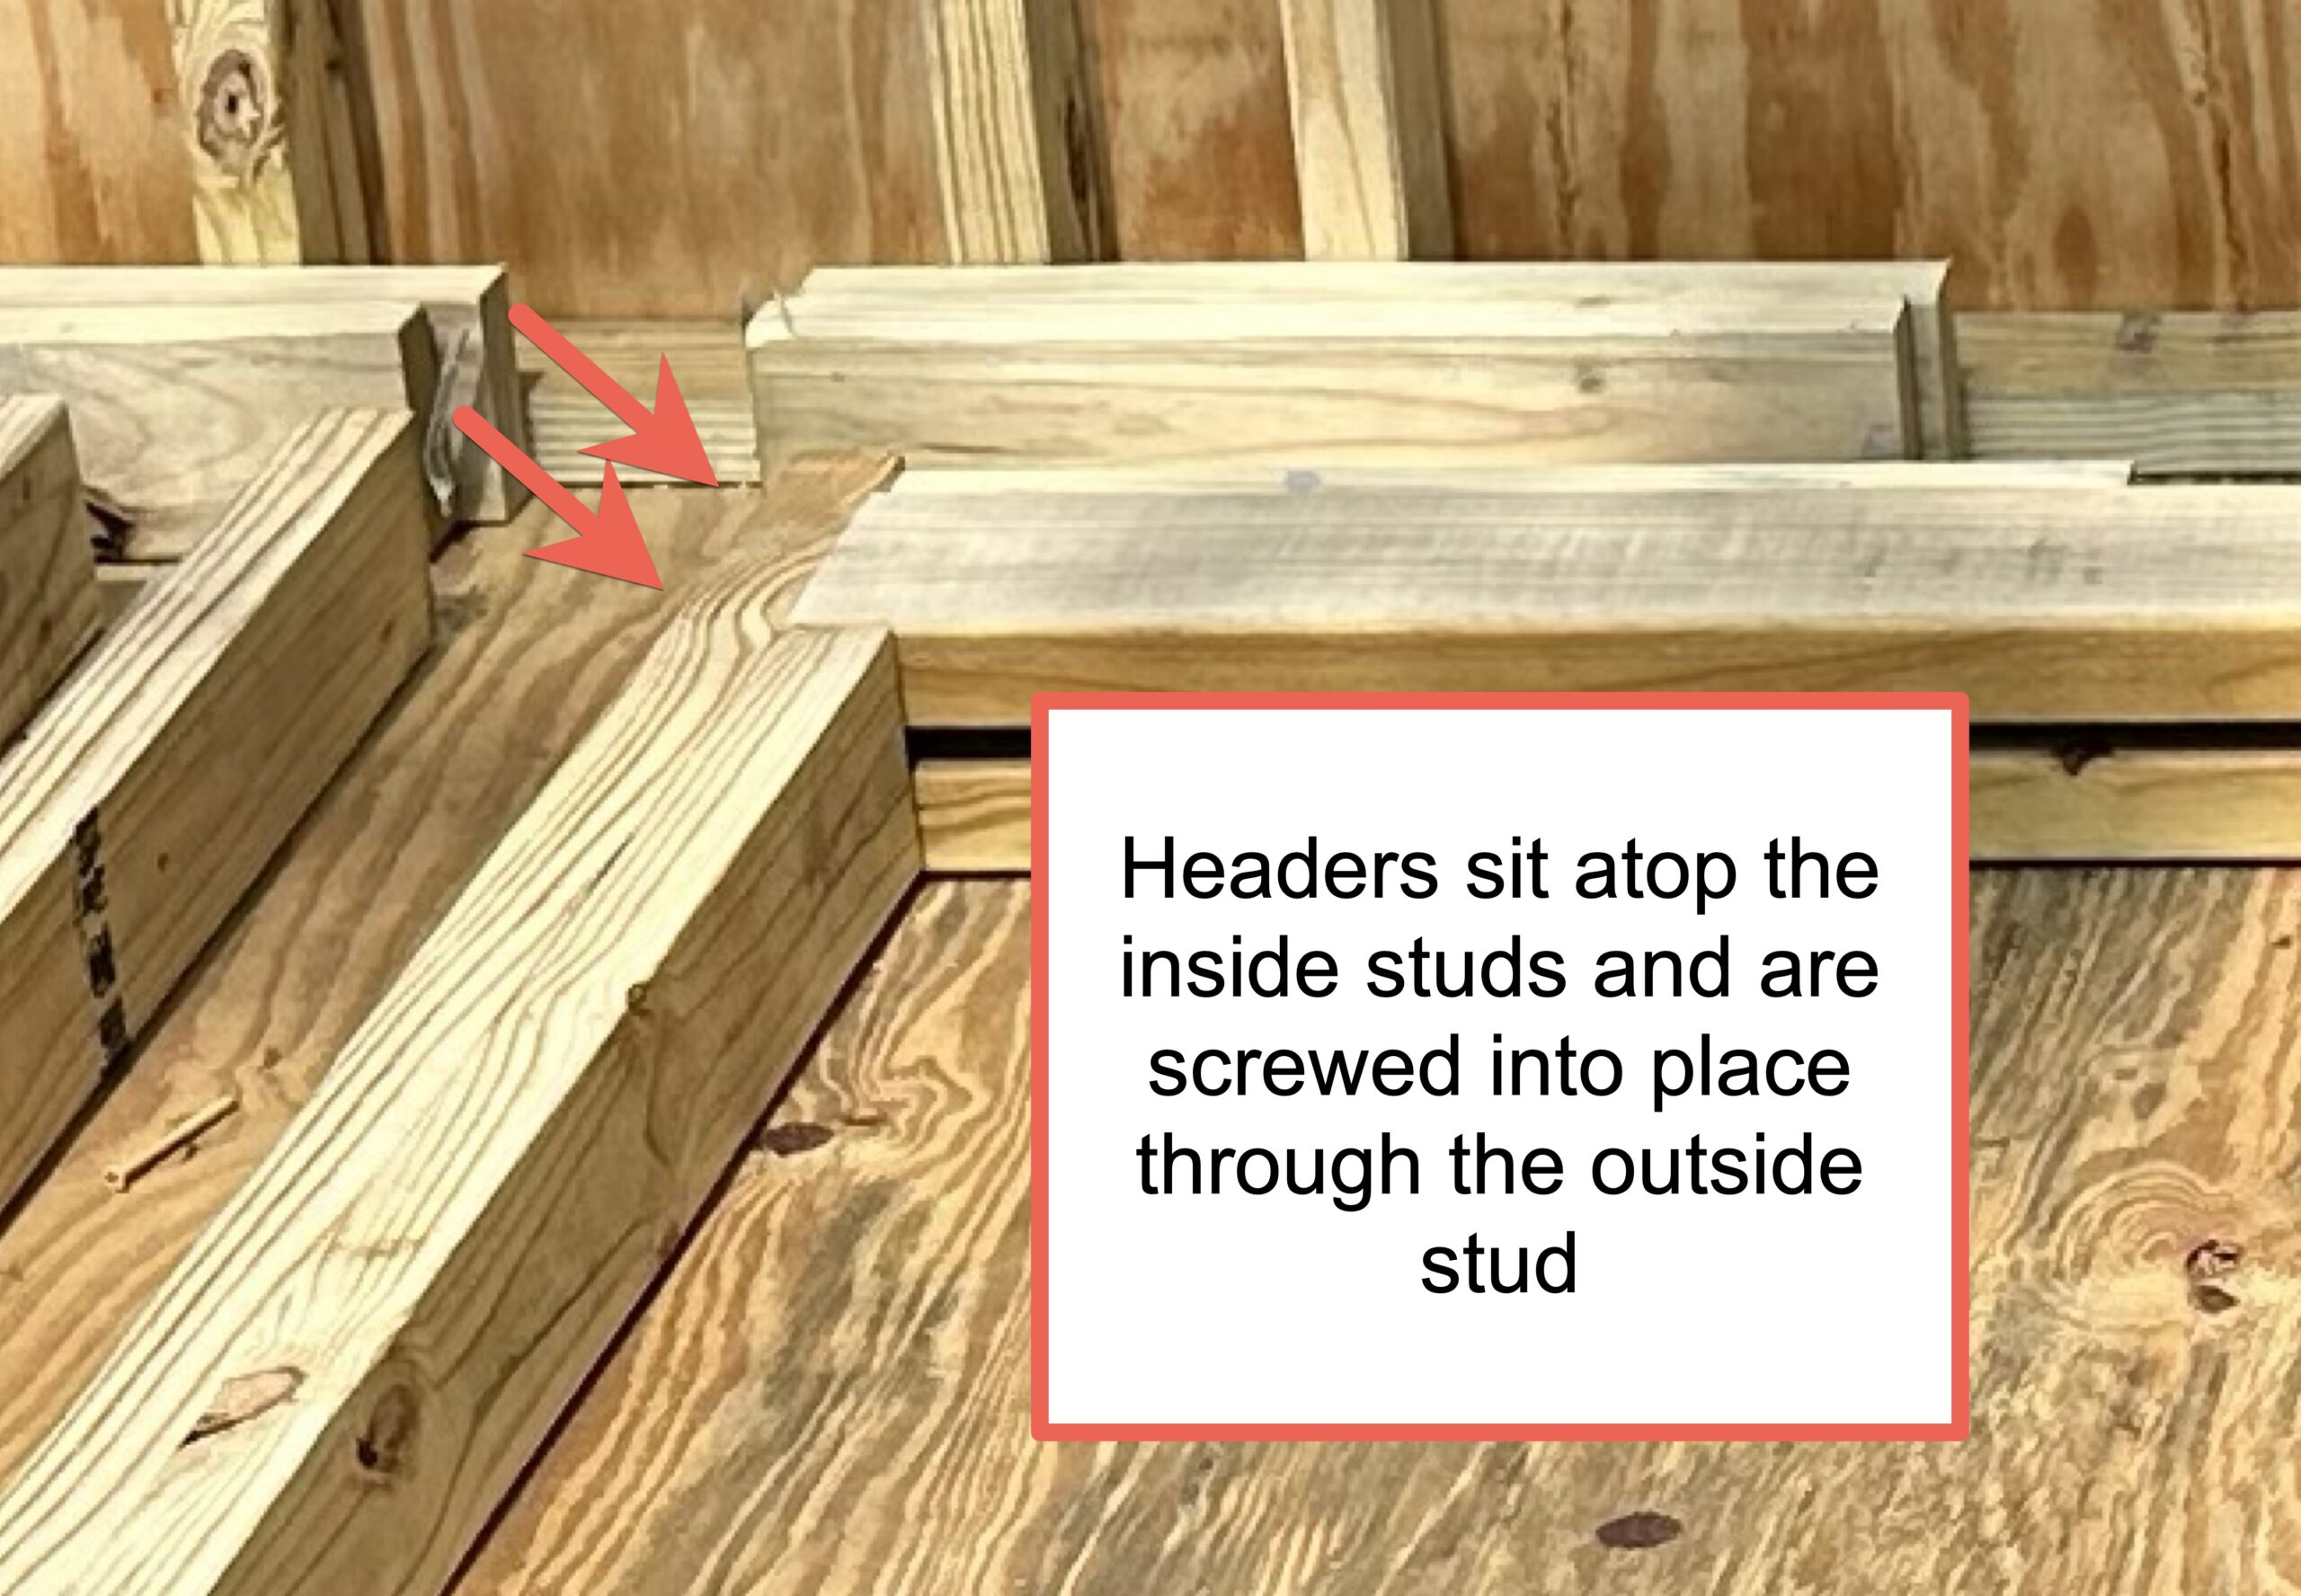
Notice that the headers above each door opening are 2 x 6s, and there are two above each door to support the roof. They rest on top of the door frame and attach to the studs that attach to the door frame. They are sized to provide the support necessary for the roof above.
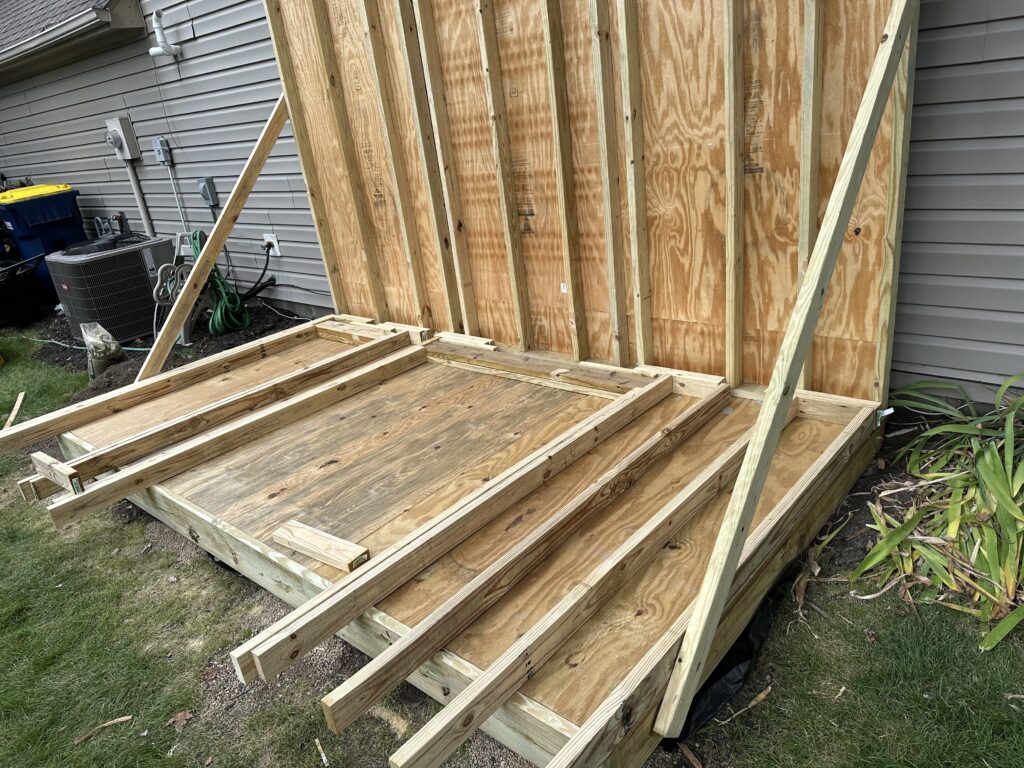
Pieces of the front wall laid out on the floor deck
Step 3: Building the Wall
The first order of business was to screw the door frames together. I used 2 ½” screws to screw together each of the two studs that made up the door openings, screwing from the 88 ¼” studs on the outside into the 80″ door frame pieces on the inside. I screwed from outside to inside to avoid running into the screwheads later when I finished the door openings with 1 x 6” boards.
Next, I screwed the headers in, again, working from the outside stud into the end of each header, and spacing the headers pieces apart from one another so that they were flush with the edges of the studs. (You can see a slight space betweeen each double header.)
Once the door frames were screwed together, I screwed the bottom plates into place, screwing up through each bottom plate into the end of each stud in the wall. The bottoms of the door frames were then screwed to the end of bottom plates.
Then I temporarily attached scrap pieces across the top of the wall so we could flip the whole thing over in order to attach the top plate to the top ends of the studs.
Screwing in the headers
Bottoms Up!
Katie and Rich took the afternoon off to help with the rest of the build. Together, we flipped the entire wall over so that the bottom plate now faced the back wall and the top hung out over the front edge of the deck, making it accessible to us we could attach the top plate.
After removing the temporary braces, we attached the top plate to the ends of the studs, lining up each stud with the marks I had scored on one of the plates to mark their positions. Finally, the second top plate was screwed onto the first one, and we were ready to put it in place.
Raising the wall once again required the help of a few of our wonderful neighbors, without whom we could never have stood this thing up! (Katie was pretty sure she could do it single-handedly, but she was so wrong.) We wrangled it upright, positioned it at the front edge of the floor deck, leveled it, and braced it against the foundation.
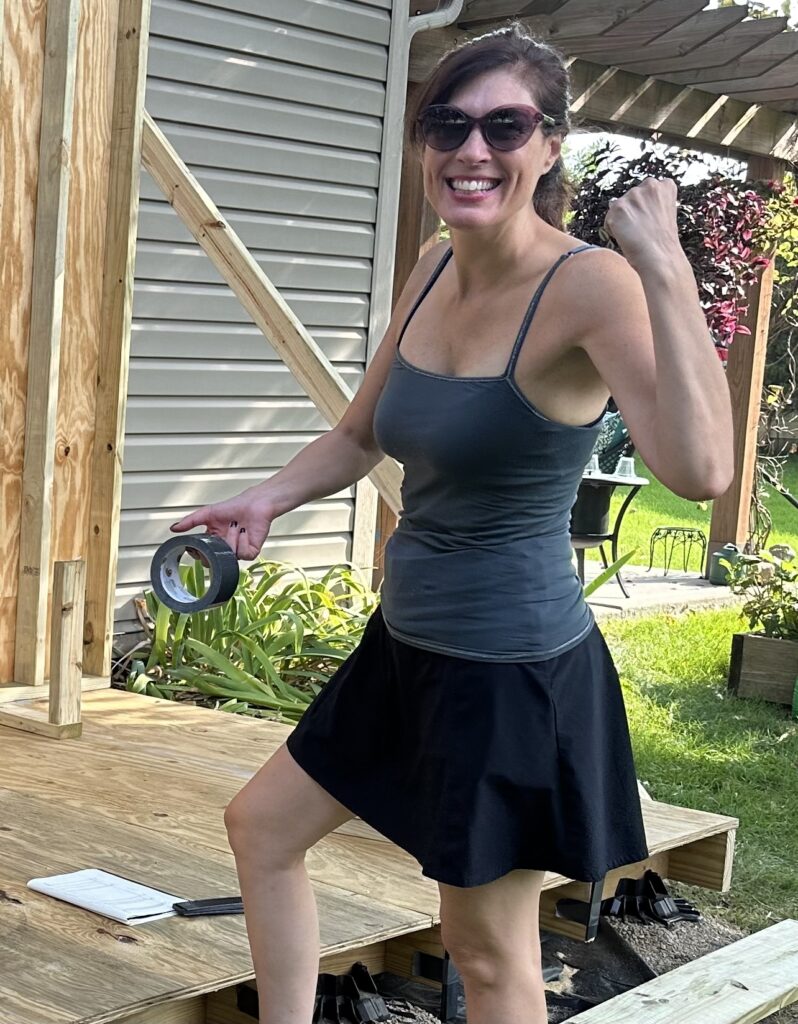
The Mighty Katie
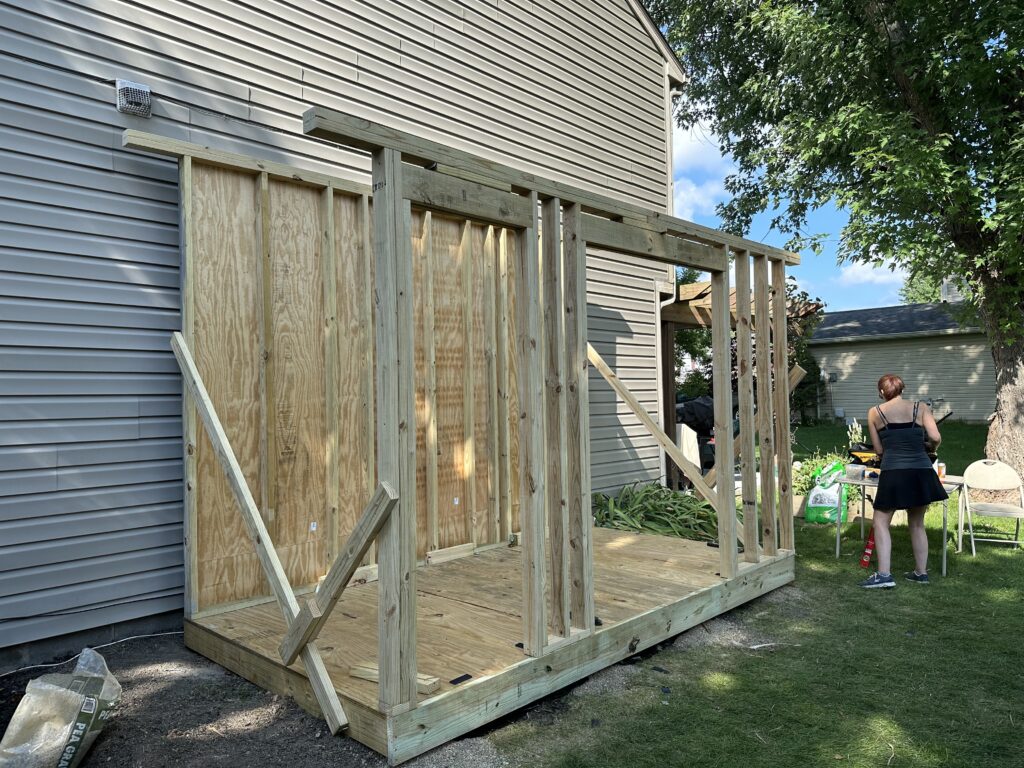
Front wall braced in place
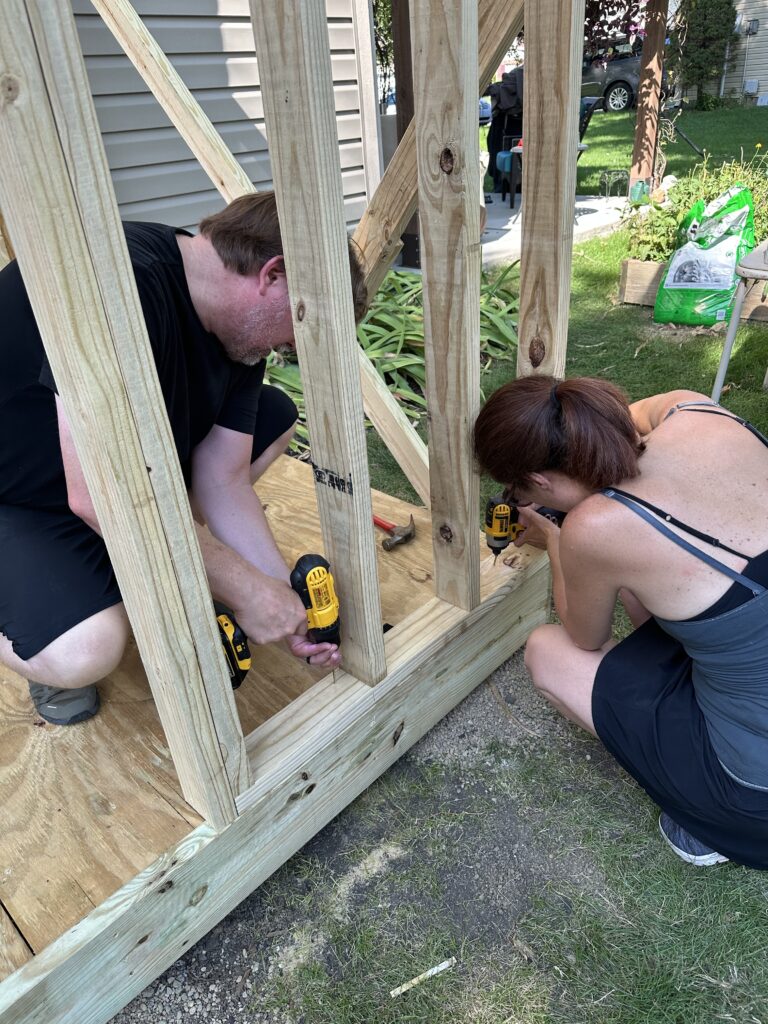
Screwing down the bottom plate. Note the marks on the floor: the stud by Rich’s knee is lined up with the mark for the rough door opening. The line 3/4″ to the left marks where the door trim will go.
The last thing we did was to screw the bottom plate down through the decking into the 2 x 8 skirt piece and the 2 x 6 floor joists below using 3″ screws. And that was it! We had our front and back walls built.
Saturday we started on the side walls and the interior wall.
End of Day 5: Ta Da!! We have a front wall with two door openings!
What’s Next?
Next we will build the exterior side wall for the tool shed and the two interior walls. Stay tuned! Oh…and there will be a Kissing Booth and a Gin and Tonic Stand…
