Problem
↓
Solution
↓
Design
A shed design, like every project (I think) begins with a problem that begs a solution, and proceeds toward possible solutions that eventually birth a design. So began the story of Rich & Katie’s shed.
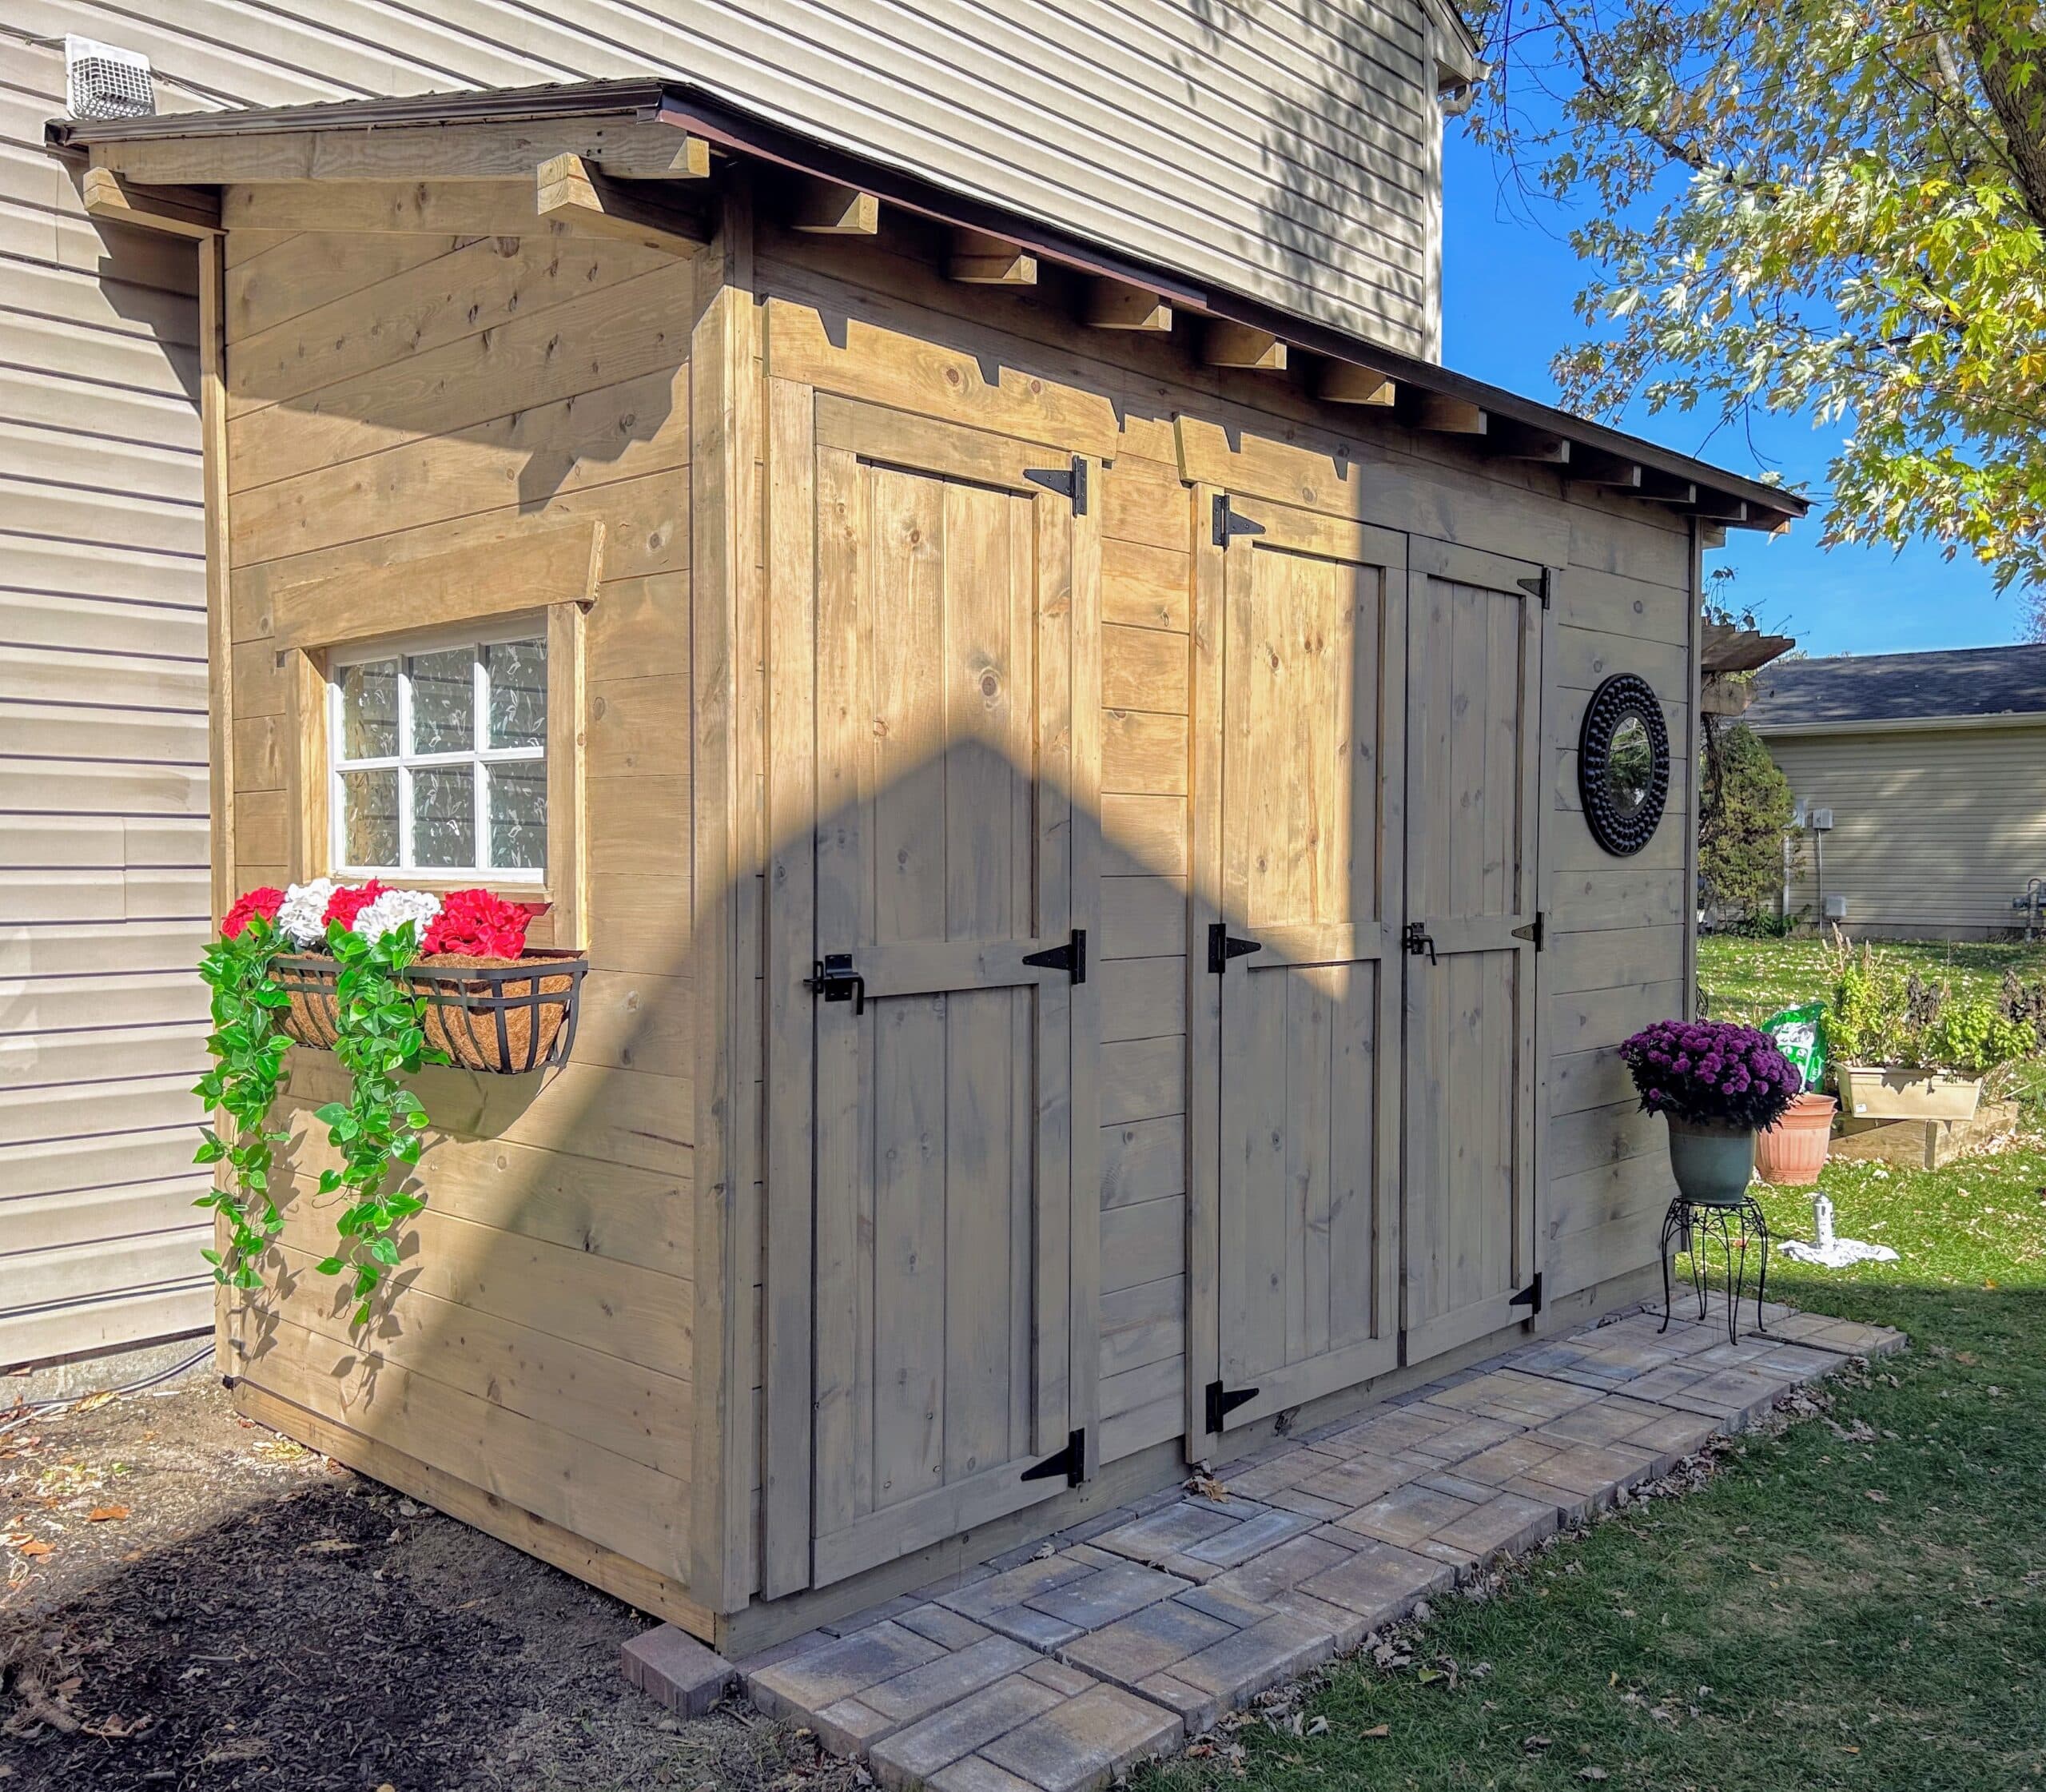
Rich & Katie’s shed in November of 2023
Identifying The Problem
Rich and Katie definitely had a problem.
They live in Indiana.
No, that’s not the problem (unless you’re me and you wish they lived closer, which is my problem, not theirs!)
The problem was they both have really cute cars which they insist on parking in their garage.
No, that wasn’t really the problem either.
The problem was that the garage was the only place they had to store everything they owned that wasn’t inside the house.
And I do mean everything.
We’re talking yard tools, power tools, a freezer, exercise equipment, shelves and shelves and boxes and boxes of stuff (some of which had not been opened since 2008). And then there was the cast-off stuff that Rich, in particular, couldn’t bear to part with, so he kept it in the garage “Just in case” someone wanted it. Or something.
But the BIG problem was that when Rich got out of his car after parking it at a precise angle to fit it in with Katie’s car and all the stuff, he had to squinch and sidle and duck his way out of his car and down the side of his car with his arms above his head to squeak past all of the stuff.
Katie also parked her car at an angle so Rich could fit his car in and do the sidling thing. She refused to sidle, however. Good for her. If Rich insisted on keeping all the stuff, he should be the one doing the sidling thing. Besides, the junk might snag her sequins!
It was clear that something had to be done.
Planting the Idea
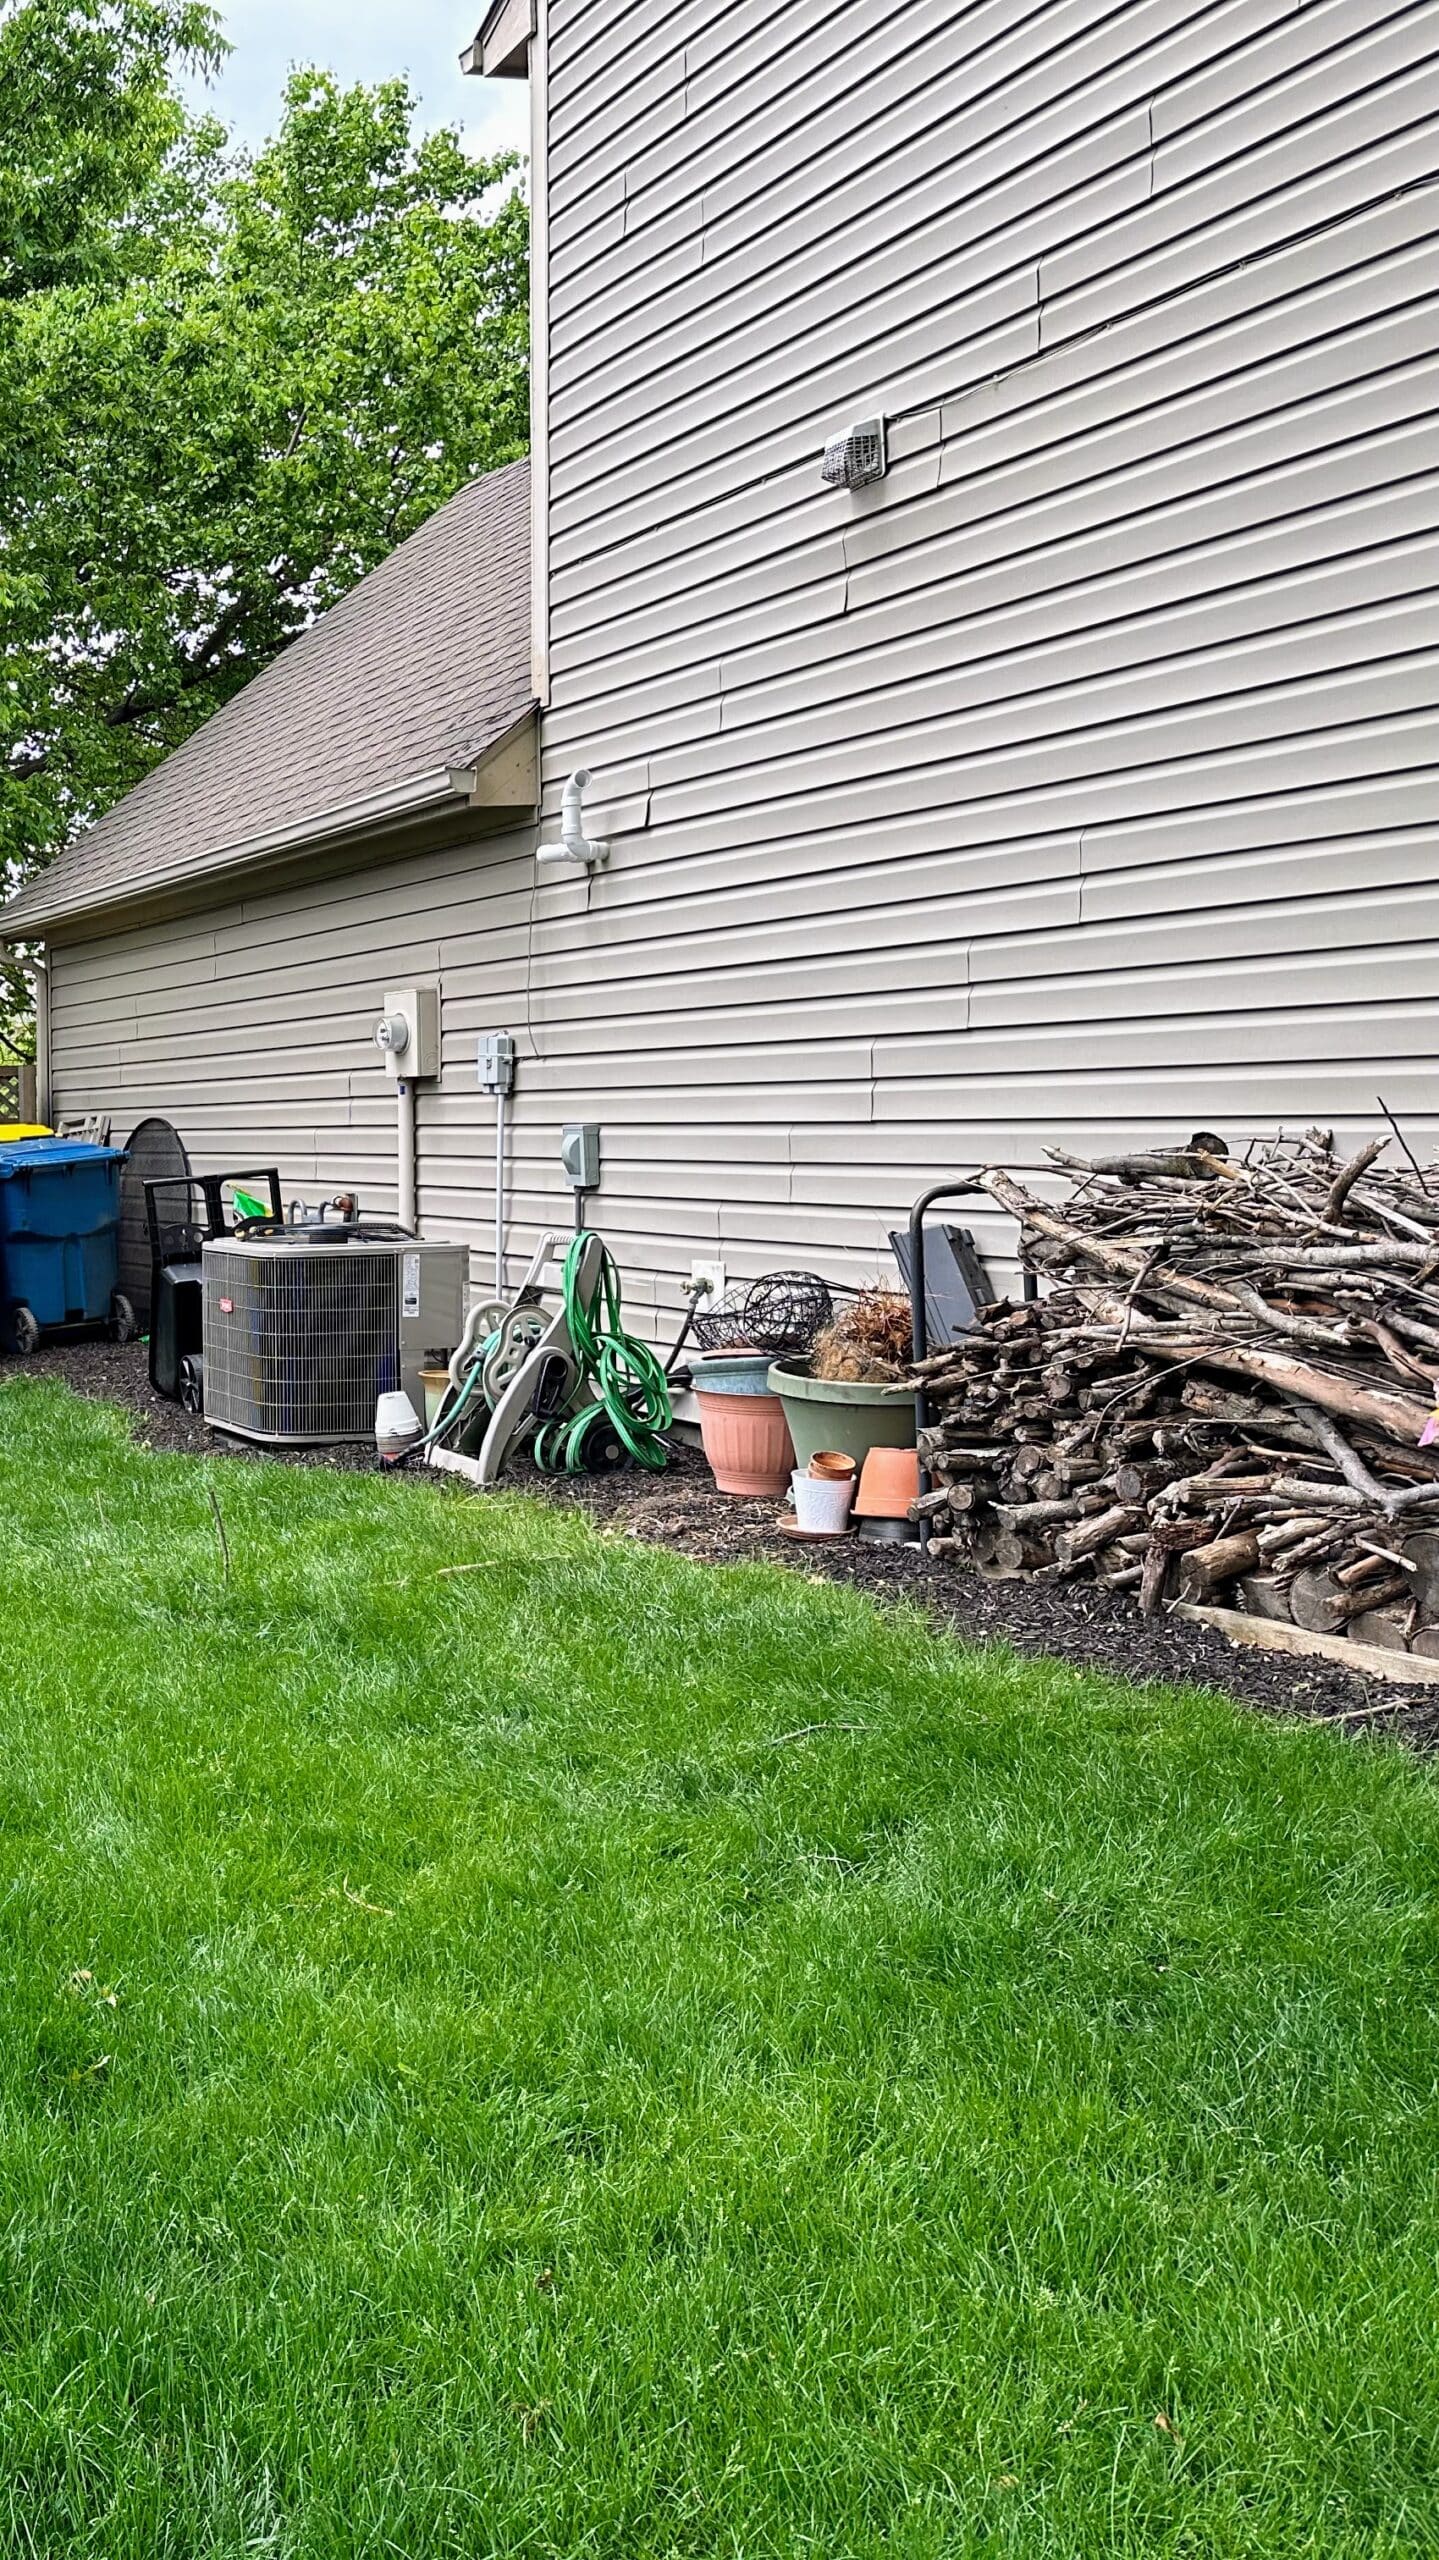
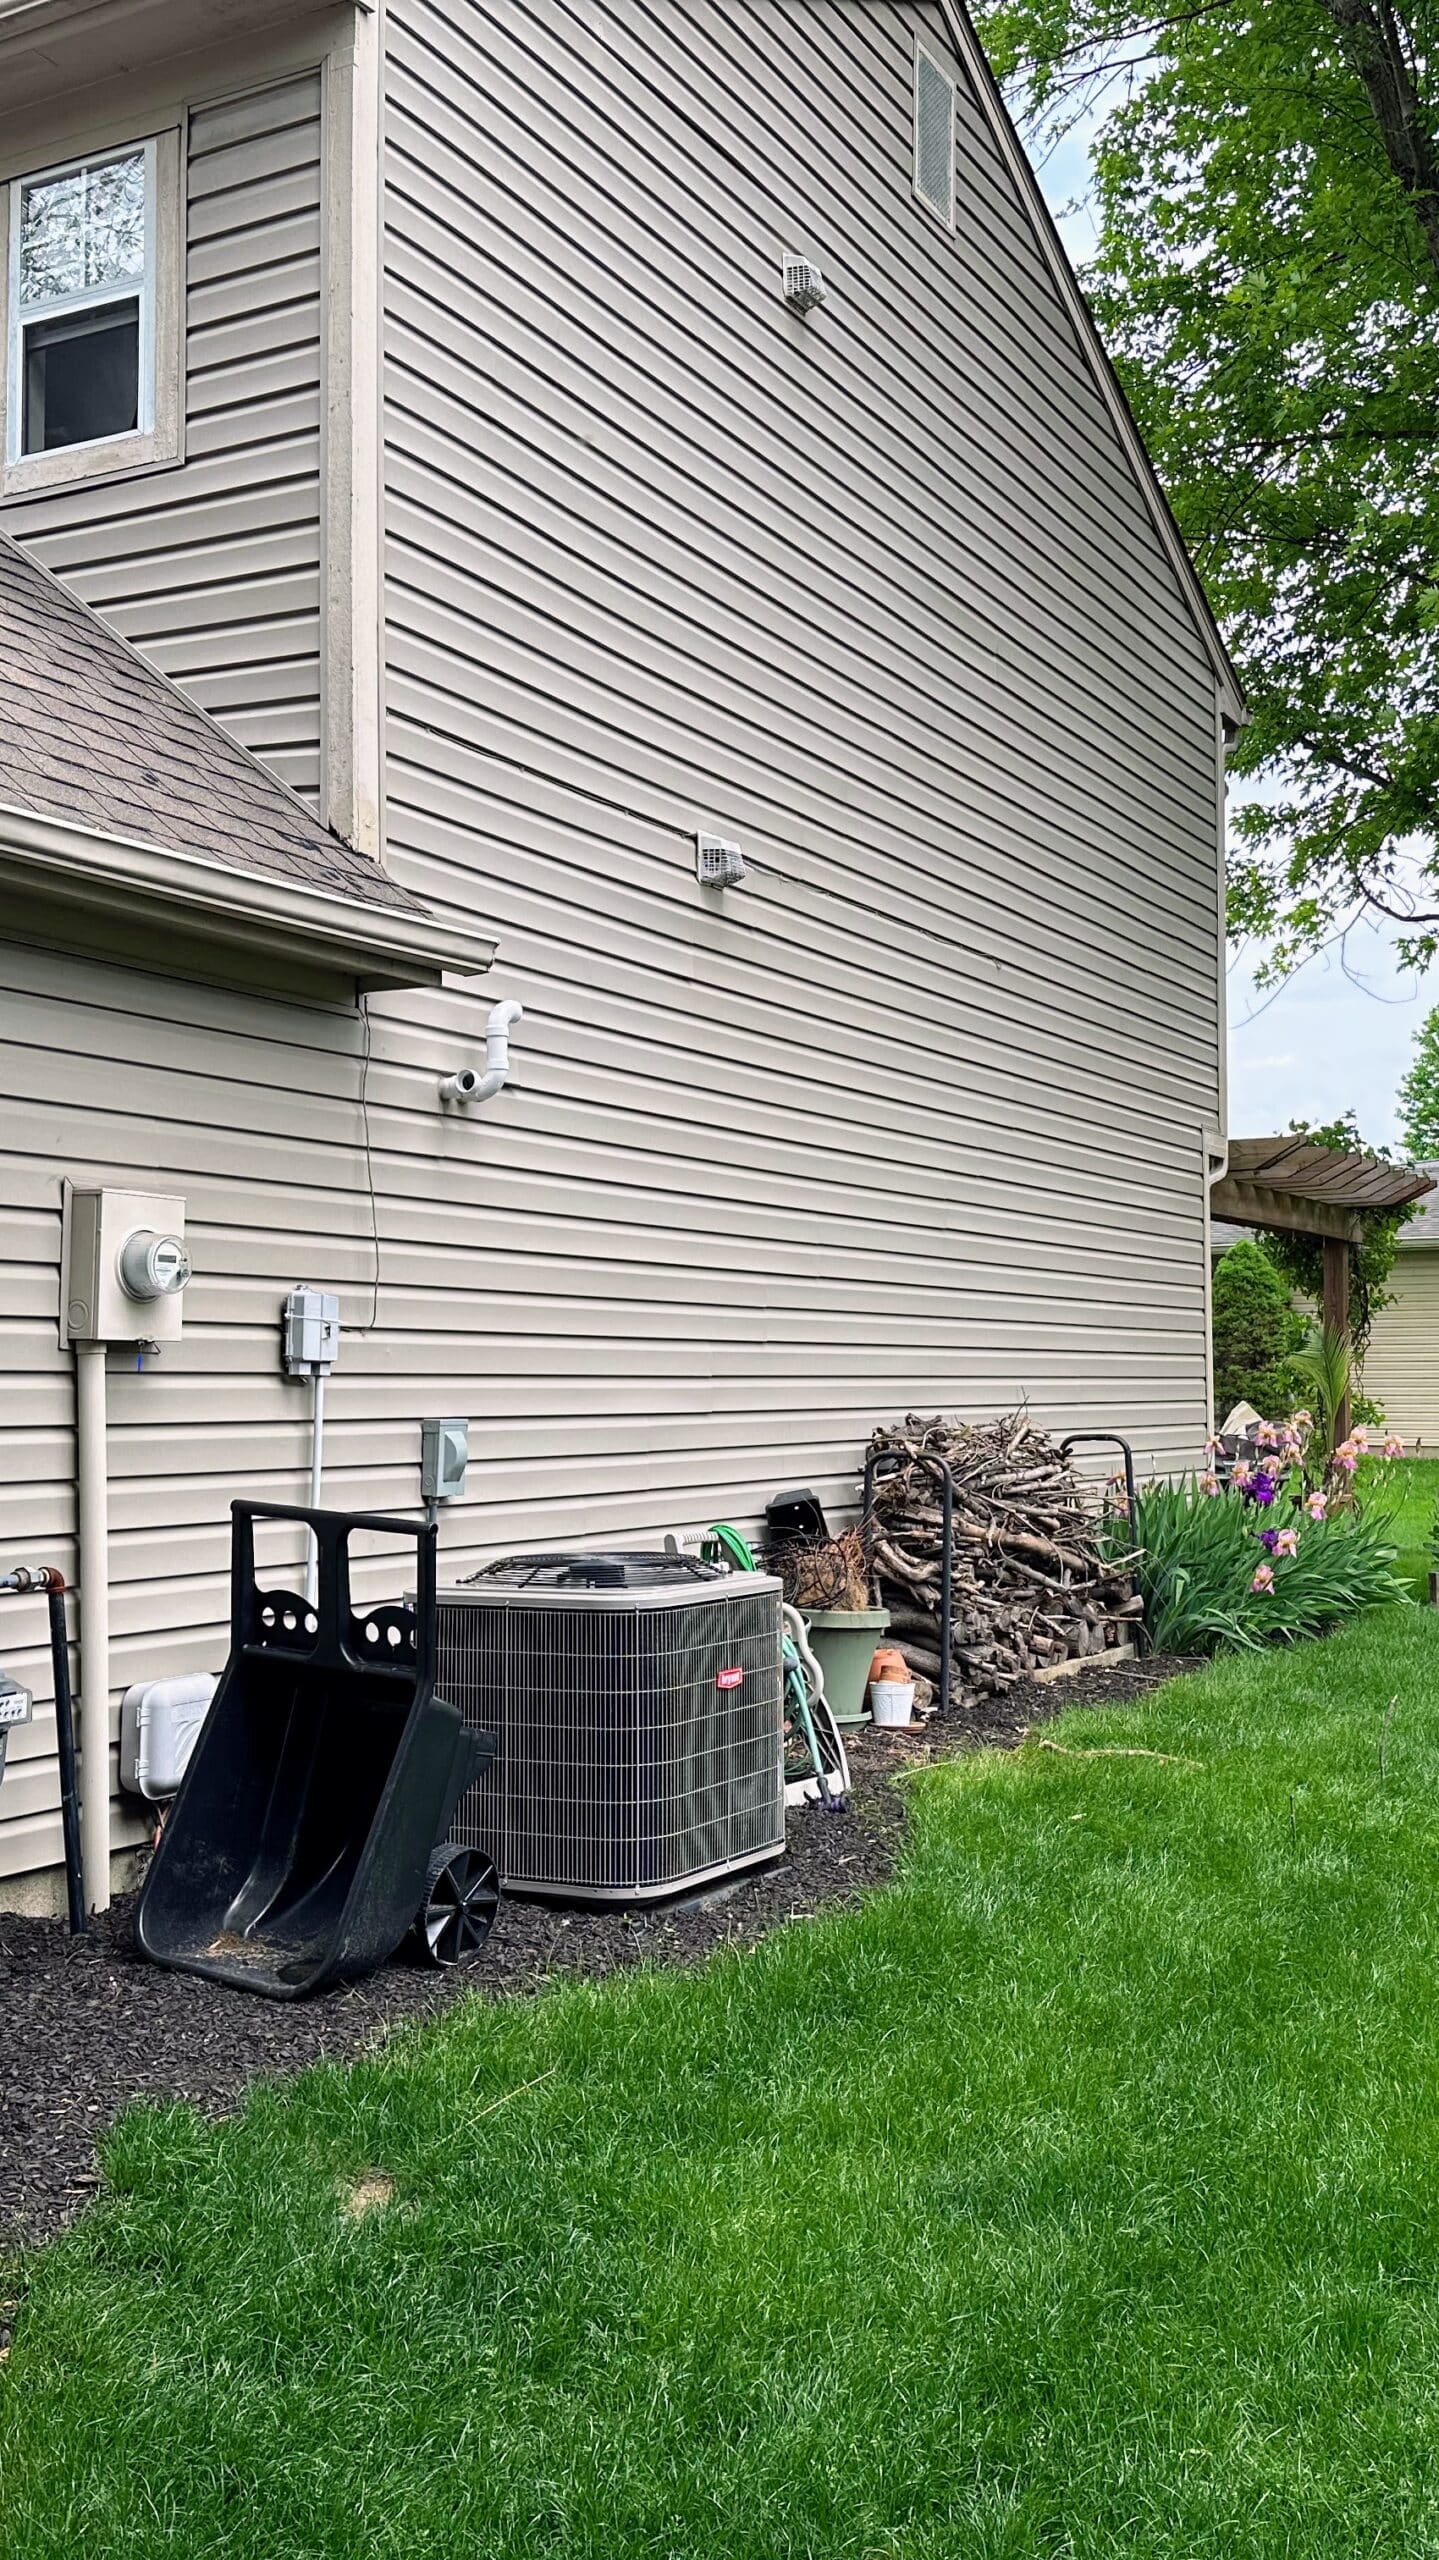
One evening over gin and tonics on his back patio, I asked Rich whether he wouldn’t like to do something, like maybe…build a shed right over there (pointing to the side of his house) to solve his parking and storage problem?
“Well, yeah, I would love that,” he says. “But we’d have to get Katie to agree. I’m not sure how she’d feel about that.”
(Really?)
Five minutes later, Katie was all in. Like it was her idea all along. (I’m not so sure it wasn’t.)
So the planning began.
Scheming, Dreaming, & Envisioning an Idea
We started thinking out loud immediately.
“You need a place for your yard tools and equipment, yes?”
“Definitely.”
“What else? How about a work space? A bench to work on, a place to work on stuff and fix stuff? A place to organize your tools so you can find them when you need them?”
“Yeah…well, hmm.”
Rich didn’t have a work bench and hadn’t even considered that he might need one. Now he started imagining needing a tool and actually knowing where it was. I got him to imagine being able to stand at a bench with light to work on fixing something rather than kneeling on the floor somewhere…
”Hmmm. Yeah. That would be good, I think.”
“And you need a place to store all of your garden stuff when you aren’t using it, like potting soil, pots, watering cans…and maybe a place to pot up plants and stuff.” I gestured to the bags of potting soil and the pots that were stacked against the house.
“Yeah. That would be good, too.”
“And you have firewood stacked against the house. Wouldn’t it be cool to have a place for that too?”
“Well yes!”


Measuring, Thinking, and Designing an Initial Plan
So we finished our gin and tonics, and guess what we did next?
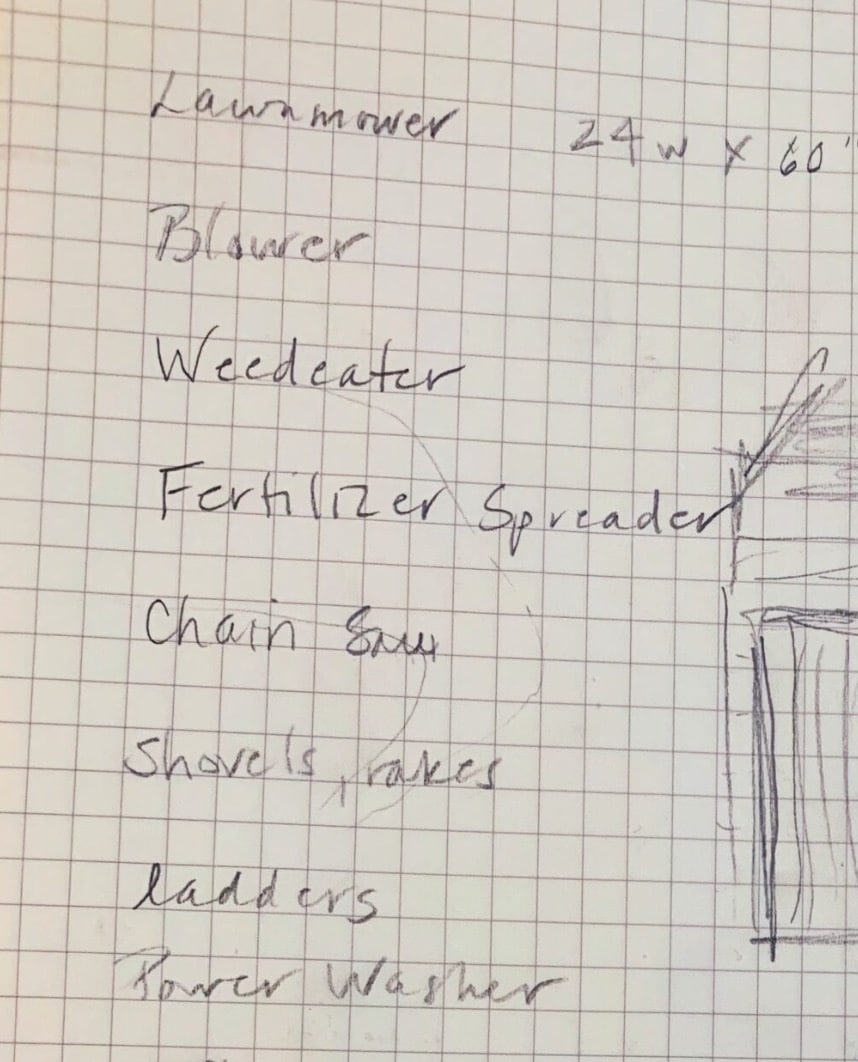
We got out ALL of the yard tools he wanted to keep and we dragged them out to the side yard to the site of the proposed shed. Then we parked the lawnmower in the space where the shed would go and measured how much space it took up. We figured a lot of his yard tools could hang on a wall, but the lawnmower had to wheel in without obstruction. We marked out a rectangle on the ground with a garden hose and pretended we were hanging stuff on the walls.
And we measured.
Rich determined which tools he wanted to keep and which ones he needed to get rid of (which was huge).
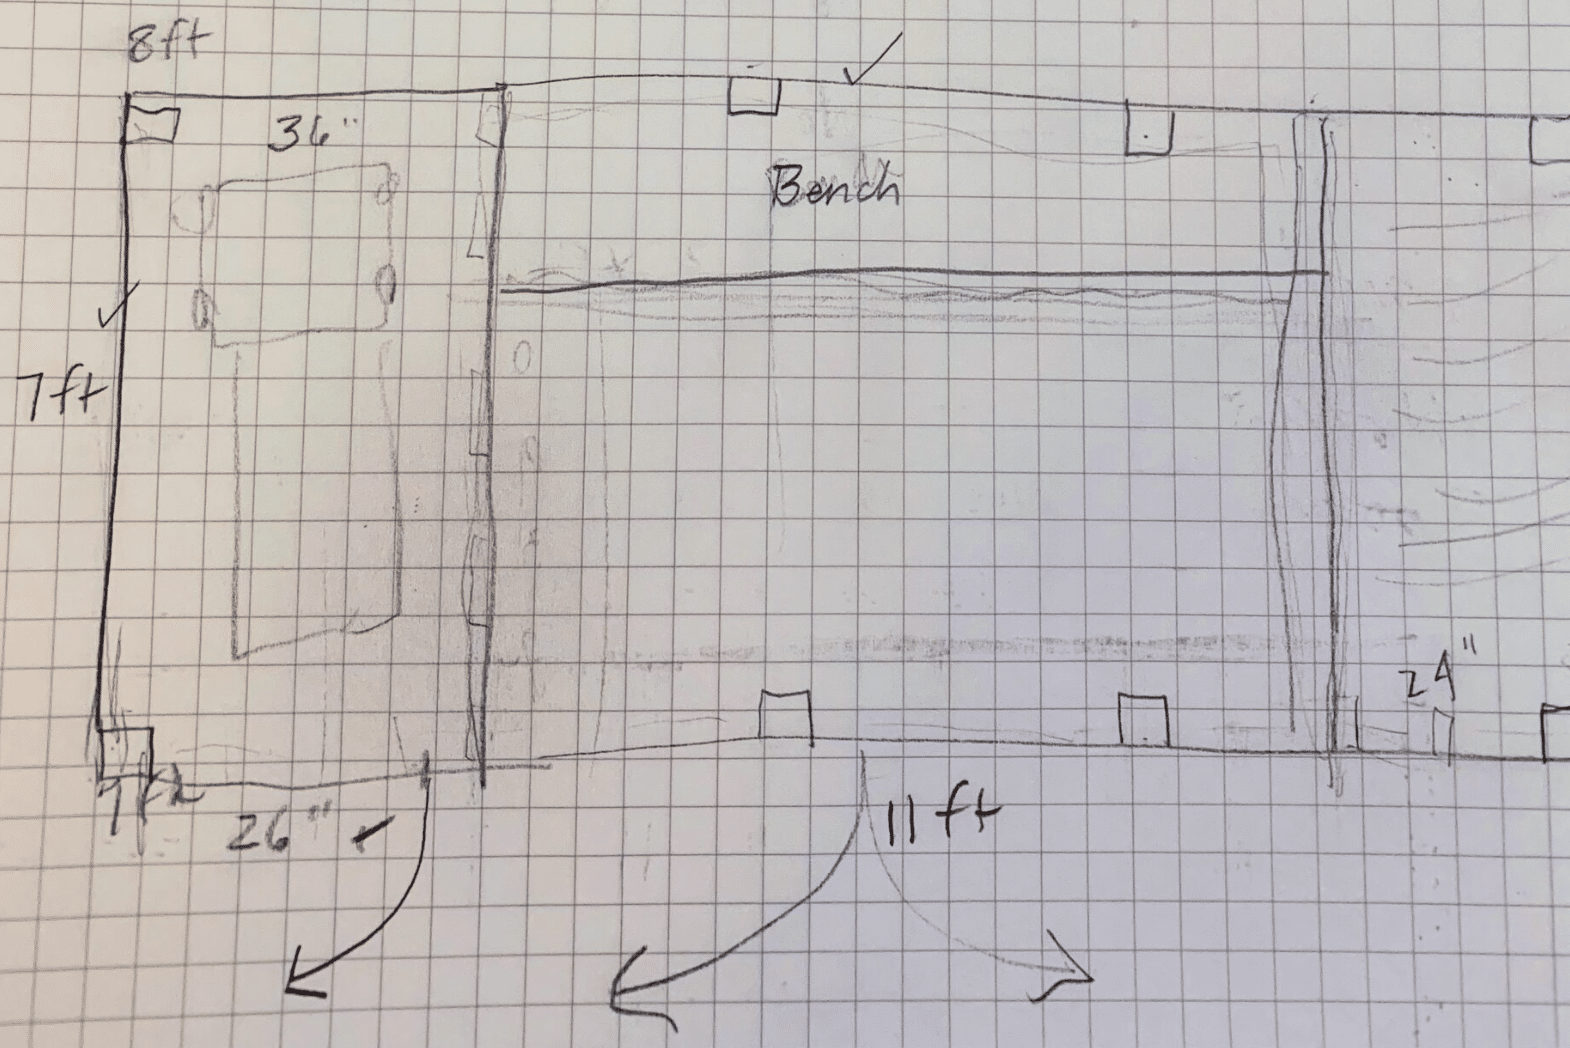
As a result of this real-world adventure in space, we determined that the yard tools section needed to be at least 6.5 feet deep and 36″ wide.
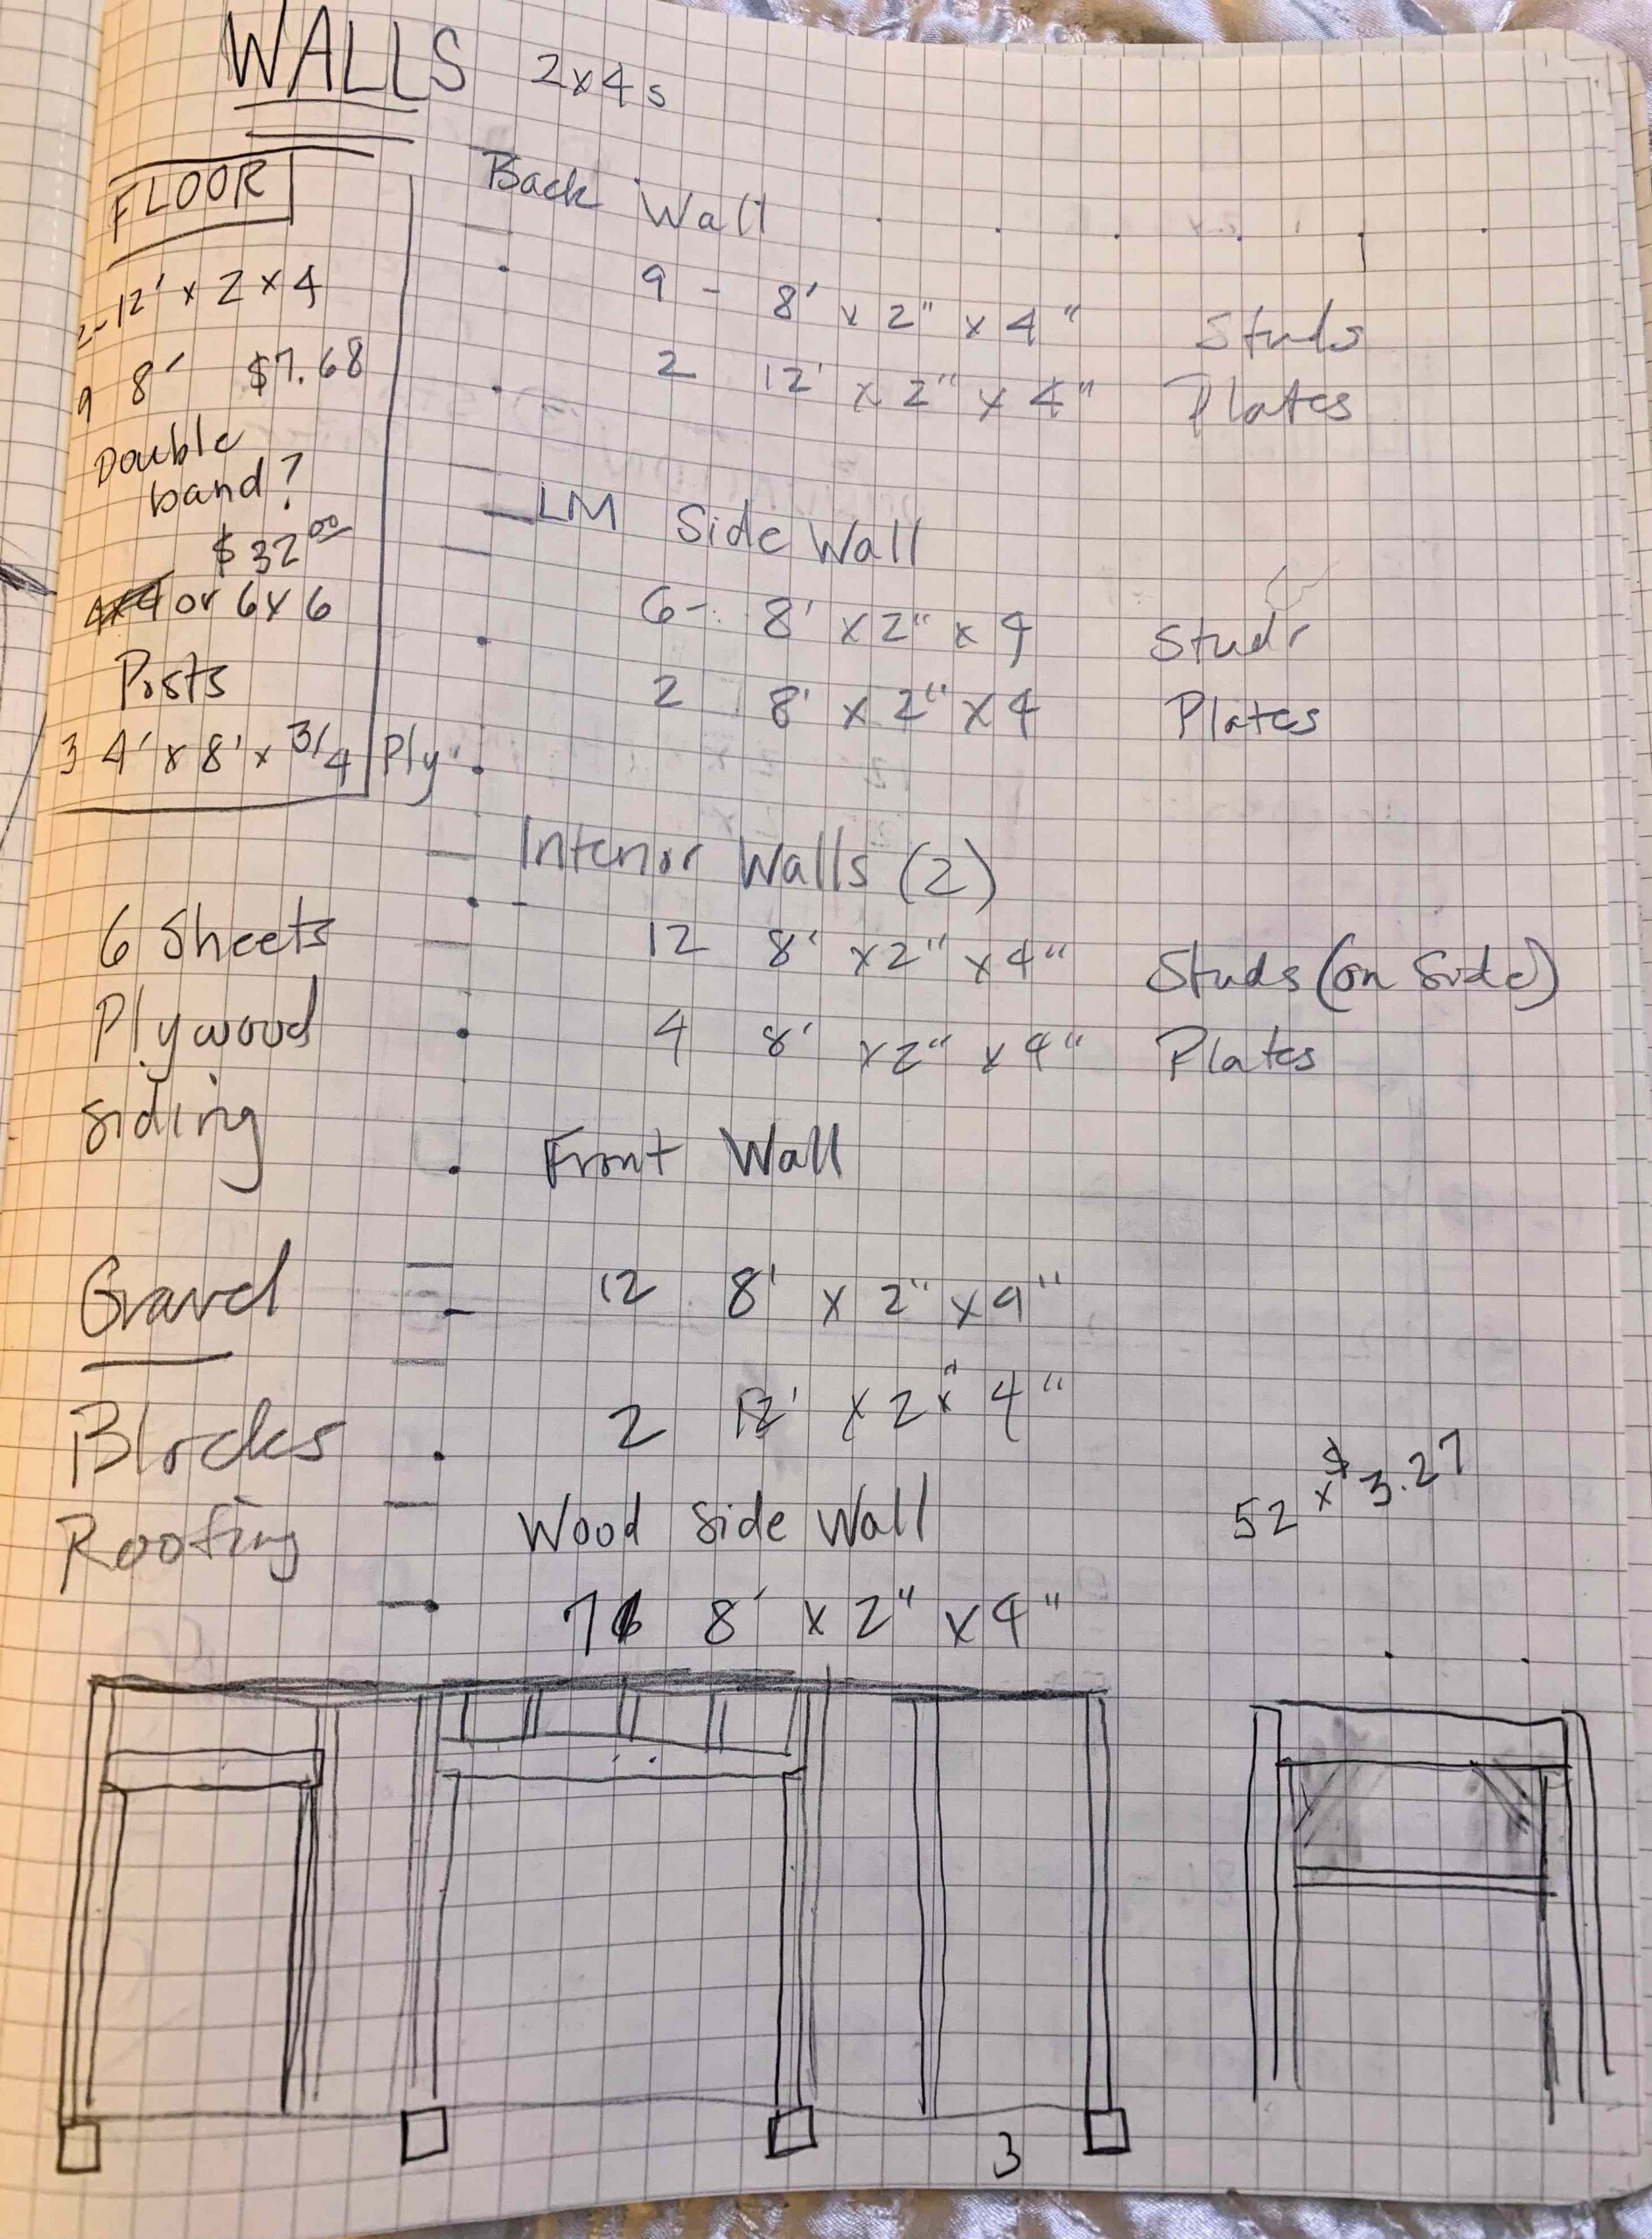
Now, I just happen to travel at all times with a journal that has graph paper in it. So I quickly jotted down all these measurements and began sketching and thinking through the beginnings of a shed design to accommodate their tools and their newly discovered needs.
Envisioning Space
Next, we figured out how much space he needed for the potting station and wood storage. That was based mostly on the length of the firewood in his stack. We decided that end needed to be about 24″.
By now, we had outlined a rectangle on the ground that was about 11’ long and 7’ deep. We had partitioned off 36” on one end for the yard tools, and 24” on the other for wood storage and a potting station.
Next we needed to think about the main space which would be his shop. This was hard because Rich still hadn’t identified what he really needed to keep and what he could dispense with and was still struggling to envision what that space might even look like.
“Stand here.” I put him in the middle section. “Walk around in there. How does it feel? Think about walls around you and stuff hanging on the walls. Is it big enough?”
“Now turn around and face the house.” I put a marker on the ground about 2′ out from the house. “Think about this wall having a workbench . You stand here to work at it. You can hang all of your tools on the wall above your bench, and even have outlets above the bench if you want.”
“Yeah,” he said. He was starting to get the hang of our “make-believe you’re standing in your shop” game. My plan was working!
Why I Do What I Do the Way I Do
Now, I have people who think I am whacko that I design this way. But I do it for two reasons. First, because design needs to flow from how people envision using a space, and most people can’t do that without props.
Second, I have no sense of space unless I’m in it. I have to “see” 8 feet to understand what I can do with it. I read somewhere that Jackie Kennedy Onassis–who was a great interior designer–was this way too. (Not that I’m comparing myself to JKO…!) Her contractor would ask if she wanted something at 8’ or 10’ and she would say, “Show me that.”
There is nothing wrong with working the way your brain works; in fact, it’s usually a good idea to work the way that works for you.
So I got busy sketching, and we had a general plan within 45 minutes — and a yard full of tools that had to be put away — but I let Rich do that.
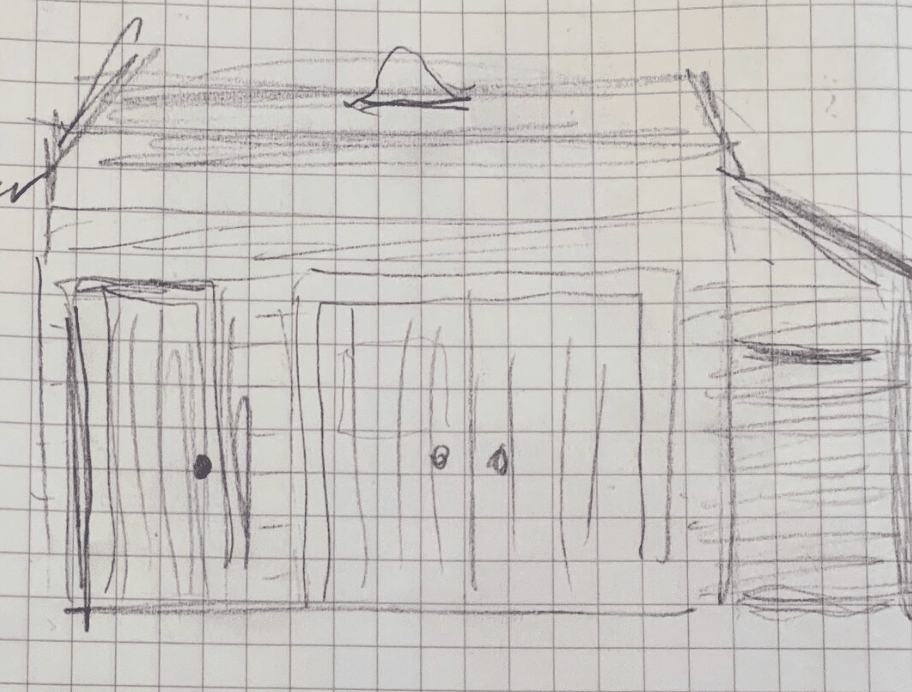
Here is what we came up with as a first draft. Shed design rough draft. As you can see, it is similar to, but different from what we finally landed on.
Next Steps
The next morning, Katie asked what I thought the project would cost. I had no idea. Cost estimates have a lot to do with the price of materials (which I hadn’t a clue since I hadn’t built anything in a couple of years) and choice of materials (which we still needed to determine).
So we went to work on that.
“We could save a lot of money by siding it with vinyl, like your house,” I suggested.
“Yuck,” she said. “I like your shed.” My shed is sided with tongue and groove cedar which has been stained and sealed with a natural finish. She was right. Much more expensive, but SO much better looking. And sturdier.
Then on to roofing: “What do you think of a metal roof?”
“Yes. I like that.”
And so it went. We talked and jotted and thought through ideas.
Making it Official with Sketchup
I returned to South Carolina with a sketch and a general plan, which I made official using Sketchup , a CAD program that allows you to draw in three dimensions. The final shed design was a building that was 7′ deep and 11′ wide and–something I would later reconsider–not tall enough at the front to accommodate a full-height door. The slope on the roof also was not up to Indiana code. My bad. I would fix that later in my plans.
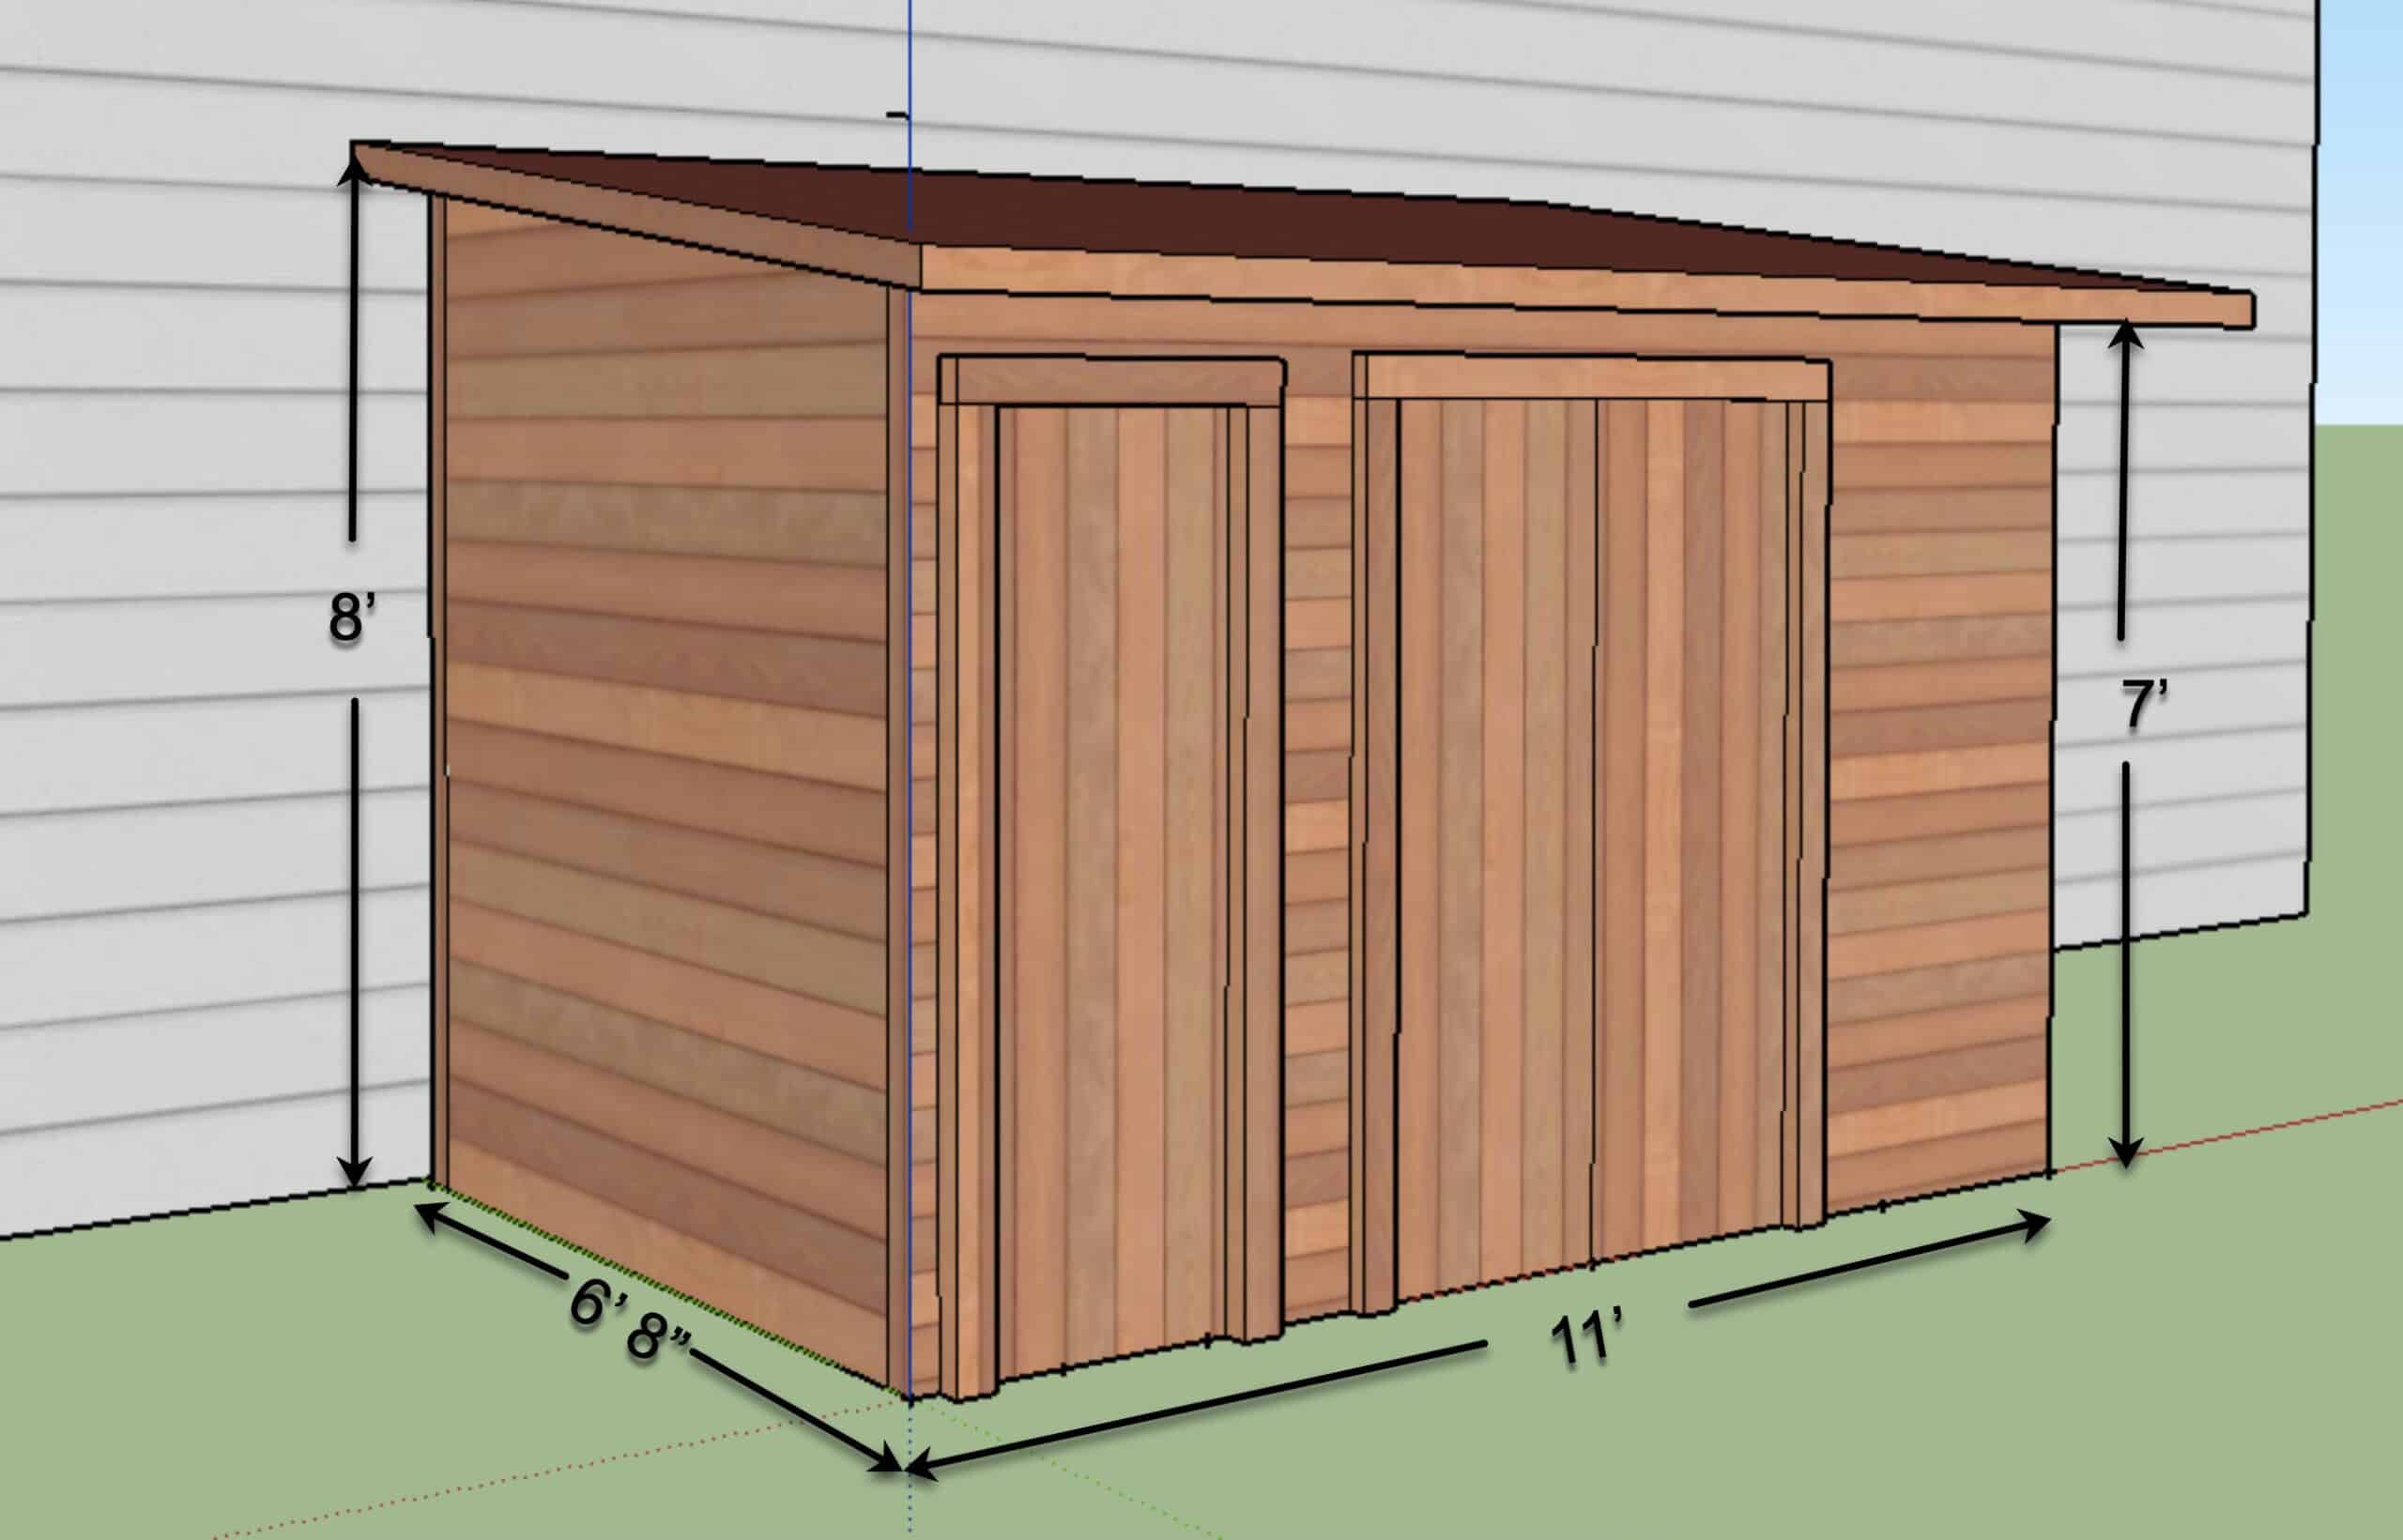


I sent my drawings to Katie who filled out all the necessary paperwork and sent it to the HOA for approval.
The HOA said yes, but with a few changes. First, we couldn’t build it 7’ deep. It had to be 6′ 8”. (Eyeroll). That 4″ was against the rules, I guess.
Second, we couldn’t use a metal roof; the roofing had to match the house. So asphalt shingles.
Third, we couldn’t leave it natural wood with just a clear sealer as I used on my shed. The color had to match the house. So we decided we would stain it to match rather than paint it so we could still see the grain of the wood.
We re-submitted the revised plan, and we were approved.
Now, I would need to design the build…that is, to figure out how build the whole thing–on paper. While it is one thing to design a thing and say, “that’s what I want it to look like,” it’s quite another thing to figure out how to make it so!
Read the next entry in this shed design series:


I am so enjoying reading about the shed building! And knowing you personally, I feel as if I’m right there with y’all talking it all through! (Like I can hear you… LOL) I can’t wait to read more – I just had to stop and comment!
I’m glad you’re liking it! And I can imagine that you can hear my voice in your head…heaven knows you heard it for years! HA! More to come…:)
Thanks so much! I appreciate the feedback!