Beginner DIY Project
DIY Recirculating Fountains: Easier (and Cheaper) Than you Might Think!
Turn your backyard into a tranquil oasis with an easy DIY recirculating fountain. Simple materials and steps make this a perfect project for any skill level. Add the soothing sound of water to your outdoor space with a beautiful homemade water feature.
There’s nothing like the sound of water in the garden, especially if you live in the city, as I do. Not only does the sound of water provide a soothing backdrop to all the other sounds in your environment, but it provides a beautiful focal point, drawing the eye to rest on the water and whatever is growing around it.
I have three water features in my garden, and I built all three. I also built the two in my daughter, Corey’s yard. This video will describe how to build a recirculating container fountain like these three with items you can purchase at any home and garden center.
Materials
To build your DIY recirculating fountain, you’ll need:
- a vessel to hold the water
- a fountain pump
- a riser
- a riser for the pump (some pumps come with a riser, and some don’t, so check the box)
- a plastic saucer or pot to fit down into the vessel,
- stones
Choosing a Vessel
The three DIY fountains featured in the video below, were made with vessels purchased at home and garden stores locally. If you are looking for something inexpensive, try Lowe’s and Home Depot as well as places like Southeast Salvage in the south, Menard’s in the north and Ollie’s (I don’t know where all Ollie’s is, but they often have unusual and cool stuff).
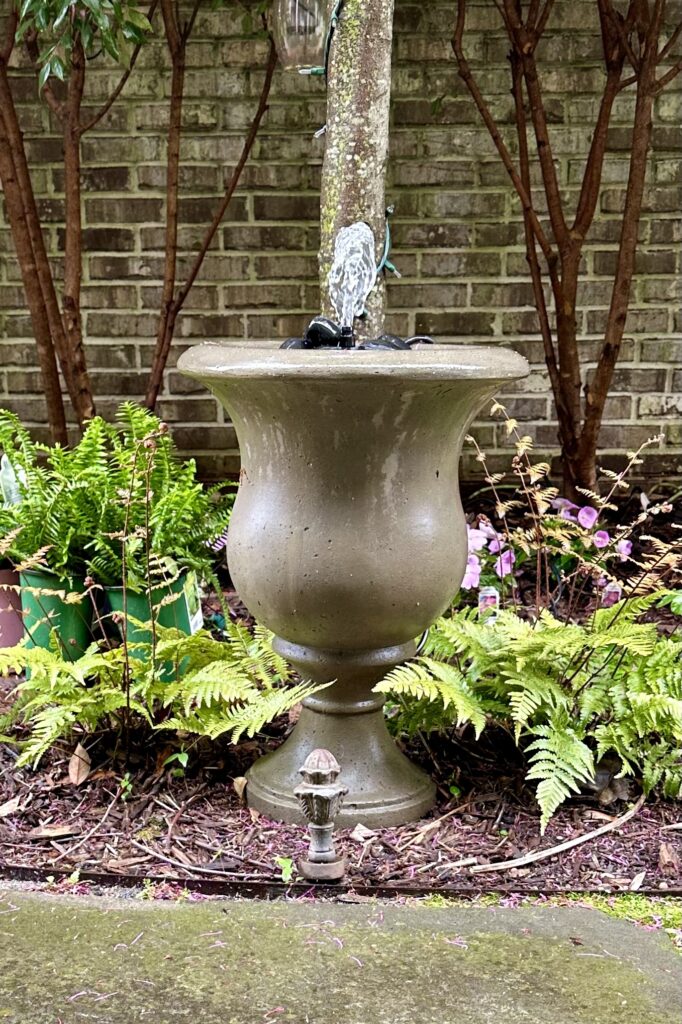
If you are looking for something collectible, go to local nurseries and have a look around. The pedestal fountain at right was made from a two-piece large bowl planter I bought years ago at Abide a While nursery in Mt. Pleasant, SC.
You can build a fountain with almost any type of pot. If it has a hole in the bottom, don’t worry. Get some JB Weld (a watertight epoxy putty) and plug the hole. If you decide to turn the pot back into a planter (as I did to the fountain at right which is now a planter once again) you can drill out the plug. I have plugged and drilled out many pots.
Full disclosure: anything you purchase through the links in this article will provide me with a small commission. (Which is very nice since I can buy more plants!)
Think about Repurposing Something You Already Have
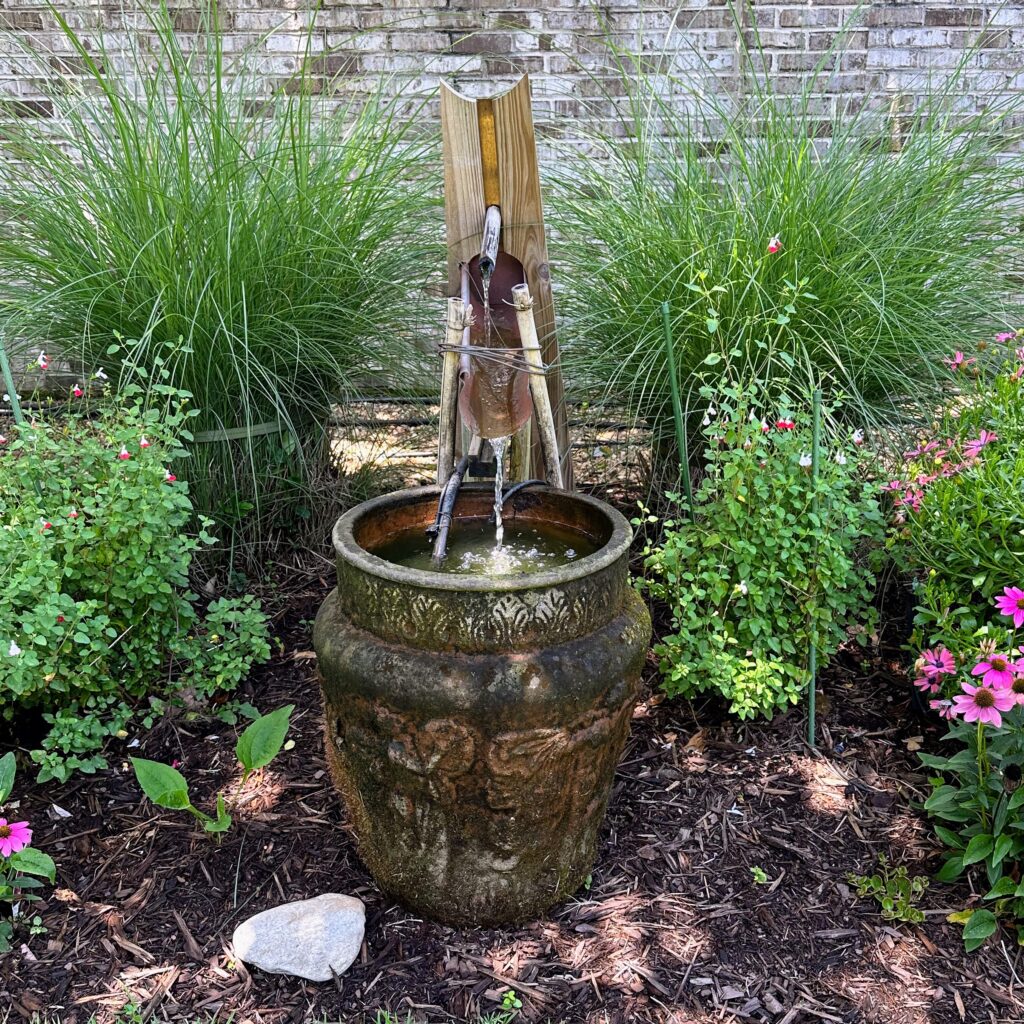
Search through your own stuff, as well. You might already have something that you can turn into a fountain. This urn belonged to my mom and had a huge clump of grass growing in it for years. Several years after she gave it to me, I finally cut the grass out of it before the roots could burst the pot. Then I got to thinking that it would make a great fountain base. So, I plugged the hole in the bottom using JB Weld and created my vessel.
Consider Space and Style
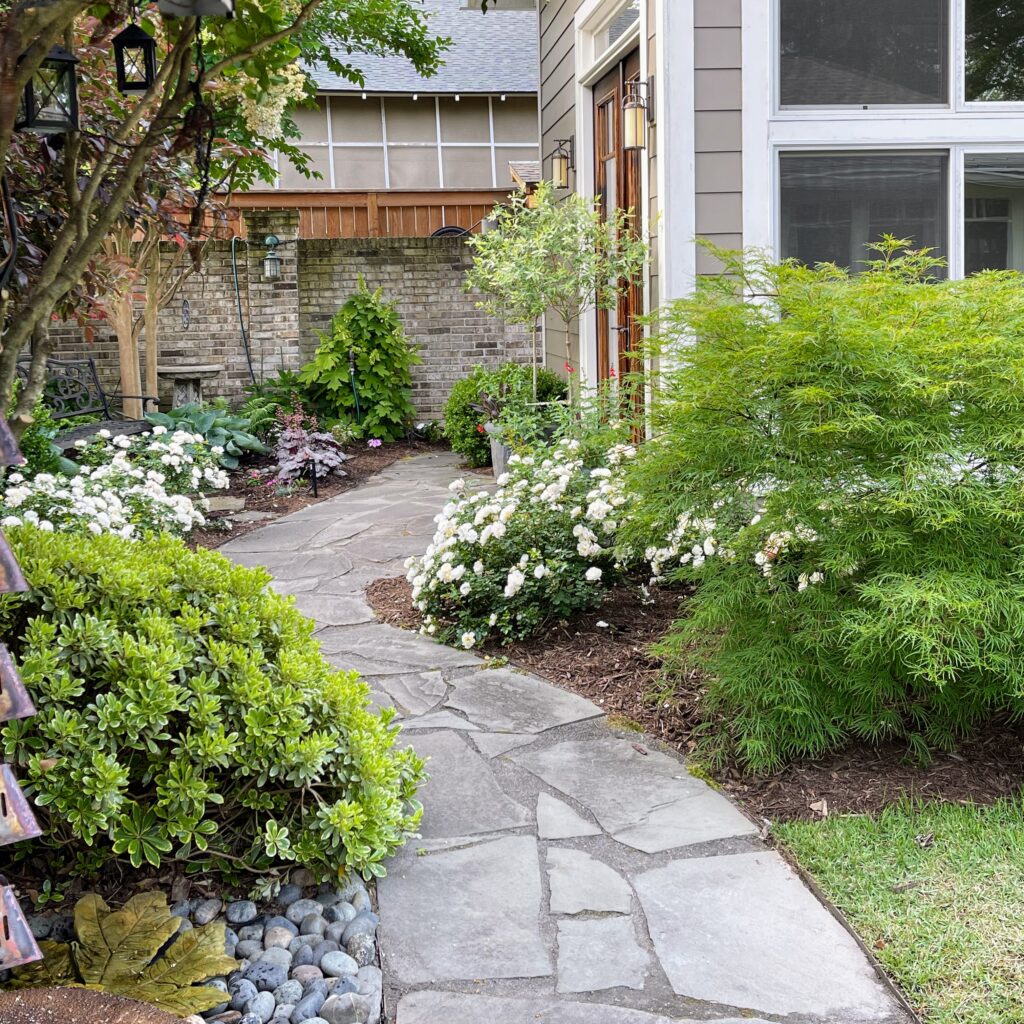
To choose a container, think about your space and your style. My yard is pretty formal, so classic pots like the ones above fit well into my landscape. (To see my entire garden in summer, look In the Garden.)
Corey’s yard is anything but formal. She wanted vessels for her fountains with clean lines and a much plainer look. I found the pot for her front yard fountain (at right) at Southeastern Salvage and painted it.
Consider Size
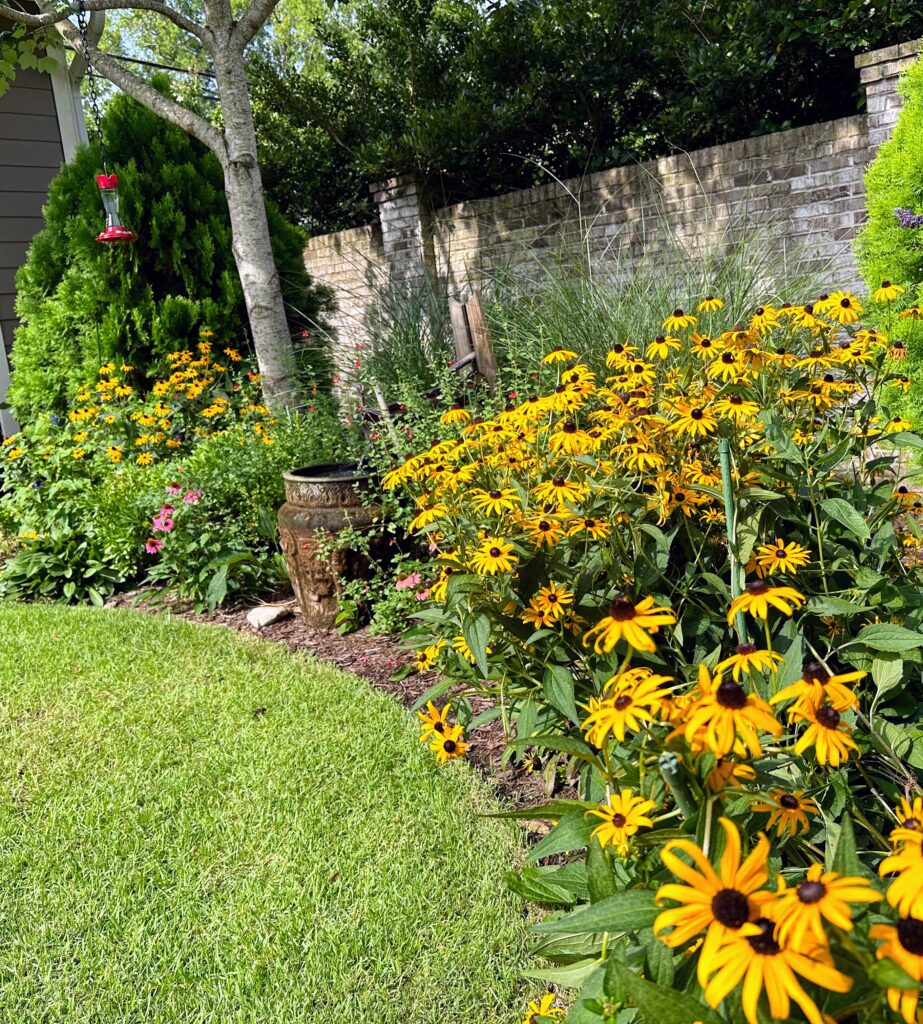
Size matters. My large urn fits well into this larger garden (at left) where tall grasses provide a backdrop. But it would overpower the space where I placed my new, much smaller urn fountain.
Corey’s yard is expansive, so both of her fountains needed to be larger to fit the spaces where she placed them.
My friend Lorie is getting ready to put a fountain in her new herb garden which is still under construction (at right). We have determined that her fountain probably needs to be about 40” tall to fit the scale of her garden.
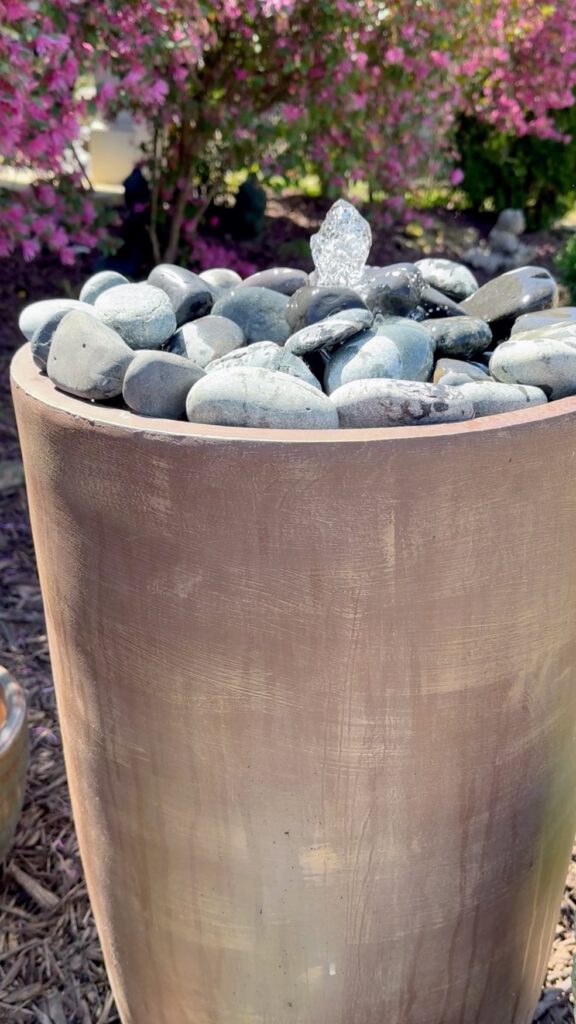
Corey’s front entry fountain
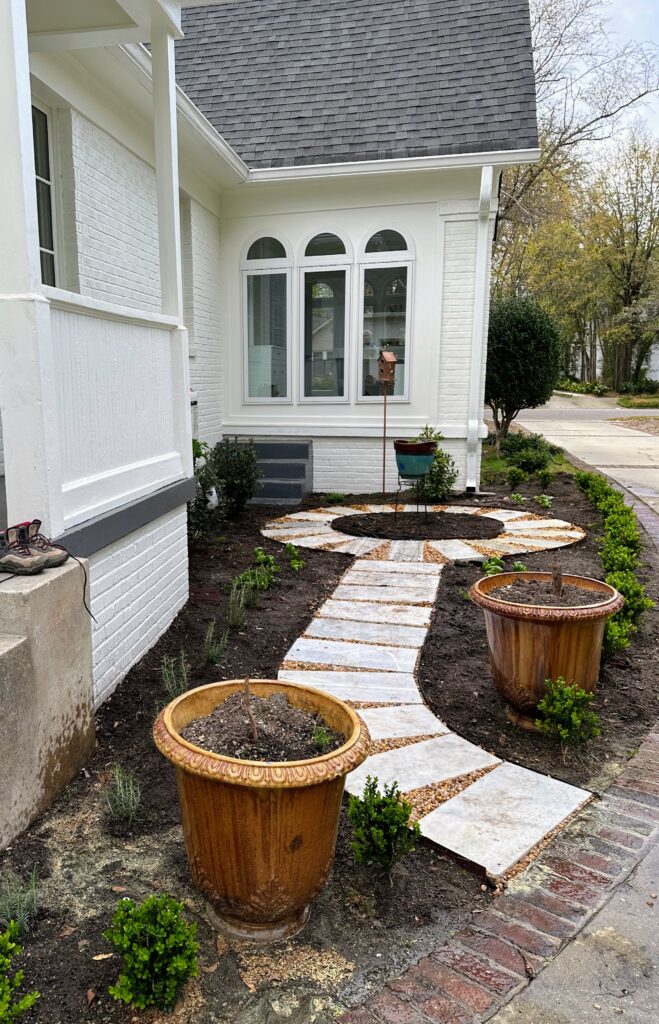
Lorie’s new herb garden
Pumps
Look for a fountain pump (not a pond pump). The strength of the pump (measured in gallons per hour or gph) will depend on how high the pump needs to lift the water from the pump to the surface, as well as how much flow you want. Most pumps indicate their lift on the package. I tend to get pumps that are a bit more powerful than I need because you can always dial them down but you can’t make them more powerful.
Pumps are usually much more expensive than what Corey and I just paid for ours at Home Depot this month when all of their last year’s pumps were marked down 50% or more. (I paid $24 for a 450 gph pump and she paid $16 for a 150 gph pump).
I recommend checking to see what Amazon has as they are usually much less expensive and you can read reviews. (Full disclosure, I get a small commission from anything you buy through this link…so thanks in advance if you do because I can but more plants!)
Also, check the description to see if your pump comes with a riser or if you have to purchase that separately. A riser is just a straight piece of plastic that attaches to the pump to get the water from the pump to just above the surface of the water. Here’s another Amazon link just in case you need it.
How I Built my Small DIY Urn Fountain
This is how I built my latest fountain and how I built Corey’s fountains.
The pump sits at the bottom of the pot with a riser that reaches to just above the top of the pot. (See Diagram 1.)
I bought a plastic saucer that fits down into the pot and sits on the waist of the pot. I drilled a ¾” hole in the center to accept the riser, then drilled about 50 ¼” holes in it so the water could recirculate from the top back to the bottom of the vessel. (See Diagram 2.)
Last, I placed Mexican beach stones around the riser to fill the saucer.
I used a similar version of this method to build Corey’s fountain, although we had to make adjustments because we couldn’t locate a saucer that fit her pot. (See Diagrams 3 and 4.) Every problem eventually finds a solution as you will see in the video! We used a plant basket instead of a saucer, dropped the pump into the basket, and put another pot over the pump to create space around the pump before adding the stones.
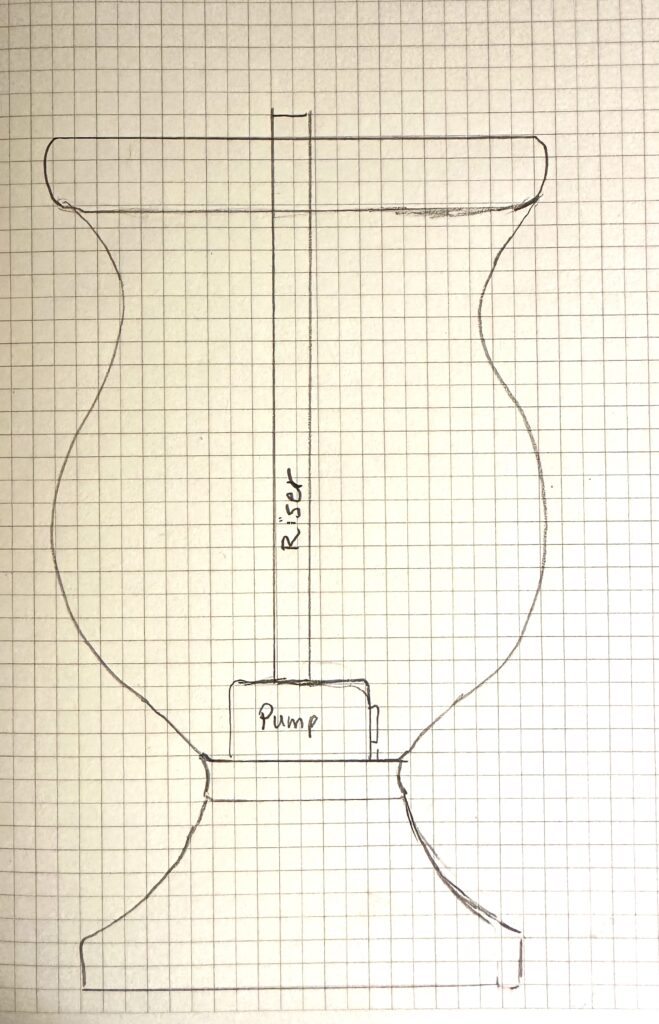
Diagram 1
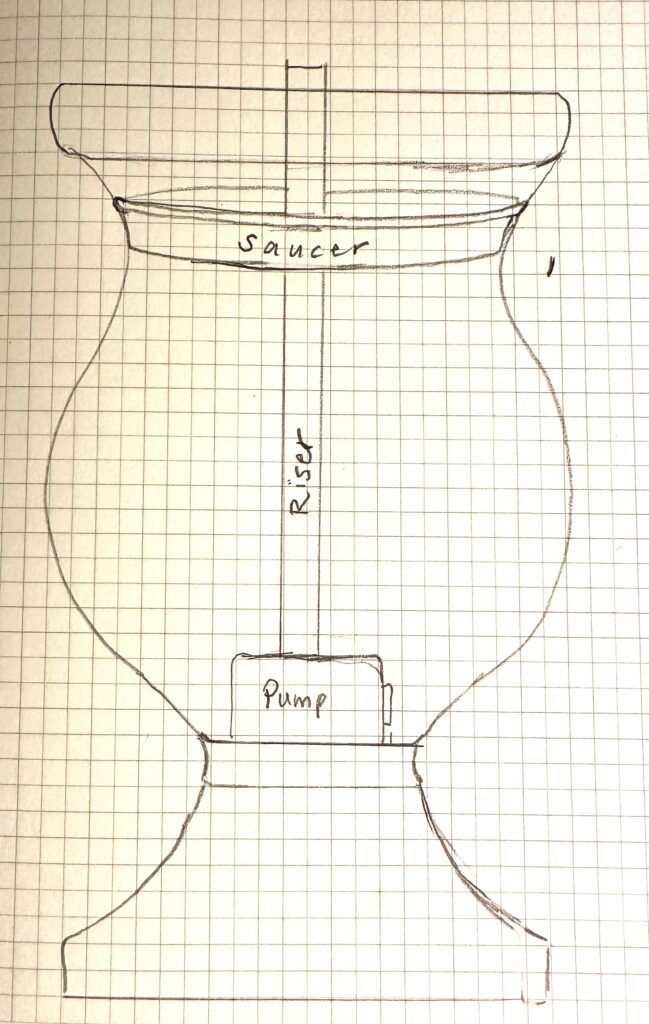
Diagram 2
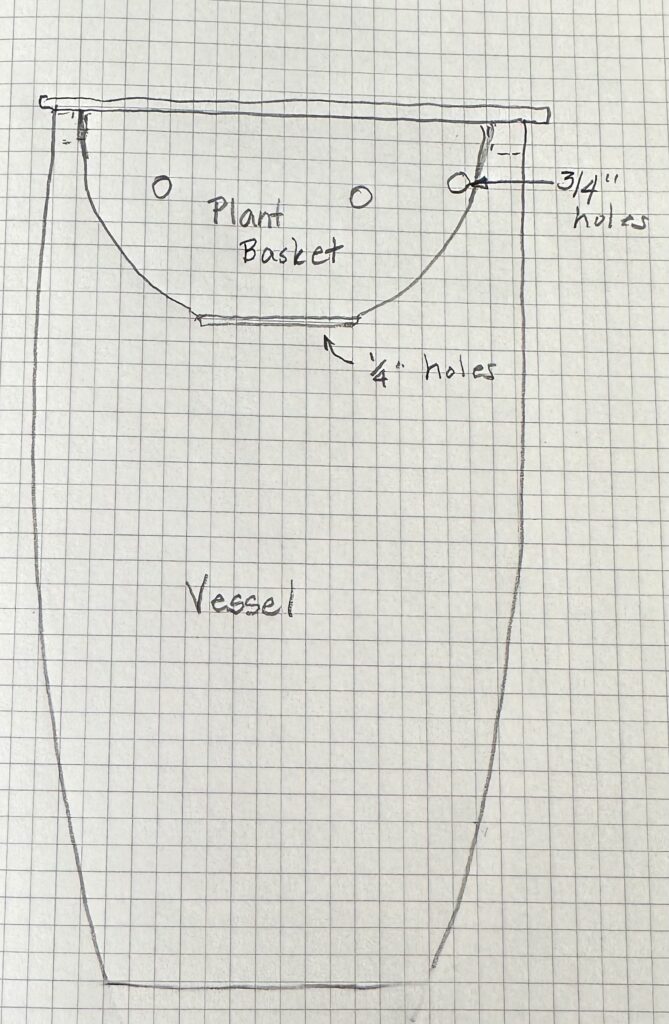
Diagram 3
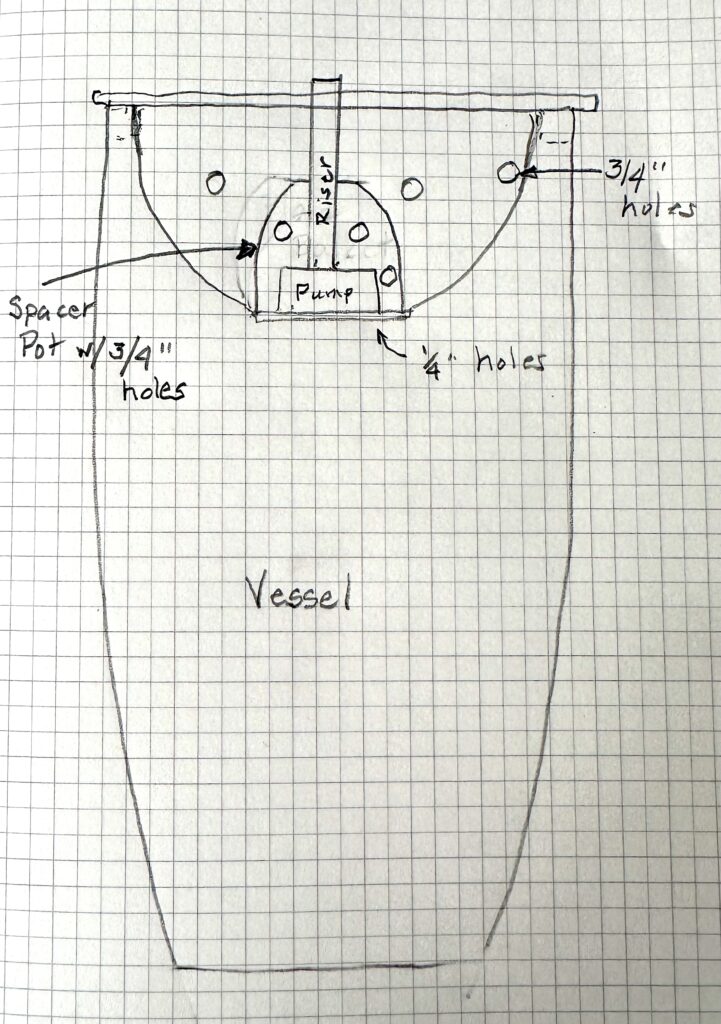
Diagram 4
Assembling a DIY Recirculating Fountain
- Determine where you want to place the vessel and level the ground below it so it sits perfectly level.
- Fill the vessel about ¾ of the way full of water.
- Place the pump in the vessel and plug it in. Adjust the water flow, so you get a nice bubbling effect, then unplug the pump. When I first turned on mine, it shot up about 3 feet into the air! So this is an important step before you place the rocks and turn it on only to find out you have to empty your rocks to make the adjustment.
- Place the saucer over the riser and snug it down to the waist of the vessel.
- Fill with rocks, then plug it in and adjust your rocks to hide the cord and get a sound and the look you want.
Maintaining your Fountain
You will need to replenish the water in your fountain every 4-5 days—more often if your fountain is in the sun. And periodically, you will want to take it apart, dump the water, and clean it. (I cleaned mine the other day. It took five minutes to clean my small urn.) This is the downside of water features: they are not no-maintenance.
But either are our gardens…