Fountain pump replacement? No big deal. If you have a water feature with a pump, it will have to be cleaned from time to time or even replaced. This post shows how I replaced the pump in my DIY Recirculating Fountain.
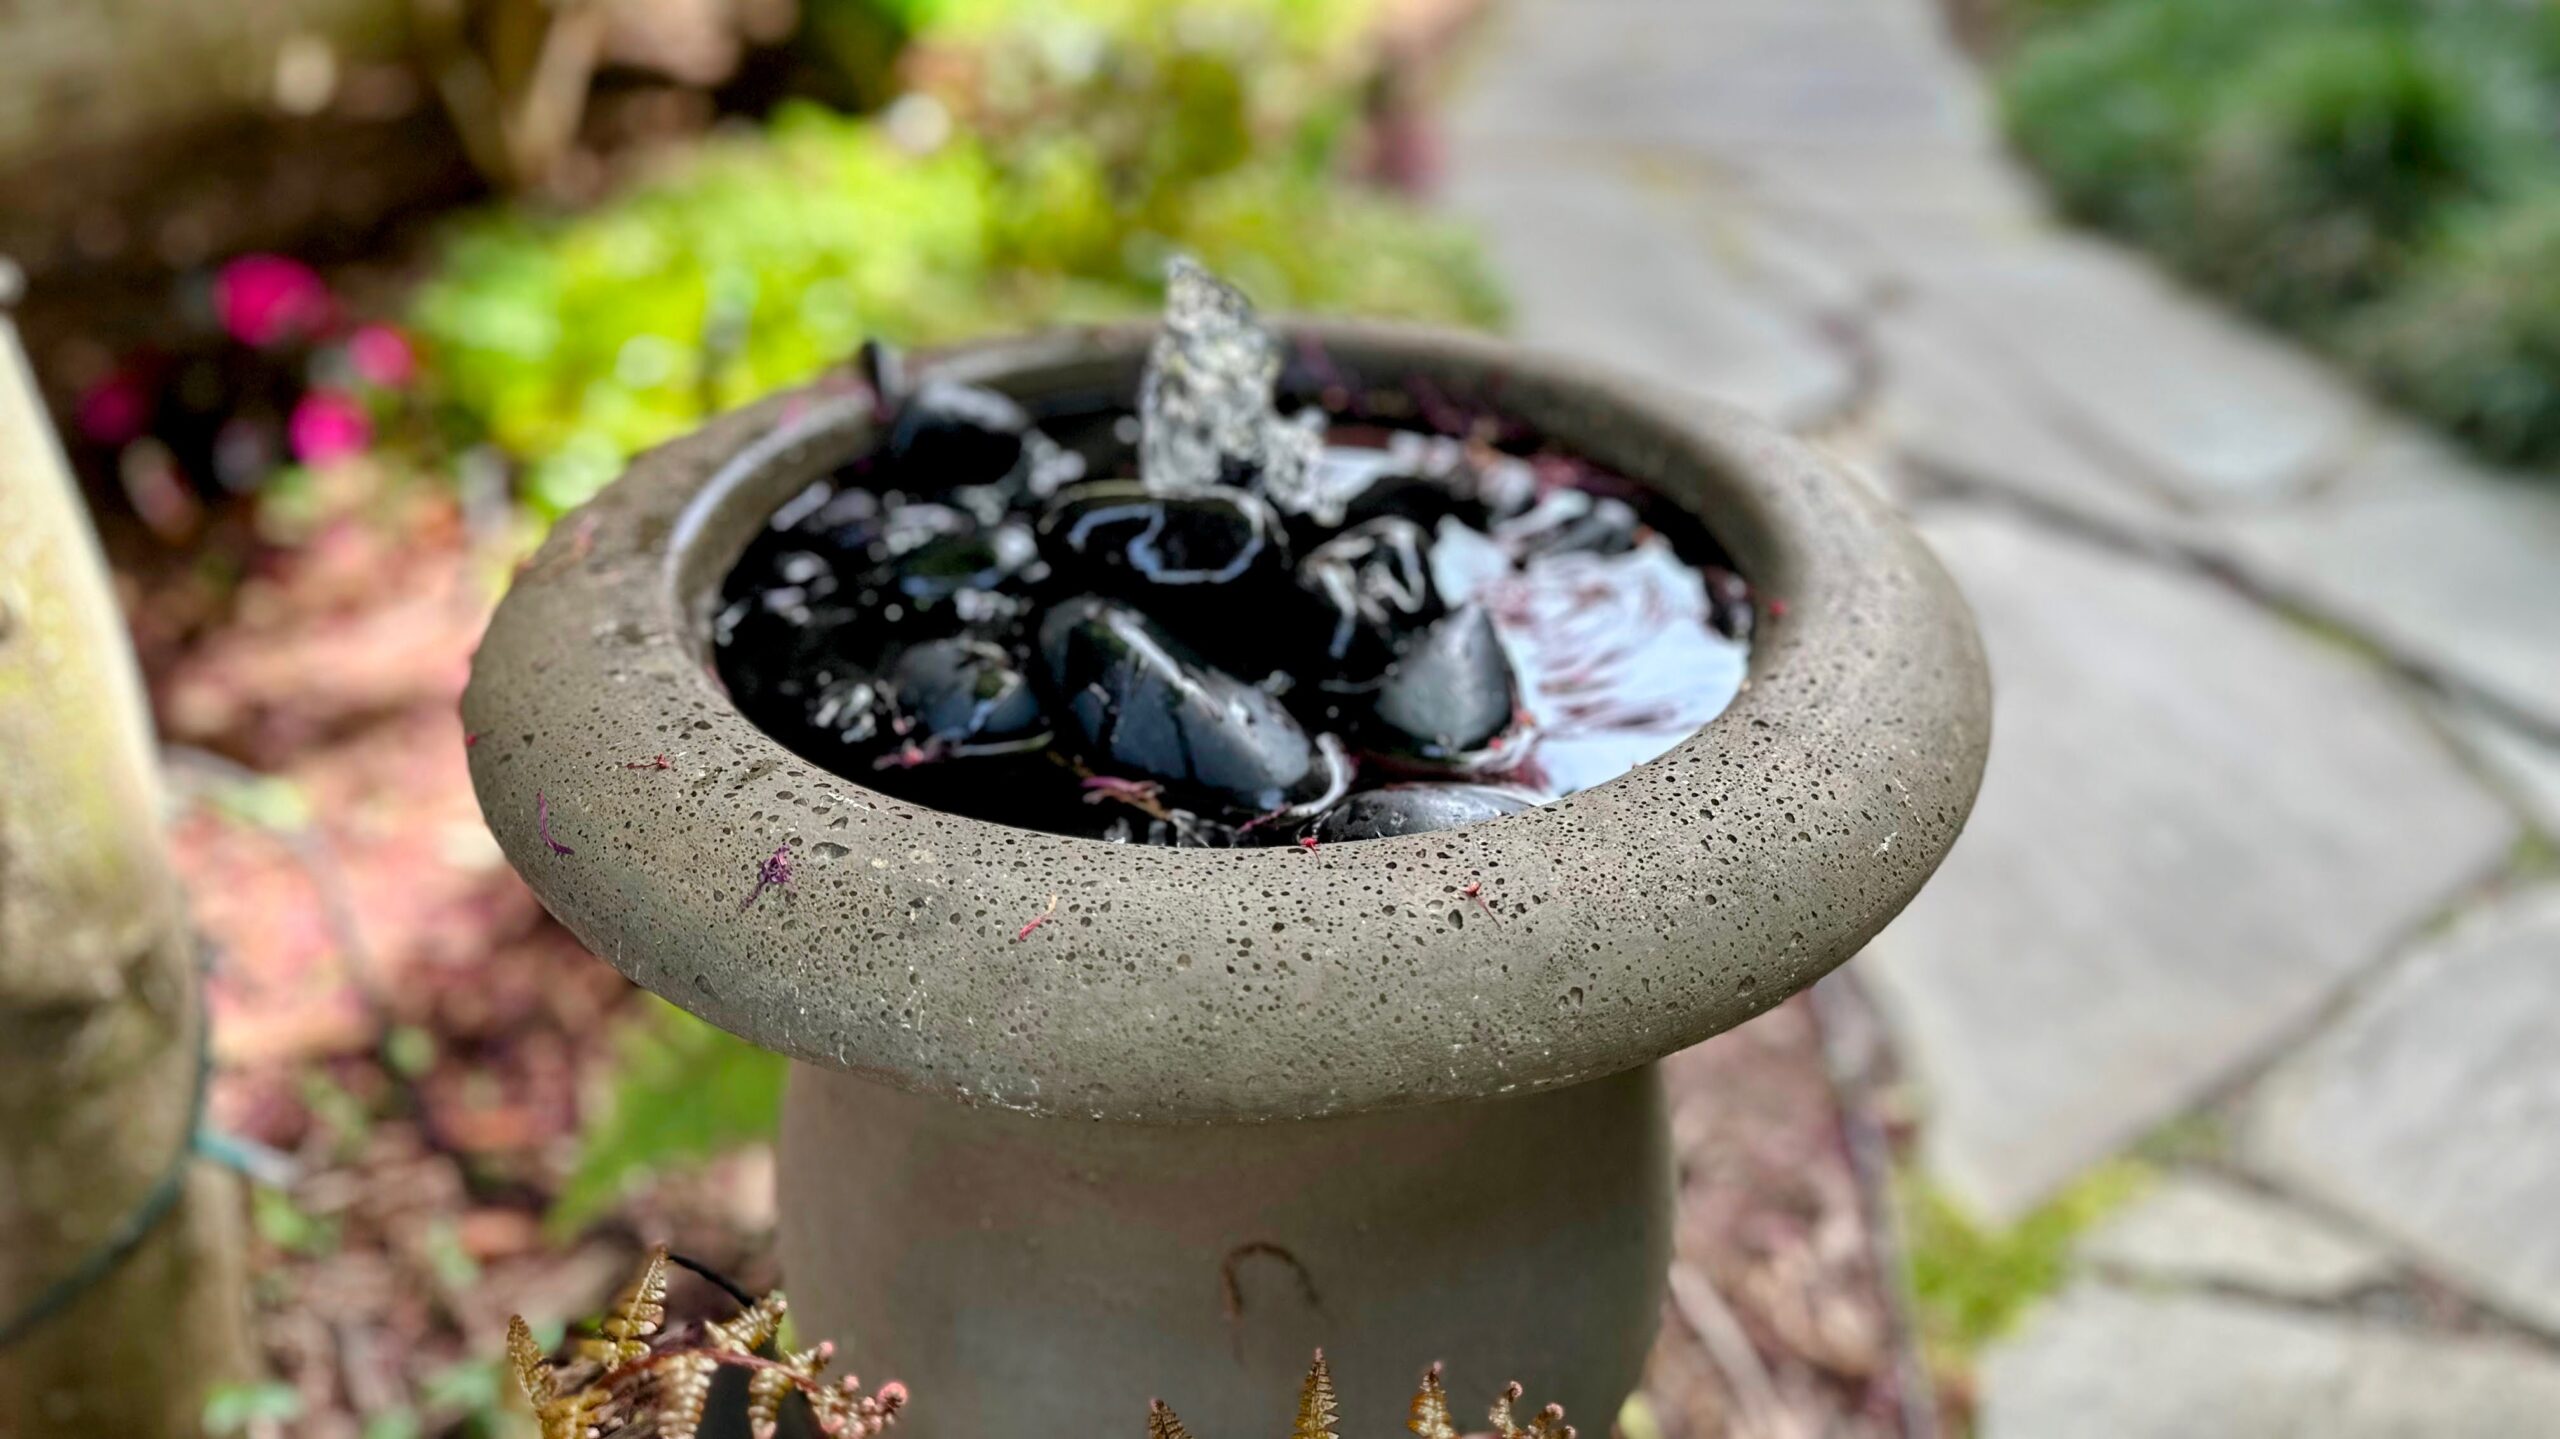
Remember that DIY fountain I showed you how to build a while back? Well, I can’t remember where the pump came from, but of course it went bad. I tried several times to fix it using directions I found on the internet and was mostly successful, but it kept seizing up. Spraying WD-40 inside it and manually turning the rotor fixed it a few times, but it was a pain and inevitably, it would seize up again.
The last time it seized up, I was out of town and Mike said, “Replace it. It’s a pain to have to keep fixing it. You have more important things to do.” Say no more, sweetie. I’m on it. ❤️
Well, as long as I had the fountain taken apart, I thought I would use this opportunity to show you how this fountain is put together while I replace the pump.
A step-by-step guide is below the video.
Step 1
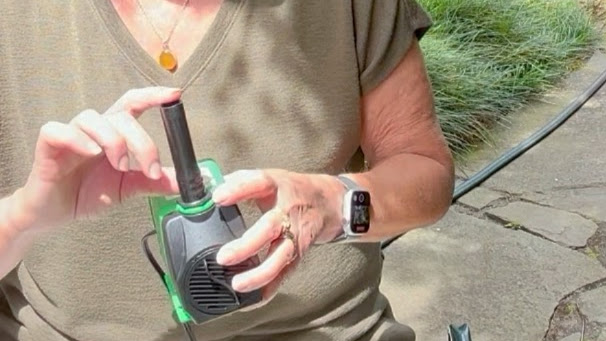
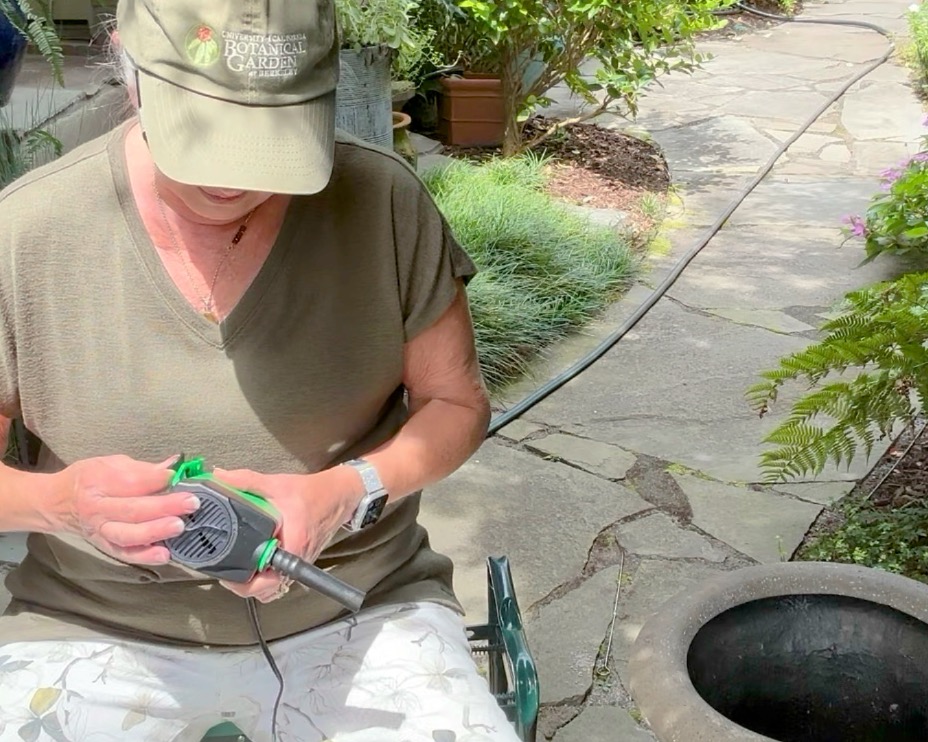
I unpacked the pump and attached the custom-cut riser tube from the old pump to the outlet of this one. (Since I was putting back together a fountain I had previously designed and built, I already had the length for the riser figured out and cut. If you want to see how to build a fountain from scratch, see that video.)
The old riser is attached to the new pump
Step 2
Next, I attached the rubber feet to the bottom of the pump. These are supposed to cushion the pump and keep it from making noise against the bottom of the vessel as it is running.
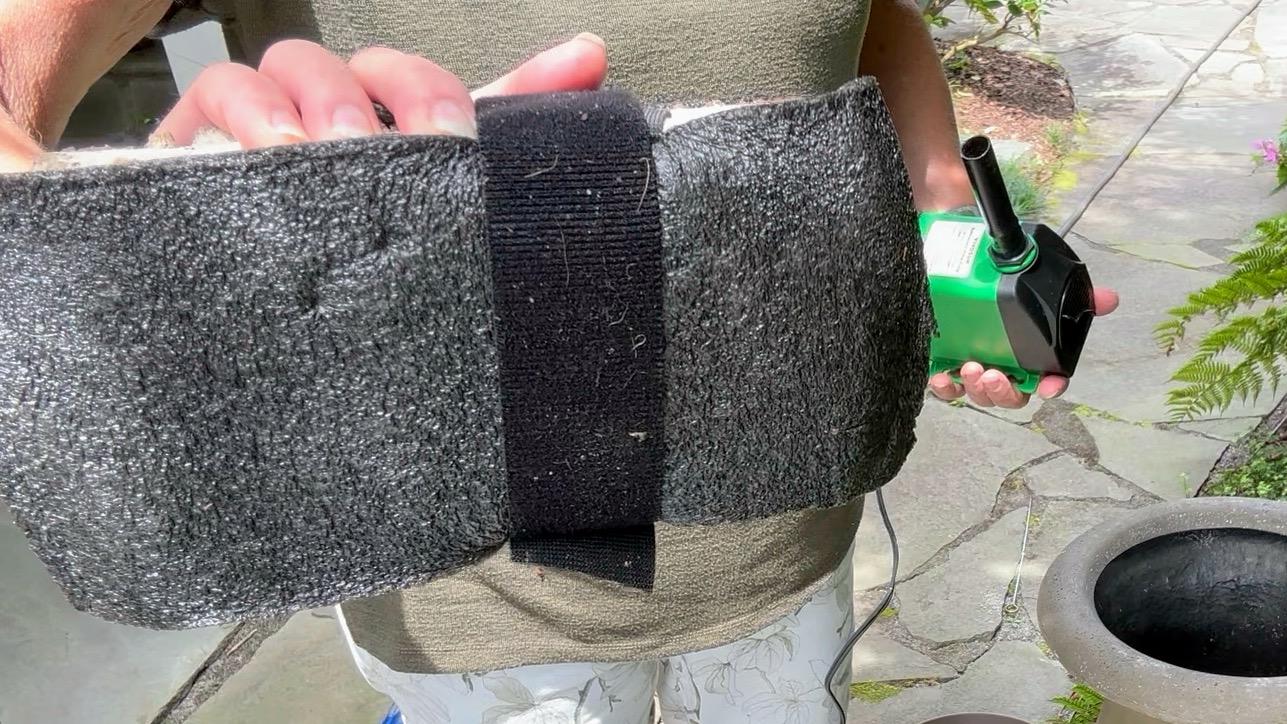
With my last pump, though, I found that this was not enough to keep it from making a slight buzzing noise that drove me batty. So, I made a motion-absorbing foundation for that pump which I reused for this one. I took a brick and covered it with recycled packing foam. Then I used a piece of heavy Velcro to attach the pump to the brick, wrapping the Velcro around the everything to hold it all in place.
I made an insulated foundation with a brick and some recycled packing foam held together with Velcro
Attaching the rubber feet to the bottom of the pump
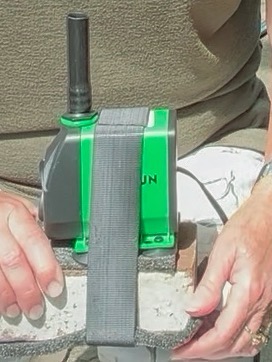
I attached the pump to the foundation with a piece of Velcro
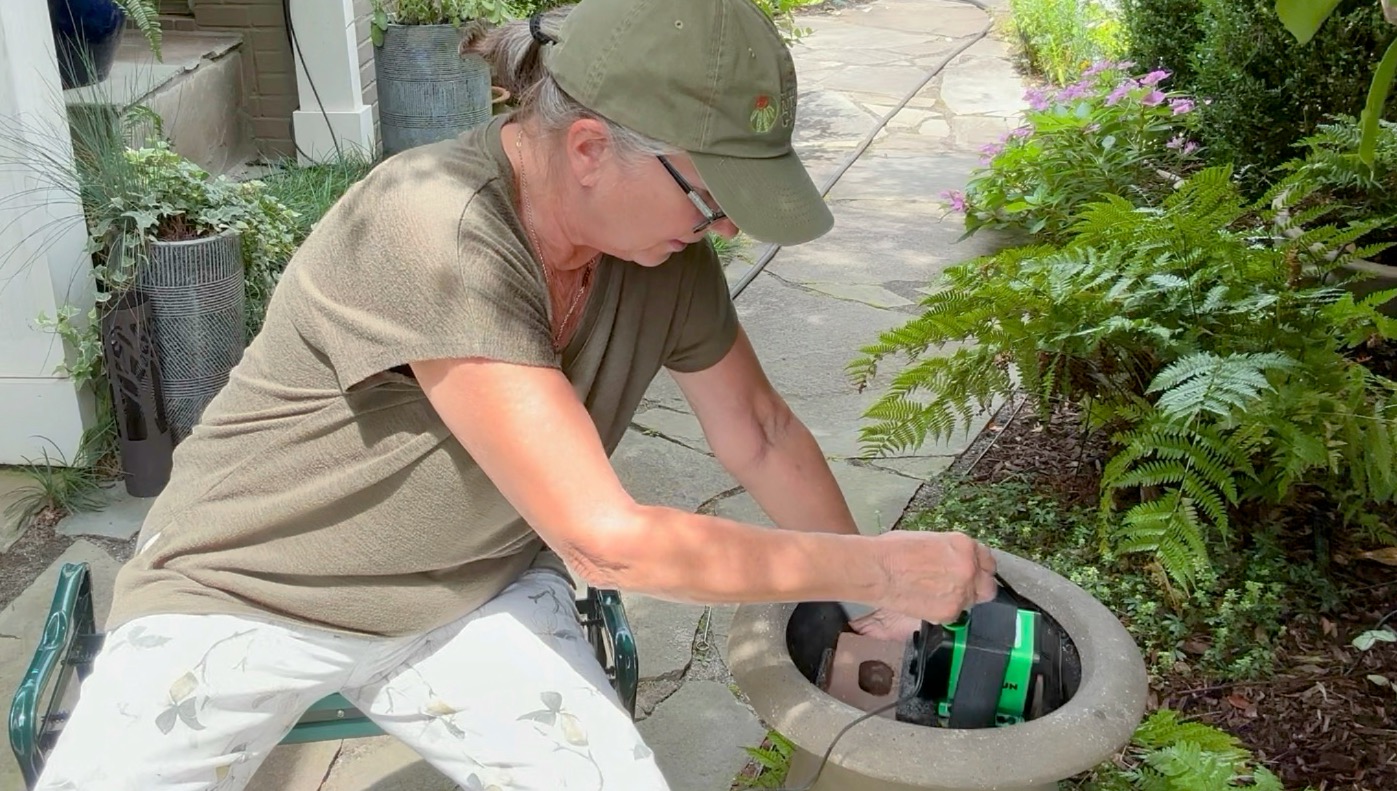
Lowering the pump-foundation assembly into the vessel
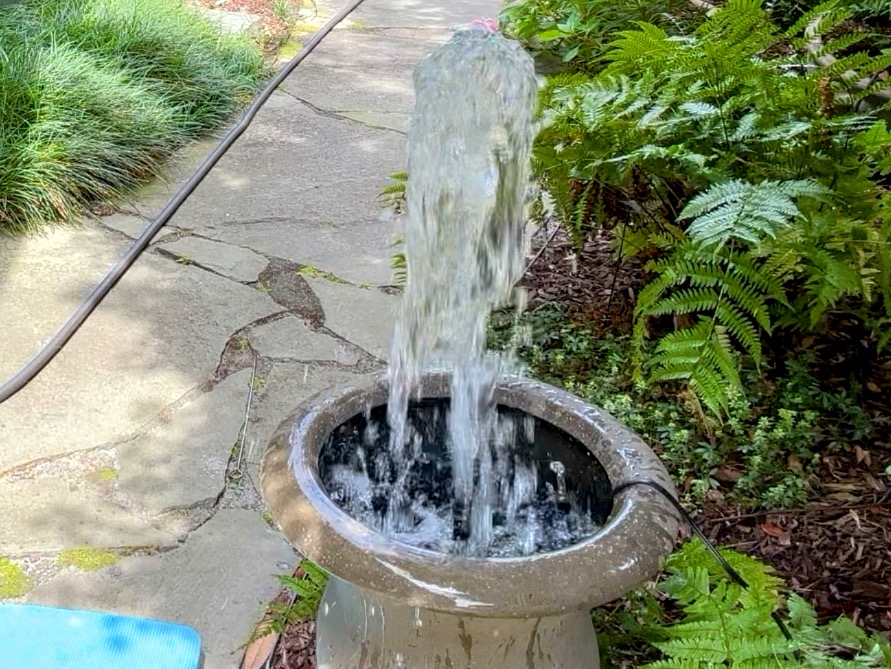
It works! Maybe a little too well. I adjusted it to its lowest setting after this.
,Step 3
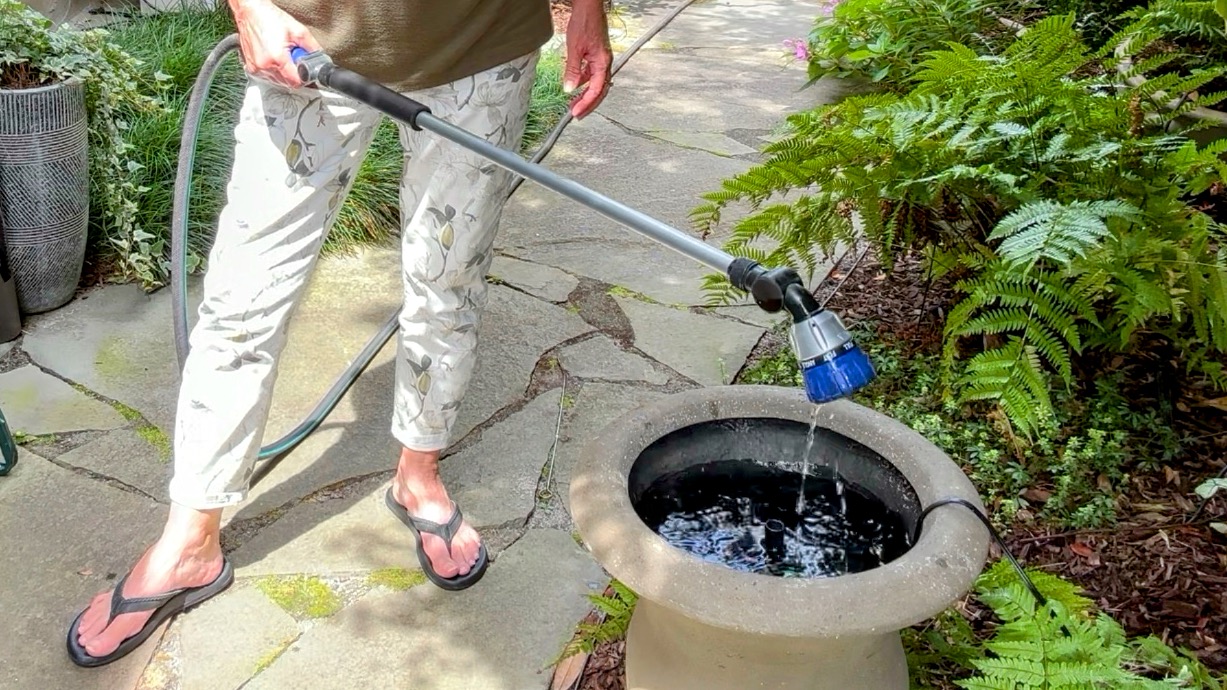
I lowered the pump and its foundation assembly into the bottom of the vessel, positioning it carefully in the center and then filled it with water and got ready to test the pump to make sure it was working and to adjust the flow to the right height. This is important in a vessel fountain like this one where I will cover the top of the vessel with a saucer filled with rocks, because once the saucer is in place, the only way to adjust the flow of the pump will be to take it apart. So now’s the time to get the flow right!
When I turned it on, it worked really, really well. So well in fact, that I was glad I wasn’t standing over the top of it or I’d have gotten a face full of water!
Most of these pumps have a little knob at the front that you can turn to adjust the flow up or down. I wound up adjusting the flow to its lowest setting, which was still pretty robust.
Step 4
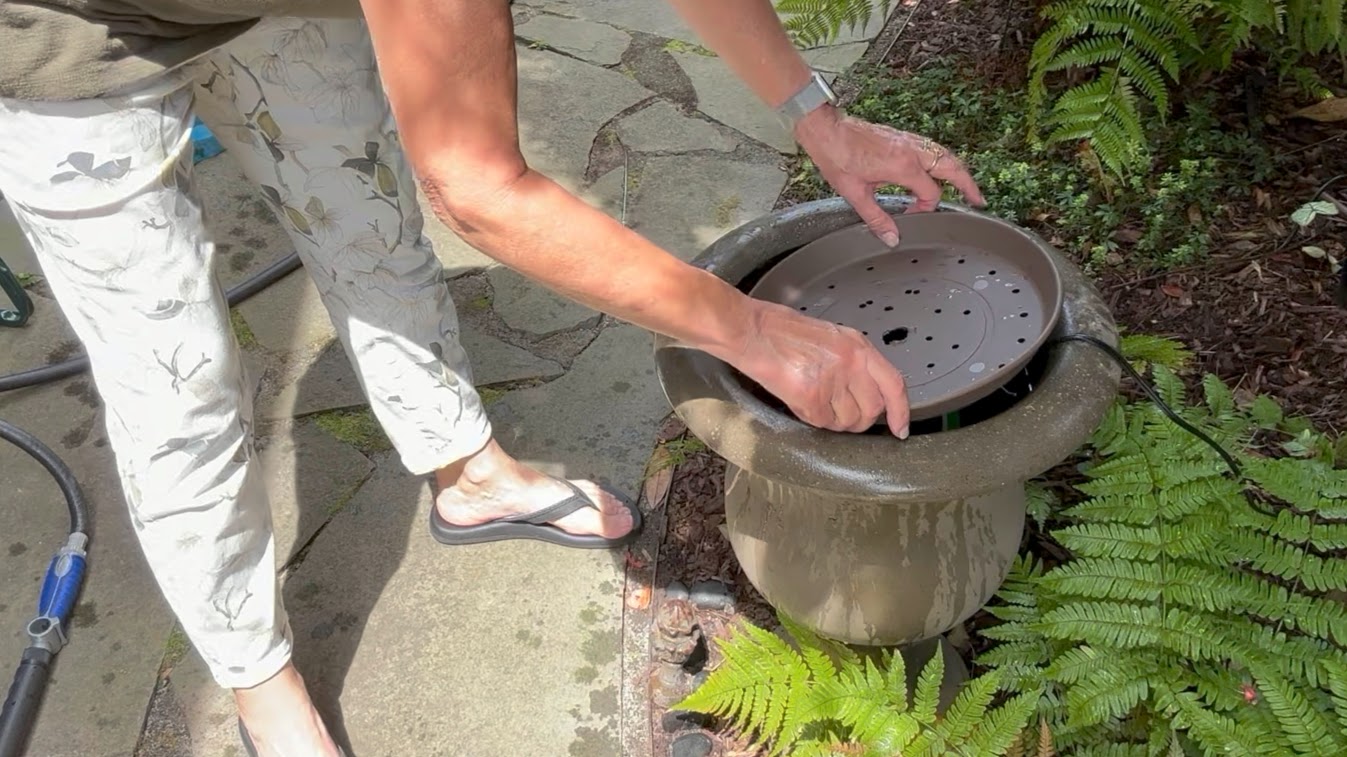
Next, I positioned the saucer over the riser tube and gently worked the riser/pump/foundation with my fingers to ensure that the riser was exactly vertical so the water would come up in the center of the vessel rather than shooting to one side or the other.
Positioning the saucer over the riser
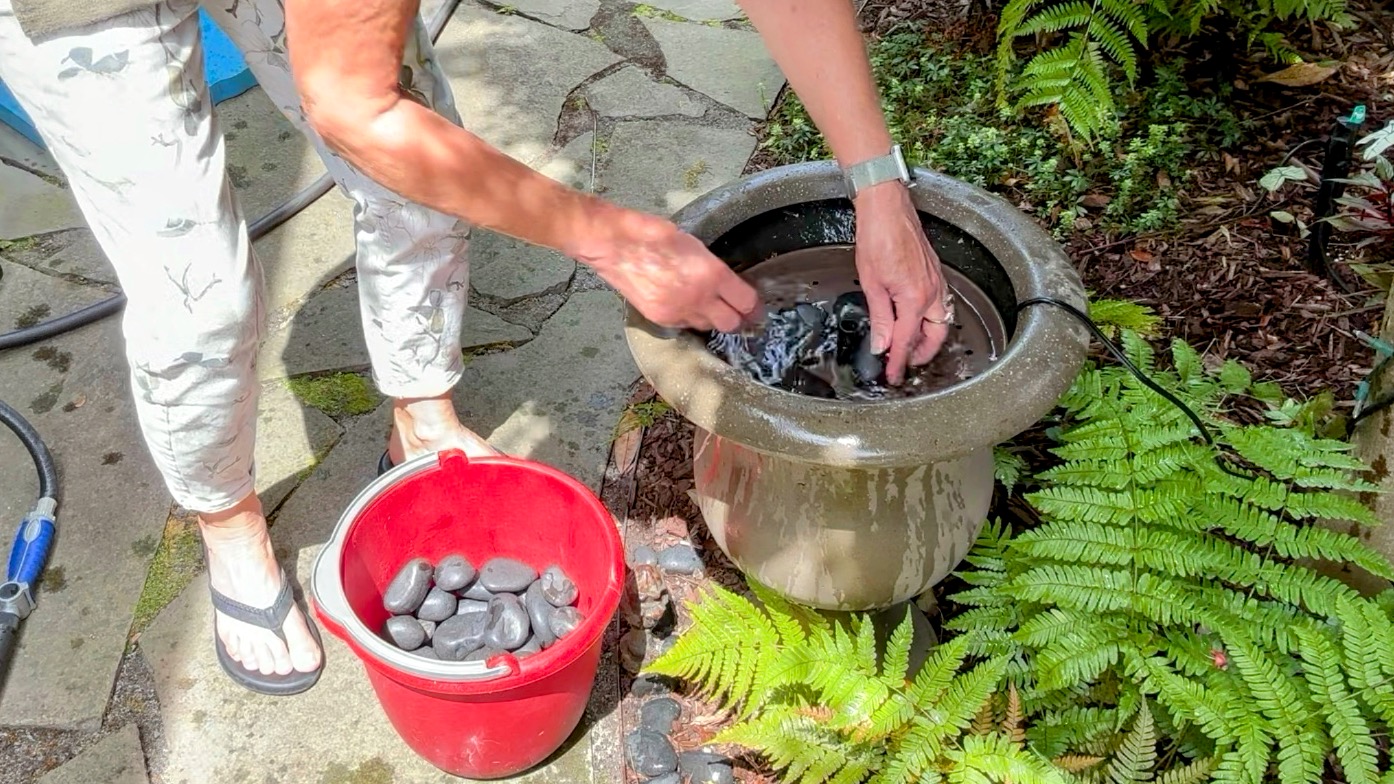
Filling the saucer with stones
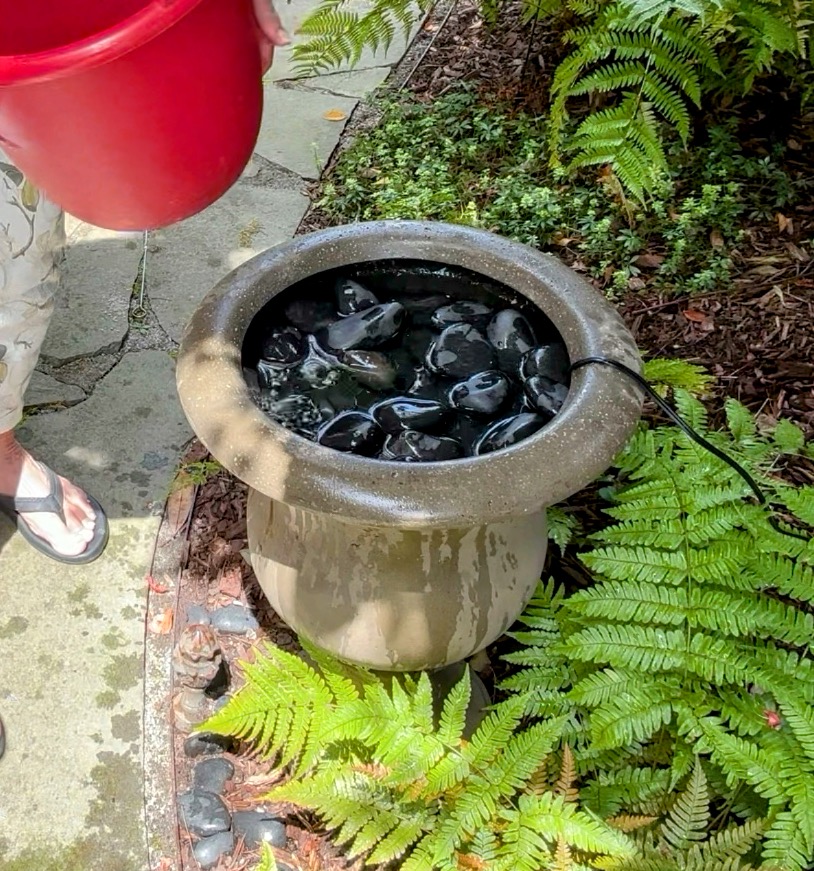
Stones positioned to completely cover the bottom and edges of the saucer
Step 5
Finally, I filled the saucer up with stones. I use smooth, black beach stones for my fountains that I buy by the 40# bag at Home Depot.
After covering the bottom of the saucer, I covered the edges of the saucer so the saucer was completely concealed by stones.
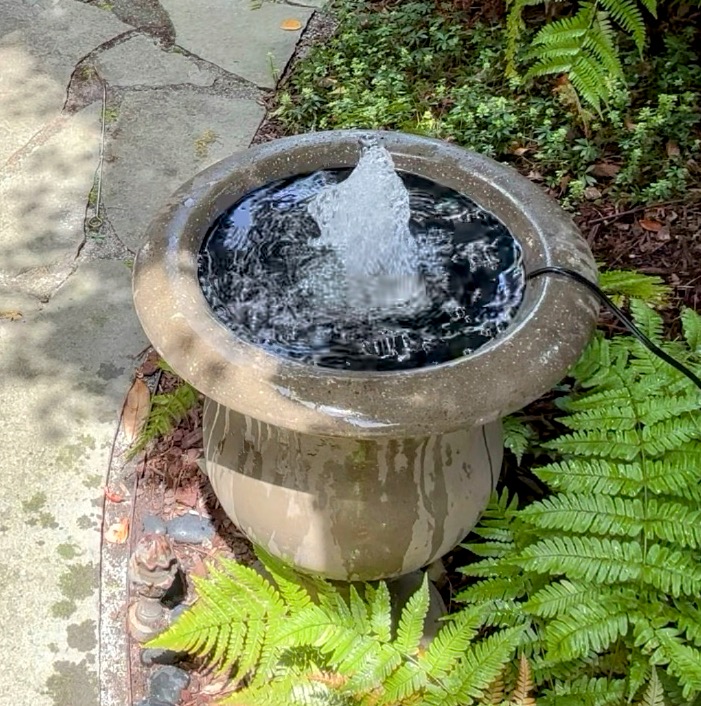
The finished product!
And that’s it! I finished filling it with water, turned it on, and was quite pleased with it. And I’m happy to report that after replacing the pump 10 days ago, it has worked continuously without a problem. It even splashes less than the old pump did!
In a month or so, I’ll review the new pump on Amazon and tell you what I think, but so far, so good.
Fall is a Great Time to Build a Fountain
Now is a great time to build a fountain for your garden because big vessels like this one go on sale at the end of the season. Go on a garden center crawl and see what you can find!
Before you buy anything though, watch my DIY Fountain video and take some pictures of the space where you want to put your fountain. Also, take time to consider the scale of what you are looking for before you go shopping. Take a tape measure outside with you and write down the minimum and maximum height you think you might need as well as the approximate diameter. When you are looking at vessels in a big space, it is hard to judge how big they really are. So take your tape with you.
Now, go save some money, gardeners! Don’t forget that if it’s on sale and you can repurpose it later as something else, it is basically free! (It’s garden math.)

Great article! I really appreciate the clear and detailed insights you’ve provided on this topic. It’s always refreshing to read content that breaks things down so well, making it easy for readers to grasp even complex ideas. I also found the practical tips you’ve shared to be very helpful. Looking forward to more informative posts like this! Keep up the good work!
Great article! I really appreciate the clear and detailed insights you’ve provided on this topic. It’s always refreshing to read content that breaks things down so well, making it easy for readers to grasp even complex ideas. I also found the practical tips you’ve shared to be very helpful. Looking forward to more informative posts like this! Keep up the good work! YouTube Downloader Online