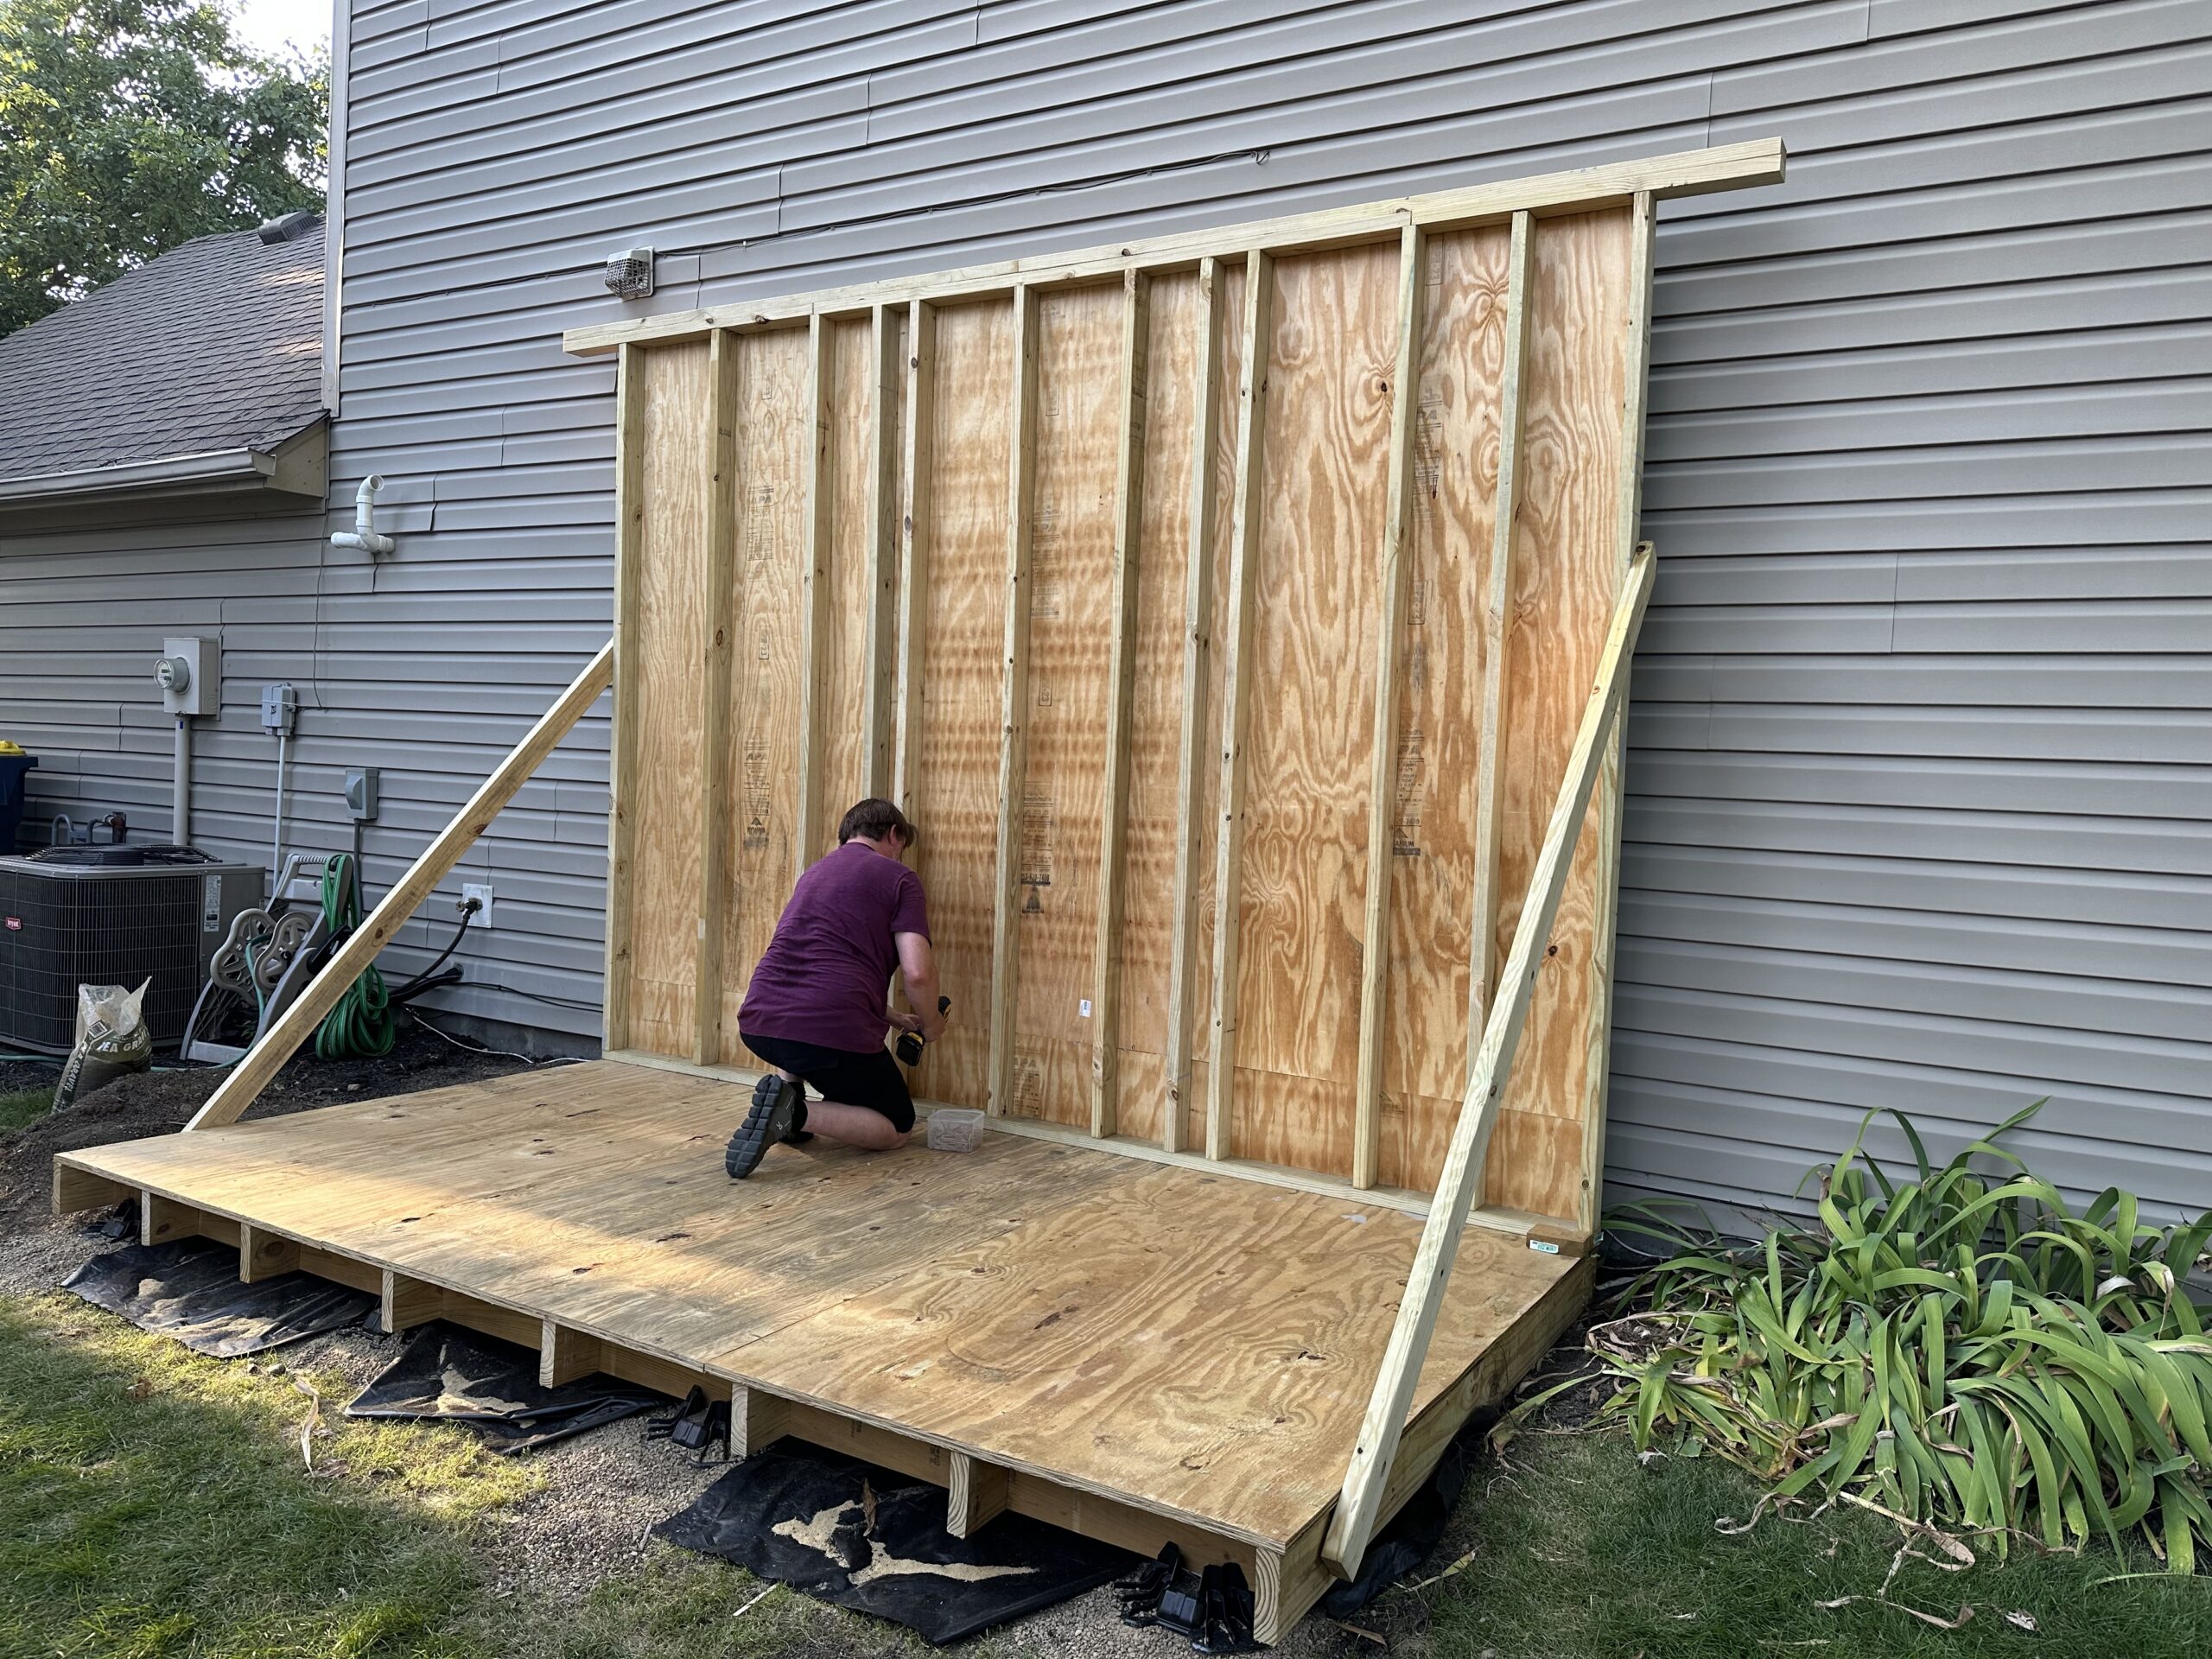
The back wall in place by the end of Day 5
Welcome to the 4th Installment of Building Rich & Katie’s Shed
There are just a few things to know about building a shed wall to support a roof. We will have to solve the particular problems associated with building a wall six inches from the house.
In our last post, I took you through the process of building the shed foundation and floor system using TuffBlocks. If you didn’t read that, I encourage you to. I am a fan of TuffBlocks, and I learned a lot about how to work with them.
In this post, I’ll take you through building the back wall, which is situated just six inches from the side wall of their house. So, this wall had to be constructed, sided, and stained before it was put in place because once in place there would be no way to get between the house and the back wall to side or paint it.
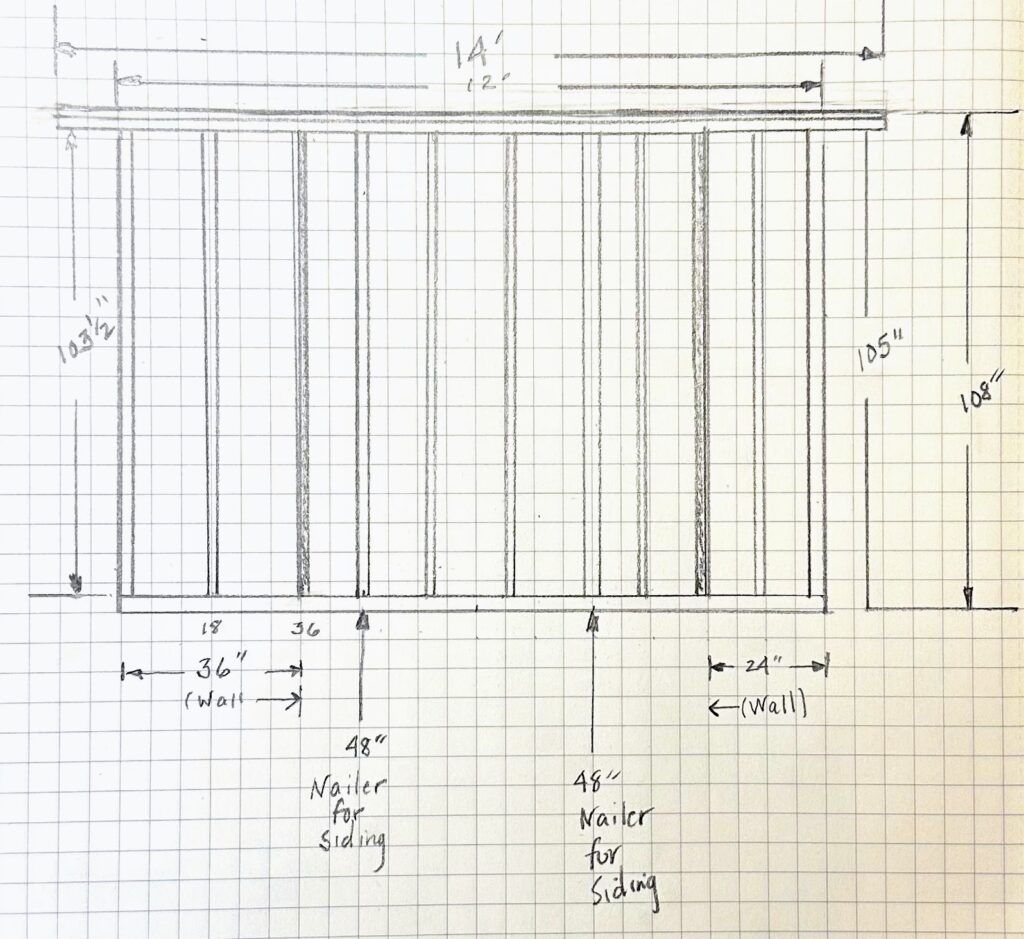
Here is the plan on paper:
August 23rd, Day 3: Building the Back Wall
But first: The Weather
Did I mention how HOT it was these first few days of building? It was incredibly hot–in the upper 90s and–humid. Kind of like South Carolina. Apparently, I have thin southern blood because it didn’t seem to bother me as much as it did the Hoosiers who were constantly reminding me to hydrate and wondering why I was outside instead of in the air conditioning. Anyway, when you see pictures of us drenched in sweat, know the heat was real!
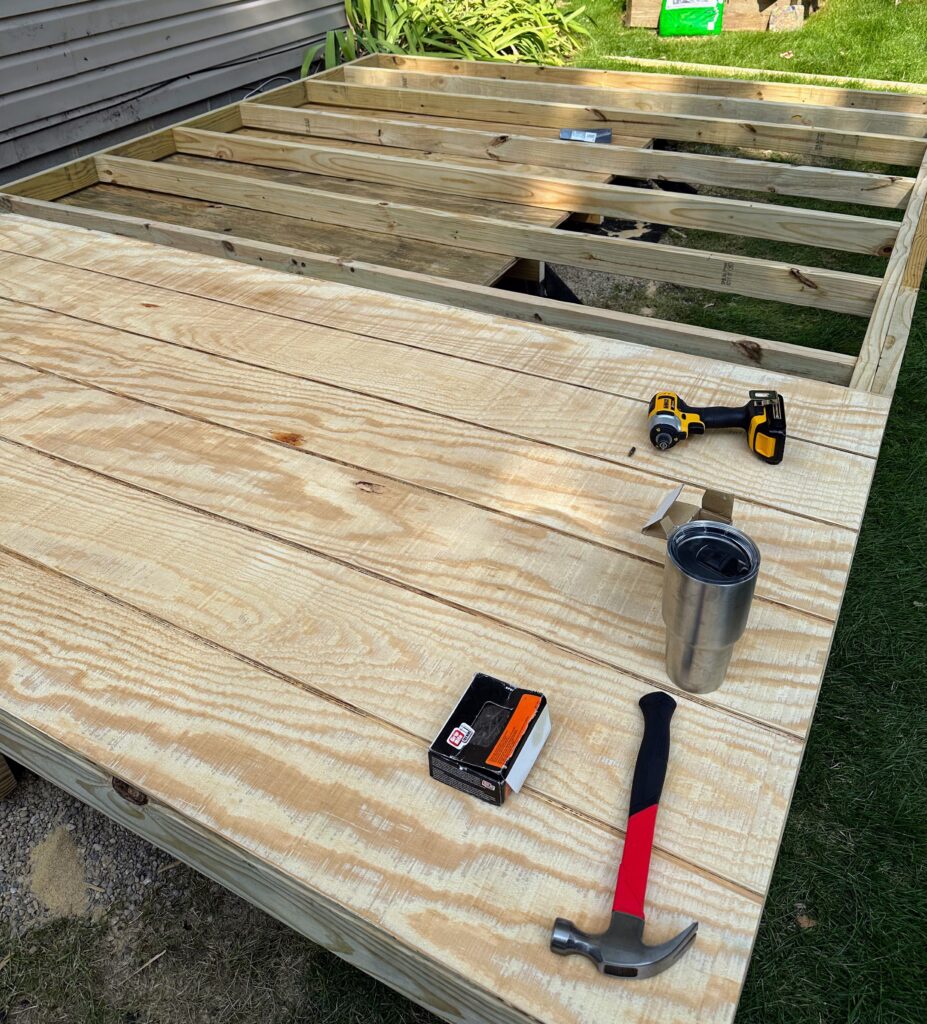
Finishing the Floor Deck
Recall that we ran out of batteries at the end of Day 3, and weren’t able to finish screwing down the floor deck. So with coffee in hand, I finished that and cut the front edge of the floor deck, and the floor system was finished.
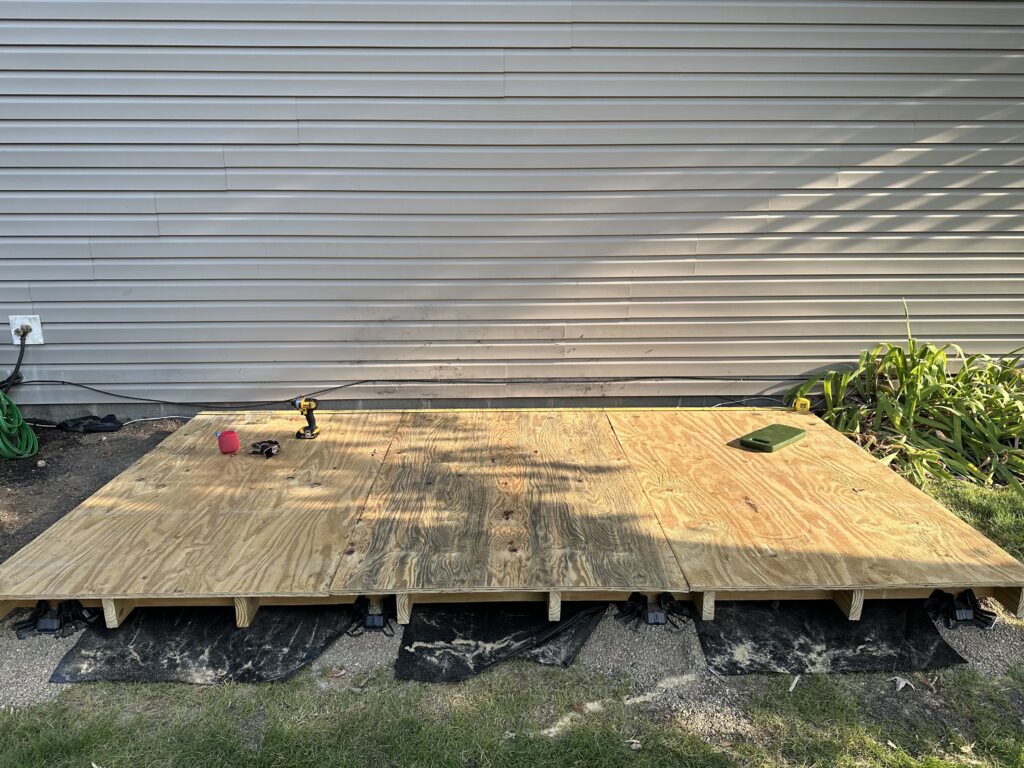
Floor system completed
Starting the Wall
Around 9:00, I started on the back wall. Compared with the foundation, the wall was a breeze! 2 x 4s are a whole lot lighter than 2 x 6s. All of the studs were the same length, and spacing was 16″ oc with the addition of a couple of nailers for the interior walls to attach to.
I cut the bottom plate first, then cut all the studs. After marking the location of each stud on the bottom plate, I screwed up through the bottom plate into the end of each stud using three 3″ screws.
Once that was done, I flipped the whole thing over so the bottom plate was against the house and installed the first layer of the top plate. The top plate was made with two 14′ boards positioned so that there was 12″ of overhang on each end for the roof overhang.
Again, I marked the position of the studs on the top plate and screwed through the top plate into the top end of each stud with three 3″ screws. Then I attached the second top plate over the top of the first. You can see the finished top plate with the overhang in the lower right corner of the photo below.
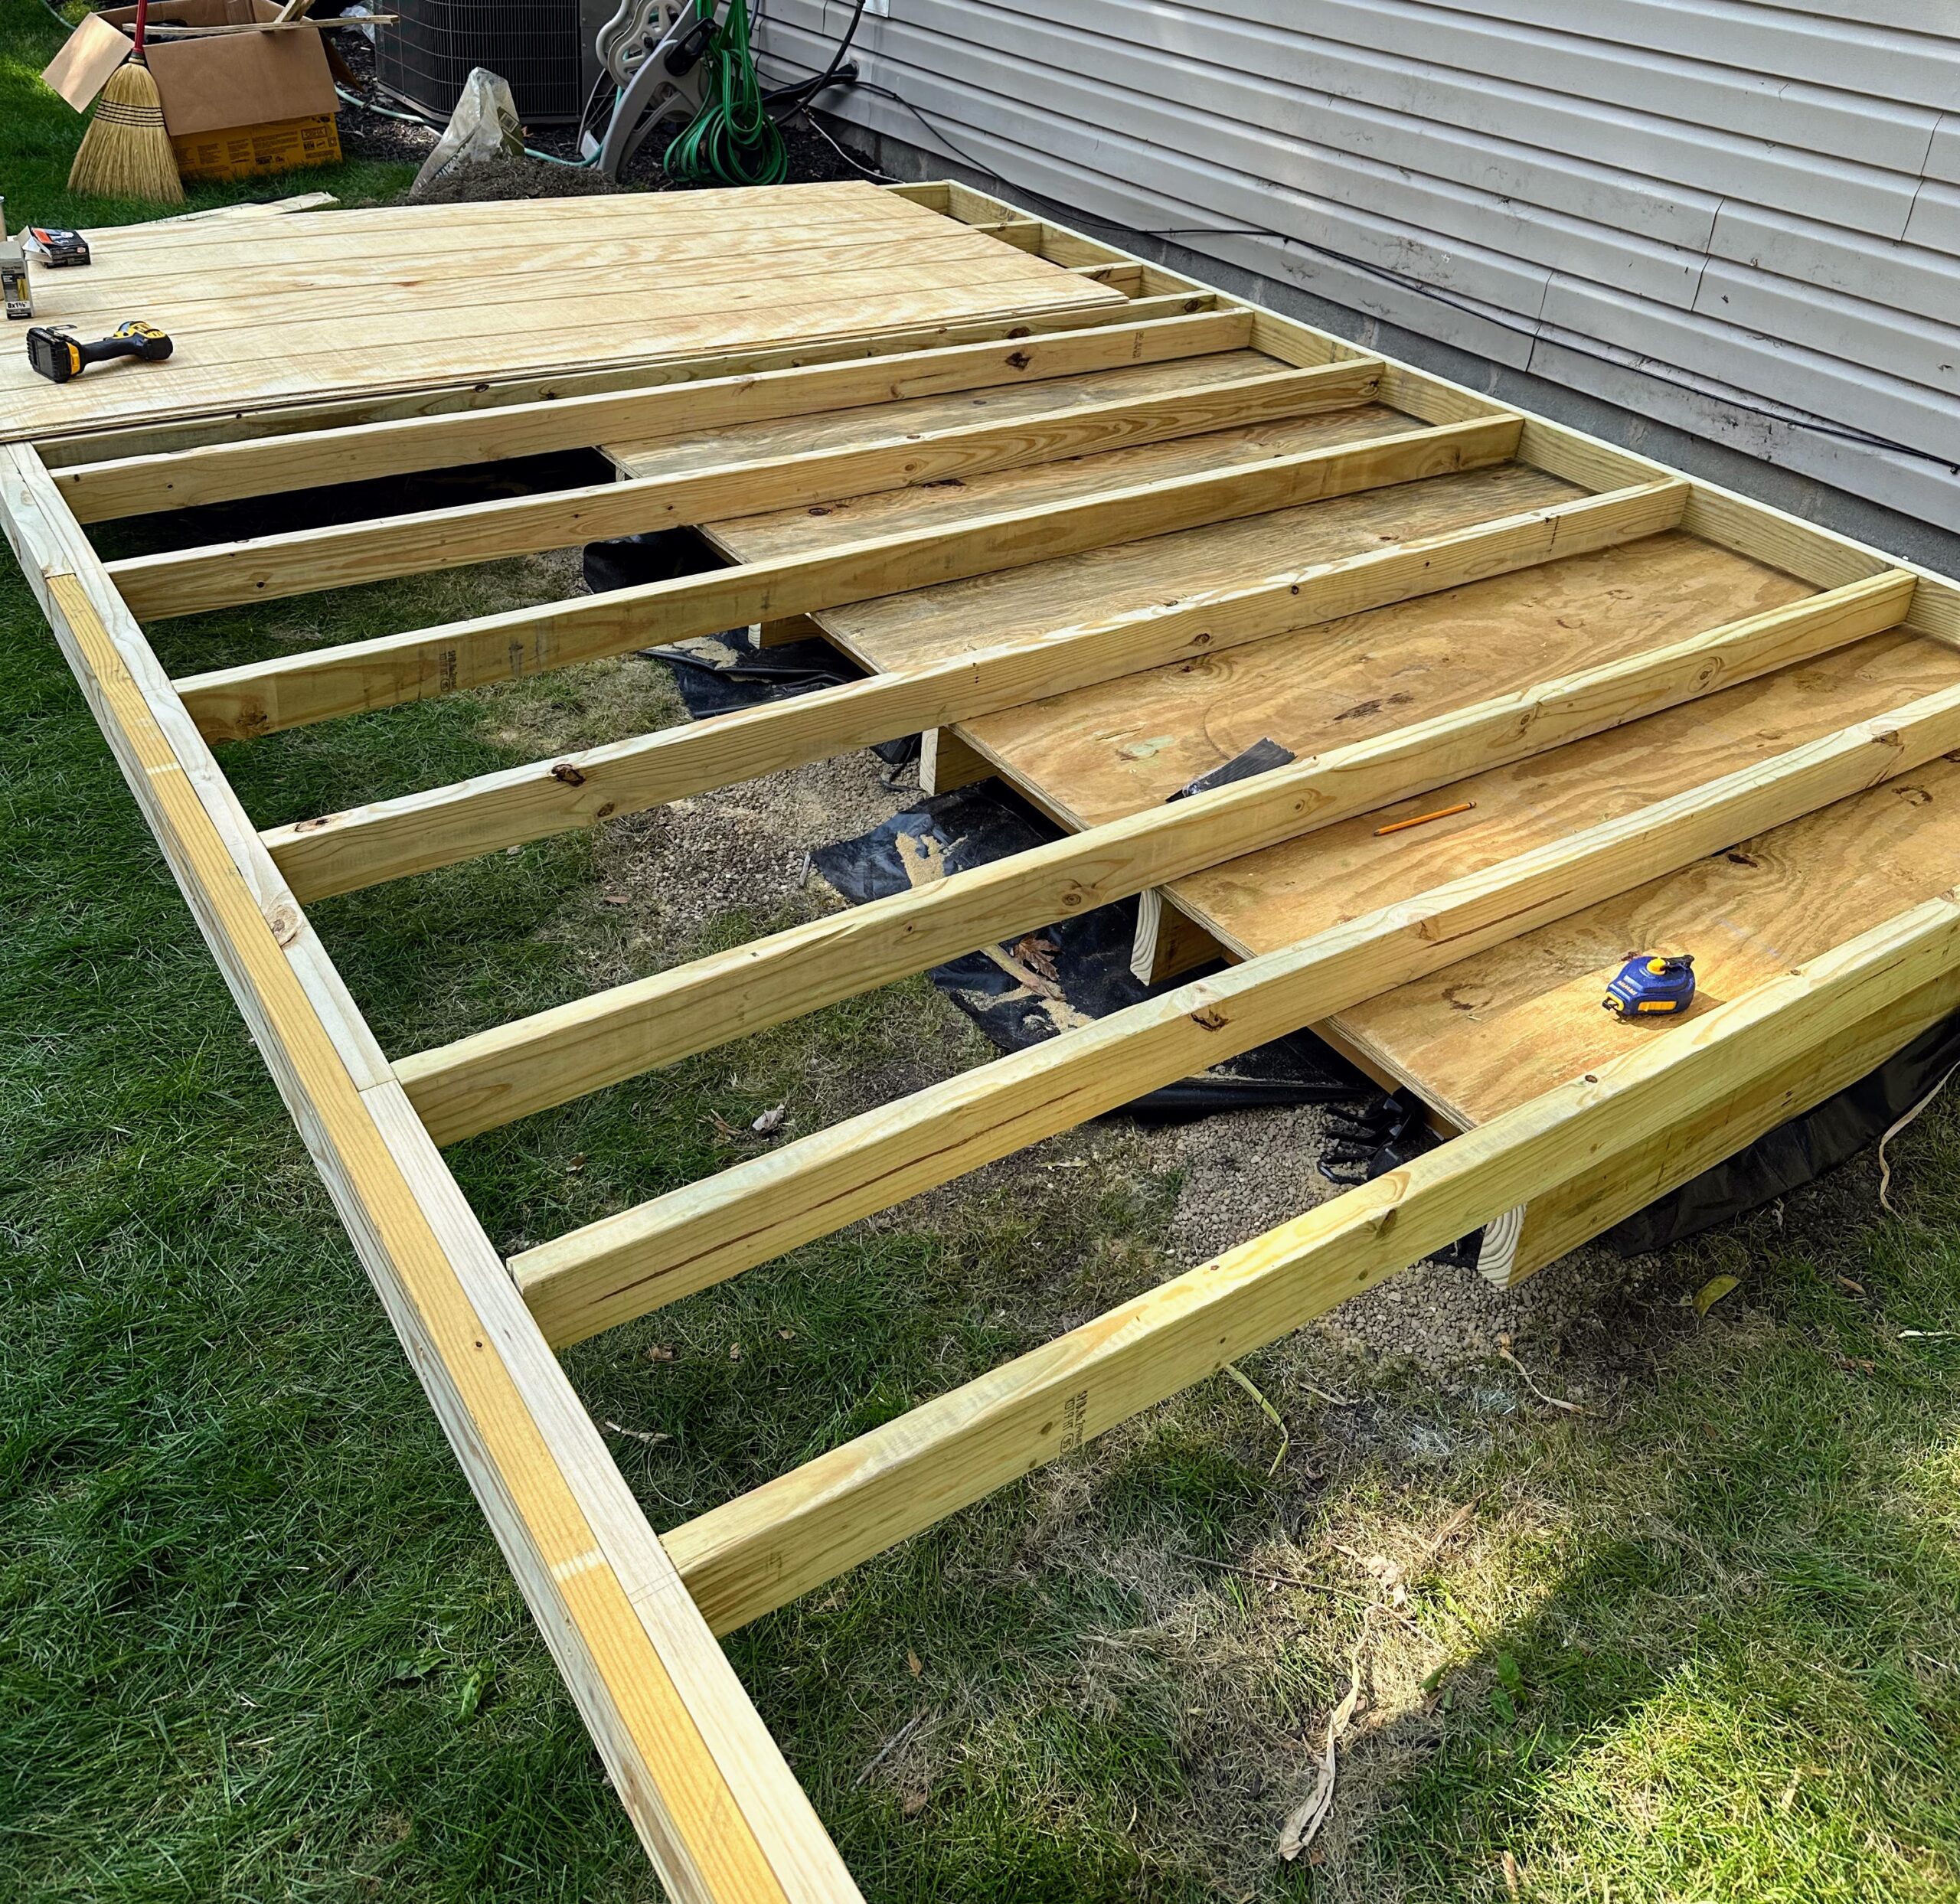
Constructing the back wall framing
Rich & Katie installing the last full sheet of plywood siding
Siding
To side the back, we used four 4′ x 8′ sheets of reverse board and batten plywood siding. This part I could not do myself. Luckily, both Rich & Katie had arranged to take part of the day off to help. We used three whole sheets aligned with the top of the top plate, then cut a fourth sheet to cover the 12″ at the bottom.
The siding was screwed at 8″ intervals along each stud using 2″ screws. At the end of the day, we had a completed wall.
First piece of reverse board and batten plywood siding installed
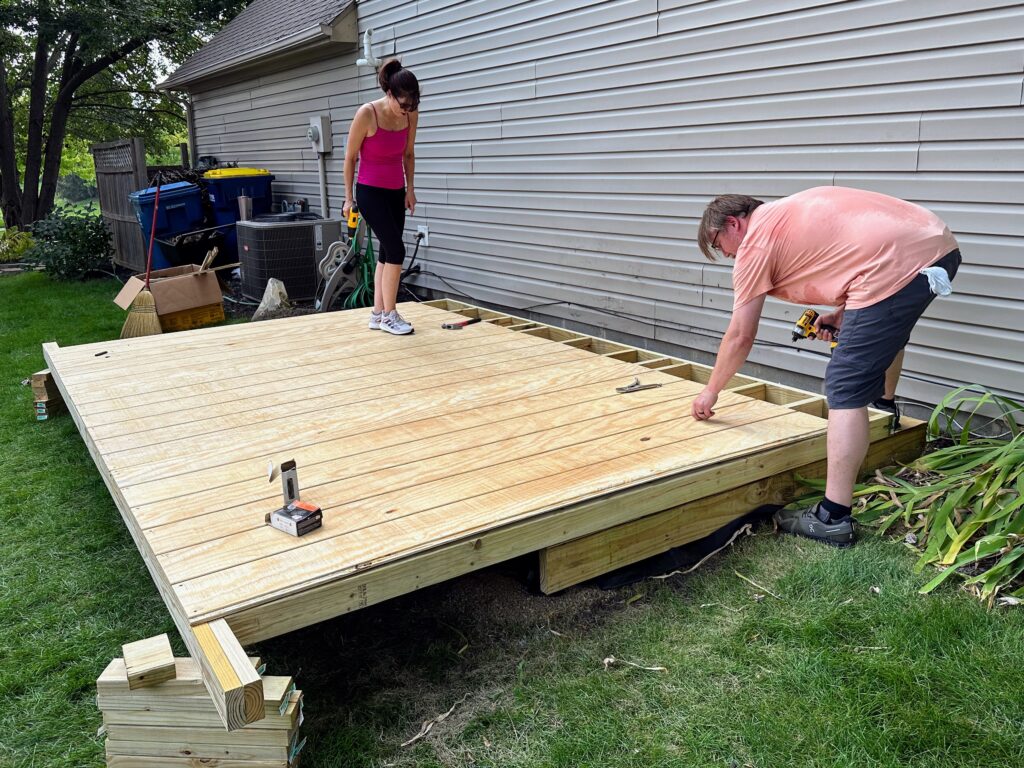
Rich & Katie installing the last full sheet of plywood siding
End of Day 3: Ta Da!! We have a wall!
August 24th, Day 4: Two Coats of Stain and a Whole Lot of Help
Weather Report
Another scorcher. Still in the upper 90s. Still humid. Still a slog.
Sealing and Staining
After sealing the joints between the plywood, I rolled on two coats of Cabot stain that we tried to get to match the house color (but it wasn’t even close). Oh well.
When I apprenticed to a banjo maker in my early 20s, he used to tell me that the best woodworkers aren’t those who don’t make mistakes, they are the ones who know how to disguise them.
Well. That was easy. No one would ever see the color of the back wall after it was in place except the spiders and creepy-crawlies.
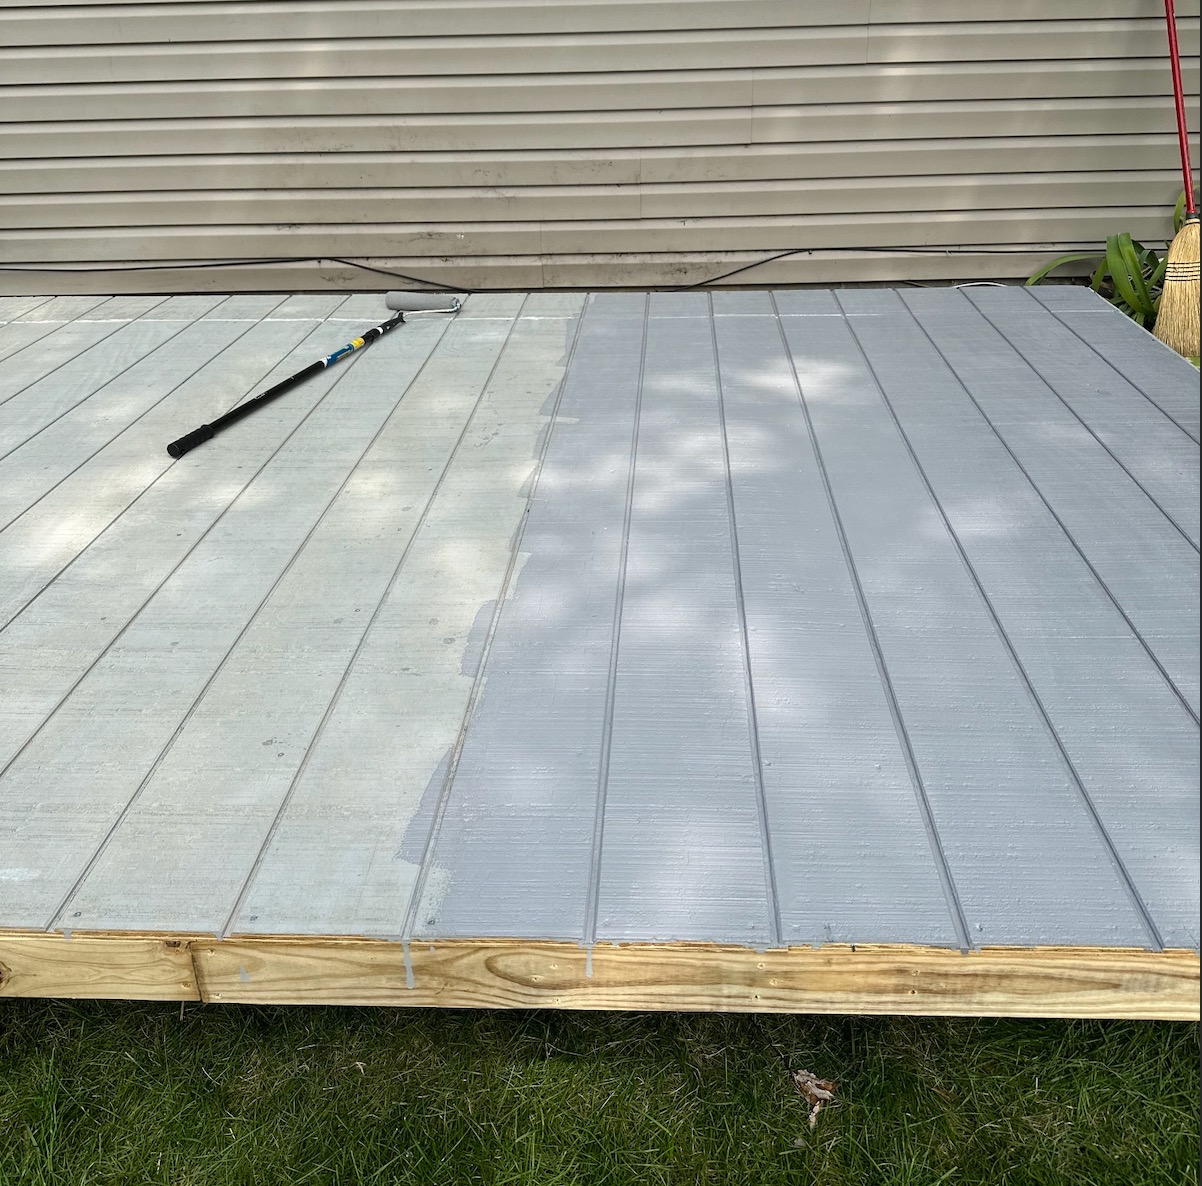
Back wall during application of the second coat of stain. Doesn’t match the house…
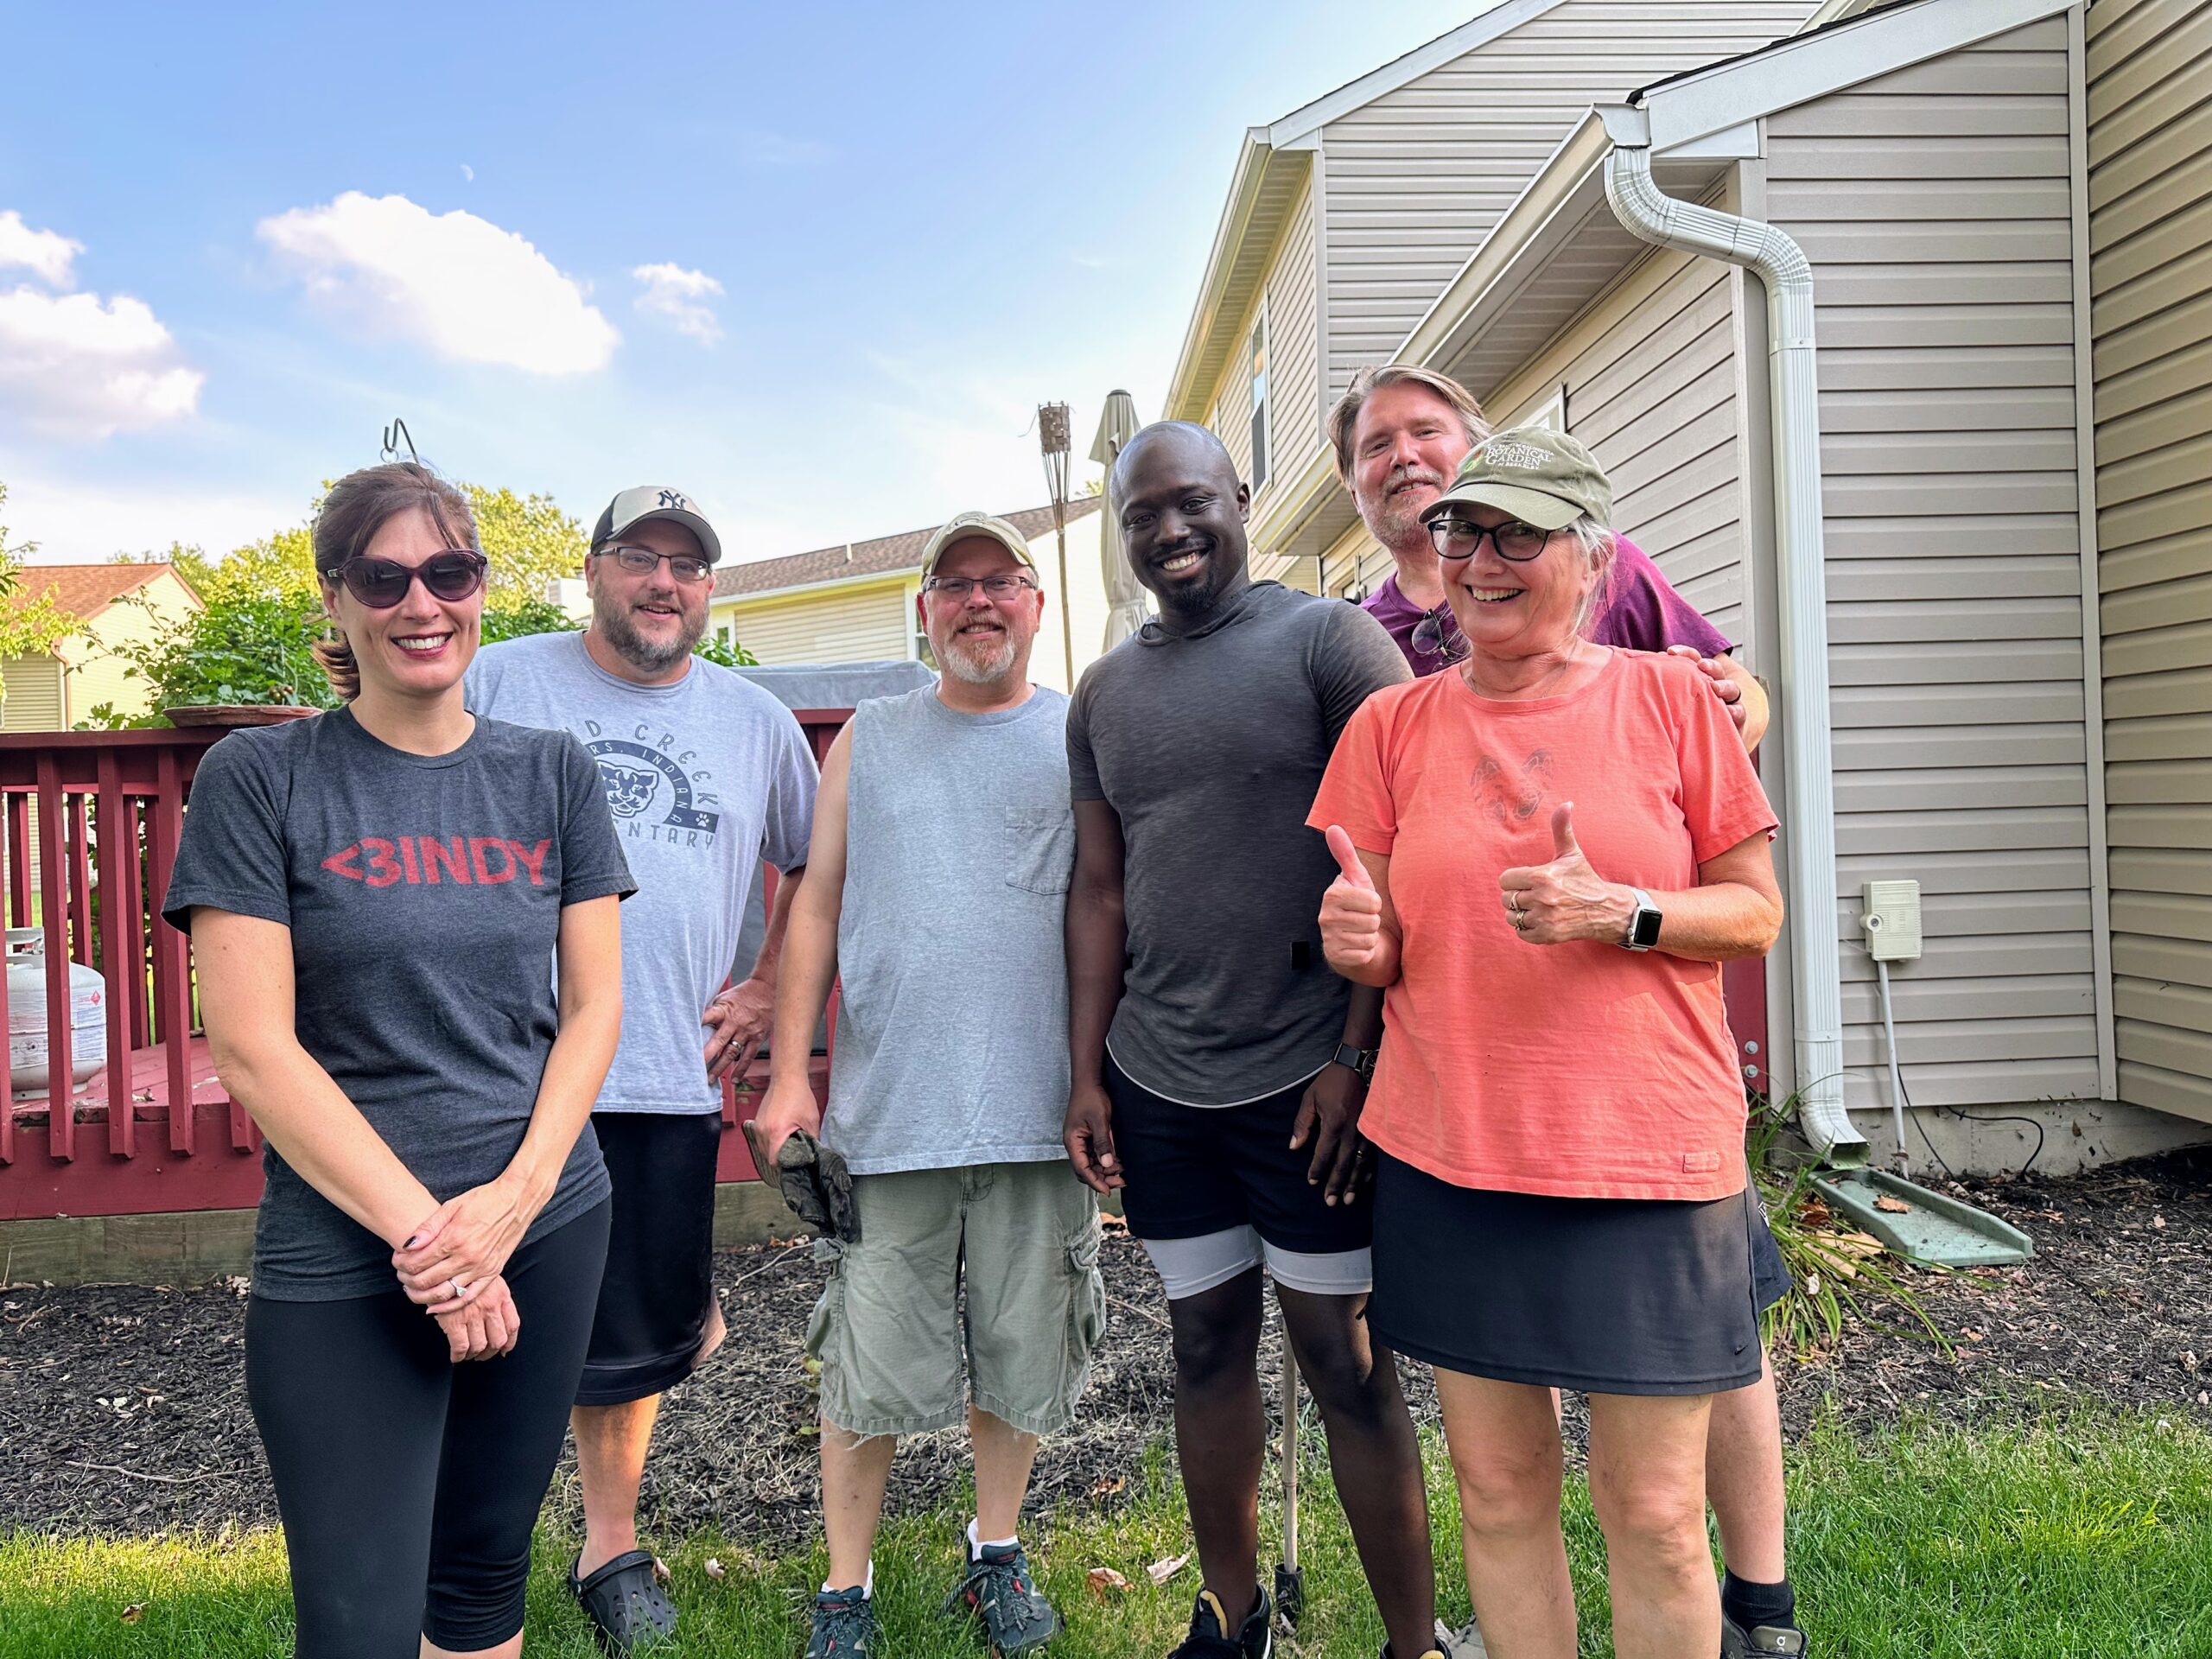
Good Neighbors
After work, Rich rounded up all the neighbors he could find and we raised the wall into place, plumbed it, and fastened it in place.
Thanks, neighbors! We couldn’t have done it without your muscles and good cheer!

What’s Next?
The Front Wall is up next. I’ll post the plan, how we built it, and share our videos.
